
To build your own custom picture frame, gather essential tools like a saw, miter box, measuring tape, glue, and nails. Measure your artwork carefully, then cut the frame pieces precisely for perfect mitered corners. Assemble the frame by gluing or nailing the corners together, ensuring stability and alignment. Sand and finish the frame to add a polished look. If you keep exploring, you’ll discover detailed steps to help you craft a professional-looking frame.
Key Takeaways
- Gather essential tools like a saw, miter box, measuring tape, glue, and nails for precise cutting and assembly.
- Measure your artwork accurately to determine frame dimensions and ensure a perfect fit.
- Cut frame material at 45-degree angles for seamless mitered corners using a saw or miter box.
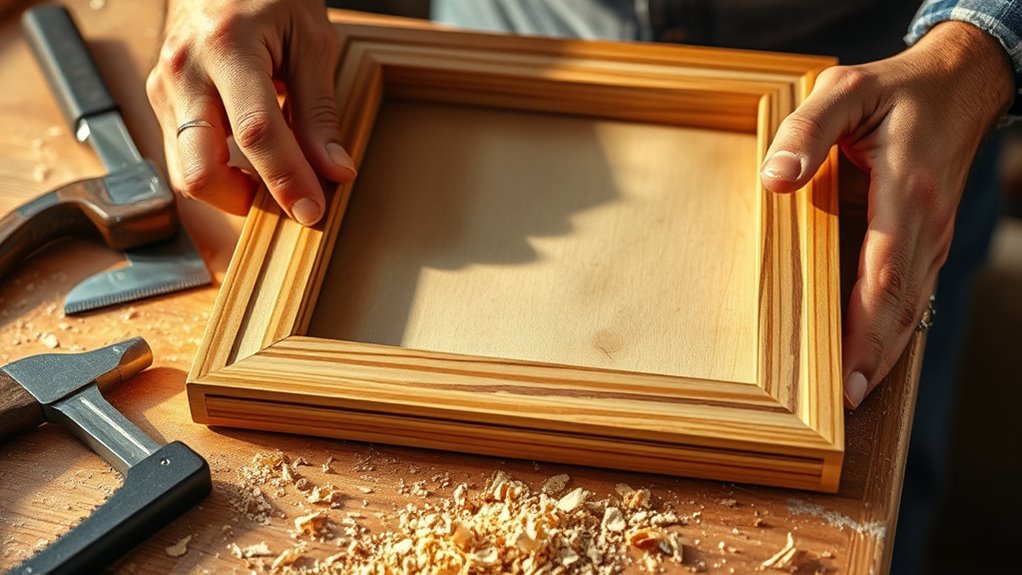
- Assemble pieces with glue and nails, ensuring corners are square and secure.
- Finish your frame with sanding, painting, staining, or sealing to personalize and enhance its appearance.

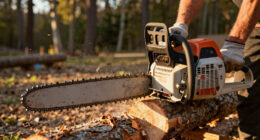
Have you ever struggled to find a picture frame that perfectly fits your artwork or photo? If so, you’re not alone. Off-the-shelf frames often fall short of your expectations, whether because of size, style, or material. That’s where creating your own custom picture frame comes in, allowing you to tailor every detail to your exact preferences. The first step in this process is understanding the importance of frame design and material selection. Your choice of frame design sets the tone for your display, whether you want something sleek and modern, ornate and classical, or rustic and cozy. Think about the style that complements your artwork or decor and how the frame’s shape, width, and embellishments can enhance its overall appeal. Material selection is equally essential because it influences the look, durability, and ease of crafting your frame. Common materials include wood, metal, and plastic, each offering different aesthetic qualities and workability. Wood, for example, provides warmth and natural beauty, and it’s versatile for various finishes. Metal frames lend a contemporary or industrial vibe and are sturdy, though they might be more challenging to customize unless you have the right tools. Plastic can be lightweight and inexpensive but may lack the elegance of natural materials. Once you’ve nailed down your preferred frame design and material, gather the necessary tools—such as a saw, miter box, measuring tape, and adhesive or nails—and prepare your workspace. Accurate measurements are key; measure your artwork or photo carefully to determine the dimensions of the frame. Then, cut your chosen material precisely, ensuring that each mitered corner fits together seamlessly. Accuracy here is essential, as poorly aligned corners can ruin the look of your finished frame. After cutting, assemble the pieces using glue or nails, making sure the corners are square and secure. Sand down any rough edges for a smooth finish, and consider adding a decorative touch, like painting, staining, or sealing, to match your decor. Customizing the frame’s design also means paying attention to details like the profile width and any decorative elements you want to incorporate. With patience and careful craftsmanship, you’ll end up with a frame that not only fits your artwork perfectly but also reflects your personal style. Building your own custom picture frame may take some effort, but the result is a unique piece that enhances your display and adds a personal touch to your space. By thoughtfully selecting the right frame design and material, you guarantee a final product that’s both beautiful and functional, making your artwork or photo truly stand out. Understanding power tools and equipment enhances your ability to craft precise and professional-looking frames with confidence.

Craig Frames Custom Picture Frame, Made-to-Order, 4×4 to 30×40, (6) Colors, Modern Style
Precision Fit, Made to Order: Customize your frame to any size between 12×18 and 24×36 inches in ¼"…
As an affiliate, we earn on qualifying purchases.
As an affiliate, we earn on qualifying purchases.
Frequently Asked Questions
What Types of Wood Are Best for Picture Frames?
For picture frames, you should choose wood species like oak, maple, or cherry, as they offer durability and attractive grain patterns. These woods are easy to work with and provide a polished look. You might also consider pine for a rustic feel or walnut for richness. Pay attention to grain patterns to enhance the frame’s visual appeal, and select a wood that complements your artwork and matches your style preferences.
How Do I Choose the Right Glass for Framing?
When choosing glass for framing, consider matte versus gloss finishes based on your artwork’s look. Matte reduces glare and reflections, ideal for textured or matte prints, while gloss enhances colors and detail. Don’t forget UV protection; it preserves your art by blocking harmful rays. Select glass that balances appearance and protection, ensuring your piece stays vibrant and well-preserved over time.
Can I Customize Frames for Irregularly Shaped Artwork?
Yes, you can customize frames for irregularly shaped artwork through frame customization. You’ll want to measure your artwork carefully and choose a frame that can be adapted to its unique shape. Using flexible framing materials or custom-cut options allows you to create a snug, professional-looking fit. This approach guarantees your irregular shapes are beautifully showcased, and you have complete control over the final appearance of your custom frame.
What Tools Are Essential for Beginner Frame Building?
Think of building your frame like planting a garden—you need the right tools to make it flourish. For beginner frame building, essential tools include a miter saw or a handsaw for precise cuts, a square for perfect corners, and a glue or nail gun for assembly. When it comes to frame finishing, a sanding block smooths surfaces, while decorative elements like trim or embellishments add personality. These tools help you craft a beautiful, personalized frame effortlessly.
How Do I Prevent Frames From Warping Over Time?
To prevent frame warping over time, you should prioritize wood stability by choosing high-quality, kiln-dried wood. Seal all surfaces with a protective finish to minimize moisture absorption, which causes warping. Avoid exposing your frames to extreme humidity or direct sunlight. Properly join corners with secure, reinforced joints, and store completed frames in a stable environment. These steps help maintain your frame’s shape and durability over the years.

Excel Blades 6-Inch Metal Mitre Box Set – Aluminum & Steel Precision Cutting Tool with K5 Handle & Razor Pull Saw for Wood, Plastic & Soft Metals – 45° & 90° Cutting Angles, Made in USA
PRECISION CUTS, ZERO GUESSWORK: Crooked trim and splinters disappear. The 6" mitre box guides the 5" 46 TPI…
As an affiliate, we earn on qualifying purchases.
As an affiliate, we earn on qualifying purchases.
Conclusion
Creating your own picture frame isn’t just about assembling wood; it’s about crafting a vessel for your memories, a frame that holds your story with pride. As you sand, measure, and assemble, imagine each step as shaping the foundation of your personal gallery. When you hang that finished frame, you’re not just displaying a photo—you’re showcasing your effort, creativity, and the moments that matter most, forever framed in your unique touch.

HORUSDY Band Clamp, Woodworking Frame Clamp Strap Holder for Picture Strap Clamp Strap Clamp (Band Clamp)
These are a 'must have' for any woodwork enthusiast.
As an affiliate, we earn on qualifying purchases.
As an affiliate, we earn on qualifying purchases.

Feekoon Glazier Point Driver, Glazier Setting Tool with 100 Push Points, Glazing Push Point Driver Tool for Framing Glass Picture Cross Stitch(Green,1 Pack)
Package Includes: You will receive a glazier point driver tool and 100 glazier points. Sufficient quantity to meet…
As an affiliate, we earn on qualifying purchases.
As an affiliate, we earn on qualifying purchases.