
To avoid cracks and damage when drilling into brick or tile, start by thoroughly cleaning the surface and marking your drill point carefully. Use the right drill bits—masonry bits for brick and diamond-tipped or carbide bits for tiles—and drill slowly with steady pressure. Keep the drill cool by occasionally applying water, especially for natural stone. Disabling the hammer function helps prevent cracks in tiles. For detailed tips on handling different materials safely, keep exploring further.
Key Takeaways
- Mark drill points accurately and avoid grout lines or mortar joints for better stability.
- Use appropriate bits (masonry for brick, diamond-tipped for tile) and drill at low speed with high torque.
- Start with a small pilot hole to prevent stress and cracks, then gradually enlarge if needed.
- Keep the drill bit cool by withdrawing periodically and applying water, especially for natural stone or porcelain tiles.
- Disable the hammer function when drilling tiles, and apply steady, gentle pressure to avoid cracking.

12-PCS Masonry Drill Bit Set & Concrete Drill Bit Set, 1/8 to 1/2 inch Professional Carbide Drill Bits Tip for Glass, Tile, Brick, Cement Concrete Plastic Wood etc. Masonry Drill Bits Set by DYRECELVE
- PROFESSIONAL CARBIDE DRILL BIT SET:This masonry drill bit…
- 7SIZES MASONRY DRILL BIT SET:With 1/8", 5/32", 3/16"(*2),…
- INDUSTRIAL STRENGTH DRILL BITS:Thesee drill bits are made…
As an affiliate, we earn on qualifying purchases.
As an affiliate, we earn on qualifying purchases.
Preparing the Surface for Drilling
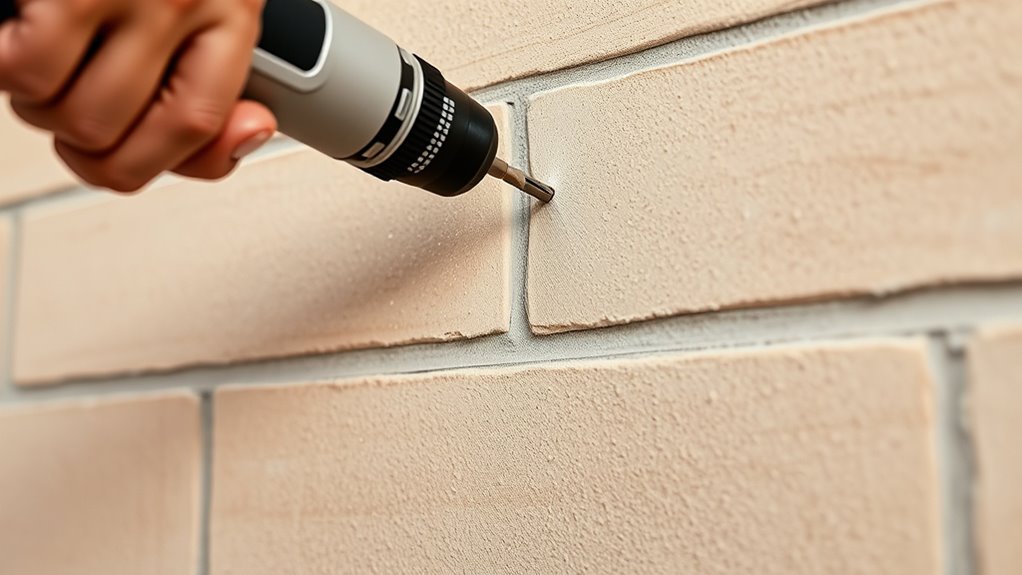
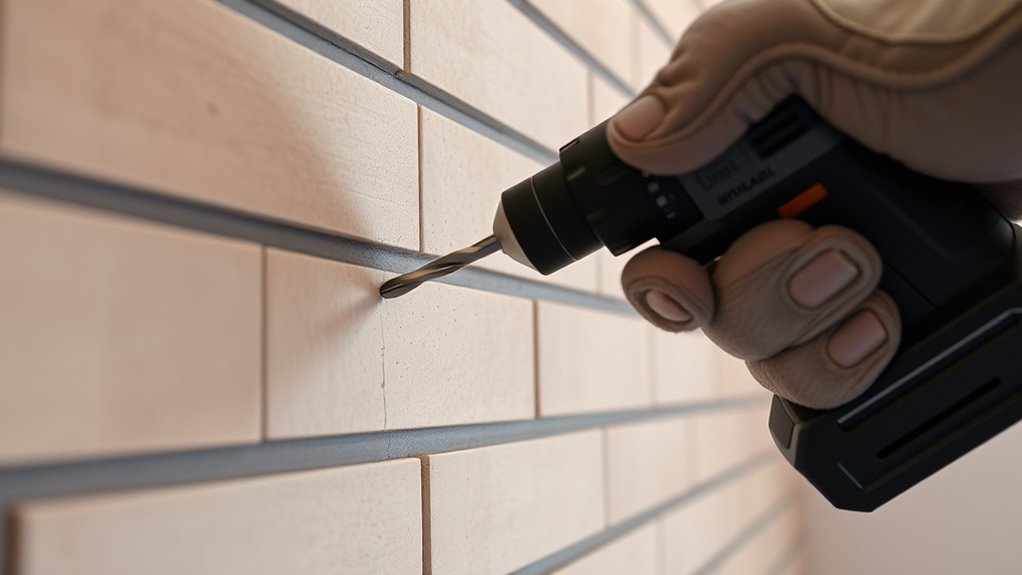
Before drilling into tile or brick, you need to prepare the surface properly to guarantee a smooth process and prevent damage. Start by cleaning the area thoroughly to remove dust, grease, or debris that could interfere with marking or slipping. Next, mark the exact drill point with a pencil or marker, ensuring accuracy. To prevent the drill bit from slipping, apply a piece of masking tape over the marked spot; this provides grip and stability. Before proceeding, scan the wall carefully for hidden wiring or plumbing to avoid accidents. When working on tiles, steer clear of grout lines and aim for the tile face for cleaner, more precise holes. Proper surface preparation minimizes errors, reduces risk, and guarantees a cleaner, safer drilling process. Additionally, understanding material properties helps you select the appropriate drill bit and technique for brick or tile, reducing the chances of cracks or damage. Being aware of drilling techniques tailored to each material further enhances your success and prevents unintended harm. Incorporating knowledge of proper tools and their specific uses can also significantly improve the drilling outcome and protect your surfaces. For optimal results, consider drill bit selection based on the surface material to ensure clean cuts and avoid unnecessary damage.
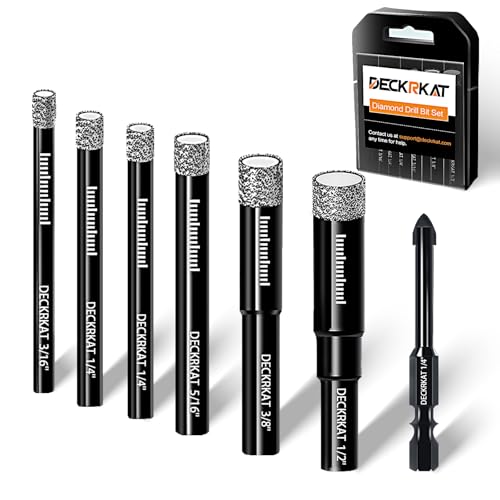
DECKRKAT 7-Piece Dry Diamond Drill Bits & Carbide Tile Drill Bit Set for Tile,Ceramic,Marble,Porcelain,Glass & Granite- 3/16", 1/4" (x2), 5/16", 3/8", 1/2" + 1/4" Masonry Bit
- Complete Drill Bit Set: Includes various sizes for multiple materials
- Dry Drilling Technology: Wax lubricant and coolant system extend bit life
- Precise and Clean Drilling: Vacuum brazed diamond and side flute design
As an affiliate, we earn on qualifying purchases.
As an affiliate, we earn on qualifying purchases.
Choosing the Right Tools and Bits
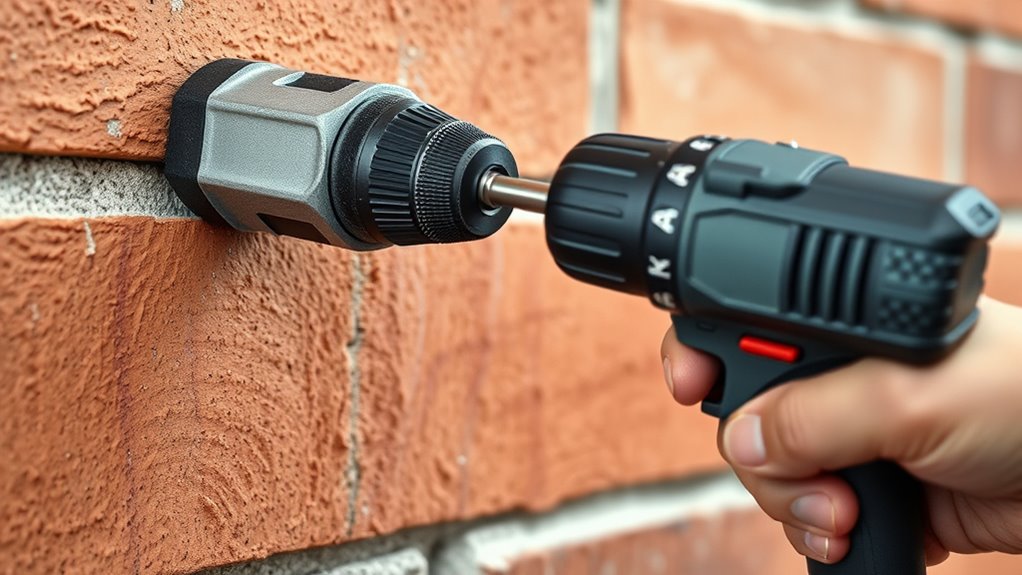
Selecting the appropriate tools and bits is essential for a successful drilling project into brick or tile. The right equipment guarantees precision and prevents damage. Use a masonry drill bit for brick and mortar, and a diamond-tipped or carbide bit for tiles. Match the bit to your material for best results. Here’s a quick guide:
| Material | Recommended Bit | Special Tips |
|---|---|---|
| Ceramic Tile | Carbide-tipped | Use masking tape to prevent slipping |
| Porcelain | Diamond-tipped | Drill slowly to avoid cracks |
| Brick/Mortar | Masonry bit | Use hammer drill for efficiency |
| Natural Stone | Carbide or diamond-tipped | Apply water to reduce heat |
| Old Brick | Masonry bit, handle gently | Avoid excessive force |
Using the right tools makes all the difference in avoiding cracks and damage. Properly understanding material properties can further improve your drilling success and reduce the risk of cracks. Additionally, knowing the impact of drill speed can influence the quality of your results and help prevent overheating or cracking. Maintaining consistent pressure is also crucial to prevent drill bit wandering, which can cause unwanted damage.
12-PCS Masonry Drill Bit Set & Concrete Drill Bit Set, 1/8 to 1/2 inch Professional Carbide Drill Bits Tip for Glass, Tile, Brick, Cement Concrete Plastic Wood etc. Masonry Drill Bits Set by DYRECELVE
- PROFESSIONAL CARBIDE DRILL BIT SET:This masonry drill bit…
- 7SIZES MASONRY DRILL BIT SET:With 1/8", 5/32", 3/16"(*2),…
- INDUSTRIAL STRENGTH DRILL BITS:Thesee drill bits are made…
As an affiliate, we earn on qualifying purchases.
As an affiliate, we earn on qualifying purchases.
Proper Drilling Techniques to Prevent Cracks
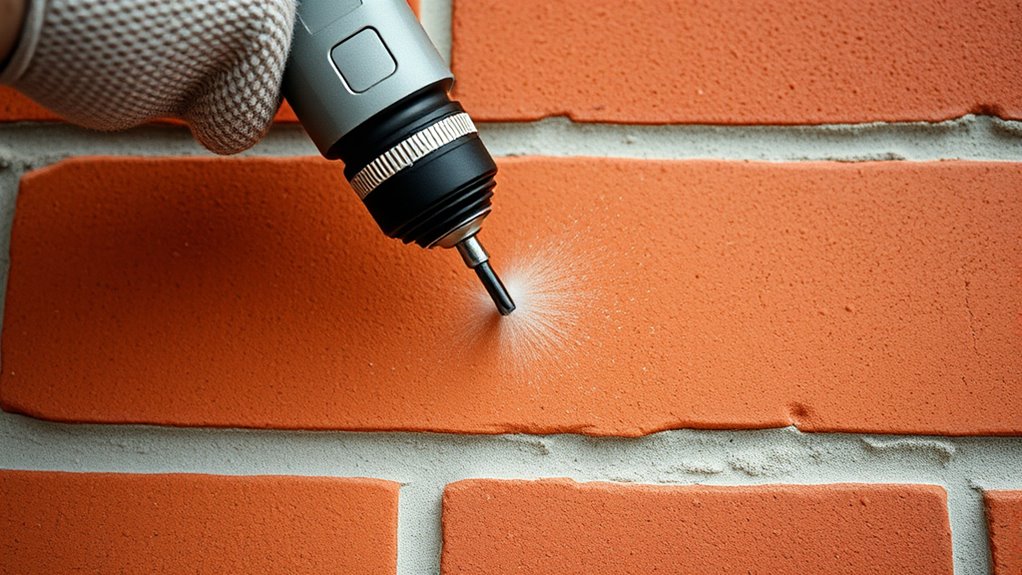
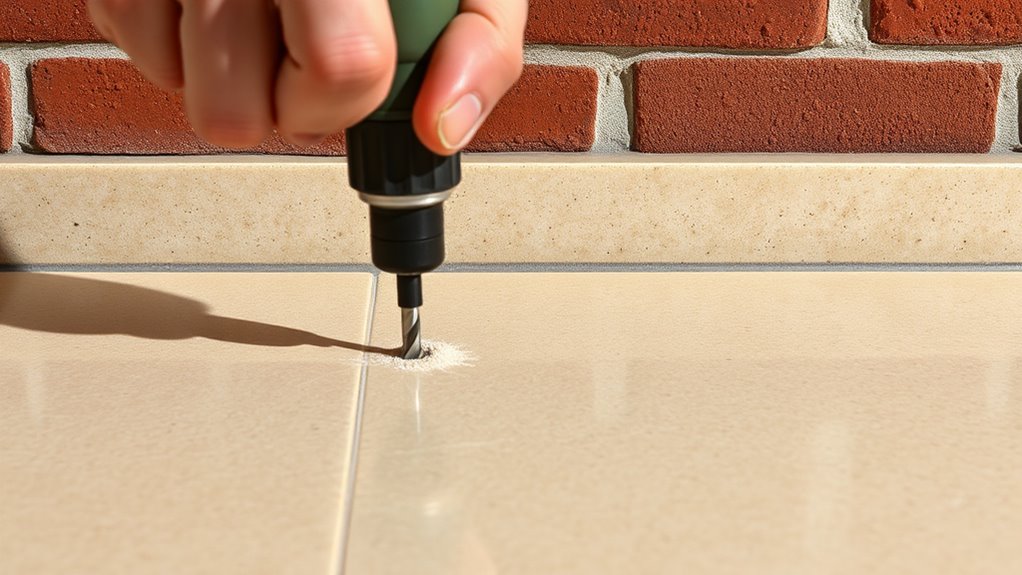
To prevent cracks during drilling into brick or tile, it’s essential to use proper techniques that minimize stress on the material. Start by marking your drill point carefully, preferably on mortar joints for brick or on the tile face for tiles. Use a drill with a slow speed setting and high torque to maintain control. Begin drilling with a small pilot hole to guide the larger bit, applying gentle, steady pressure—avoid forcing the drill. Keep the bit cool by periodically withdrawing it and applying water or lubricant. For tiles, disable the hammer function to prevent cracking. Drill slowly and steadily, stopping immediately once you pass through the tile or brick surface. These techniques help distribute force evenly and reduce the risk of cracks or damage. Incorporating curiosity about the materials and techniques involved can also improve your drilling success and prevent damage. Additionally, understanding material properties such as hardness and brittleness can guide you in selecting the appropriate drill bits and methods. Recognizing the material composition of your surface assists in choosing the best drilling approach to avoid damage.

DCA 20V Brushless Hammer Drill Cordless, 492 in-lb Torque Impact Drill, 1/2" All-Metal Keyless Chuck,18+1+1, (0-450/0-1800RPM), 27000 IPM, Compact Design with 2.0Ah Battery & Charger,ADJZ2055i
- Powerful Brushless Motor: 400W motor with 492 in-lb torque
- High Impact Frequency: 27,000 BPM for tough materials
- Variable Speed & Torque: 2-speed, 18+1+1 torque settings
As an affiliate, we earn on qualifying purchases.
As an affiliate, we earn on qualifying purchases.
Handling Different Tile and Brick Materials
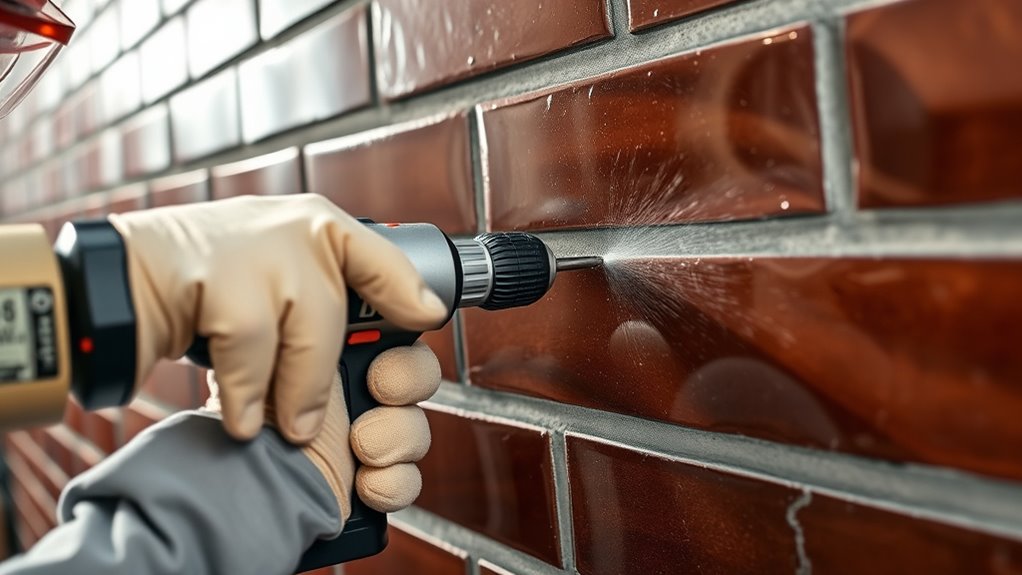
Different tile and brick materials require tailored drilling approaches to safeguard against damage and guarantee a clean hole. For ceramic tiles, use a carbide-tipped bit and drill slowly to prevent cracking, applying minimal pressure. Porcelain tiles are denser, so take extra care with slower, steady drilling and frequent water lubrication to keep the bit cool. Natural stone and marble are fragile; handle them gently, avoid excessive force, and consider using a diamond bit. When working with bricks, target mortar joints rather than the brick itself to minimize damage, and use a masonry bit with a hammer drill. Older bricks may be brittle, so proceed cautiously and avoid overdrilling. Adjust your technique based on material hardness and fragility for best results.
Safety Measures and Repair Tips
Ensuring safety during drilling into tile or brick is essential to prevent injuries and property damage. Always wear safety goggles, gloves, and a dust mask to protect against debris, dust, and shards. Secure your work area and double-check for hidden electrical wires or plumbing before drilling. Use steady, moderate pressure—avoid rushing or applying excessive force, which can cause cracks or slips. Keep your drill at a low speed with high torque for better control. When drilling through tile, stop immediately after passing through to prevent substrate damage. For minor cracks, use epoxy or acrylic filler to repair; replace severely damaged tiles or bricks. Regularly inspect your drill bits and keep your workspace organized to maintain safety and efficiency throughout the project. Additionally, understanding the types of drill bits suitable for different materials can greatly improve your drilling success and reduce the risk of damage. Proper drilling techniques also play a crucial role in avoiding cracks and ensuring a clean, precise hole. Being aware of smart home safety features can help you incorporate additional precautions during your DIY projects, enhancing overall safety. Incorporating appropriate risk management strategies can further prevent accidents and damage during your drilling tasks. Recognizing the common causes of heat pump failure can help you maintain your system better and avoid costly repairs.
Frequently Asked Questions
How Do I Determine the Exact Location for Drilling?
You determine the exact drilling spot by carefully marking the location with a pencil or marker on the tile or brick surface. Use a level if needed to confirm accuracy, and double-check behind the wall for hidden wiring or pipes. For tiles, mark on the face, avoiding grout lines. For brick, target mortar joints rather than the brick itself. Always verify your measurements before drilling to prevent mistakes.
Can I Drill Into Glazed or Decorative Tile Safely?
Drilling into glazed or decorative tile is like carefully carving a masterpiece—you need precision and patience. You can do it safely by marking the spot, applying masking tape, and using a carbide drill bit. Start slow, with light pressure, and keep the drill cool with water. I once drilled into a shiny, intricate mosaic without damage by taking my time and avoiding excessive force.
What Are Signs of Internal Fissures in Stone Tiles?
You can spot internal fissures in stone tiles by looking for subtle hairline cracks that run beneath the surface, often visible when you shine light at an angle. Tap gently on the tile; a dull or hollow sound indicates internal damage. Also, check for areas that seem thinner or weaker. If these signs are present, handle the tile with extra care to prevent further cracking during drilling or installation.
How Can I Prevent Dust and Debris During Drilling?
To prevent dust and debris during drilling, you need to stay alert to the chaos about to unfold. Use a dust mask and safety goggles to protect yourself. Place a vacuum or damp cloth nearby to catch dust as it’s generated. Drilling slowly and steadily, while periodically withdrawing the bit, minimizes dust creation. Consider using a dust extraction attachment for power tools—this keeps your workspace cleaner and safer.
What Should I Do if the Tile Cracks During Drilling?
If your tile cracks during drilling, stop immediately to prevent further damage. Assess the crack to see if it’s minor or severe. For minor cracks, clean the area and fill it with epoxy or a suitable filler, then gently sand once dry. If the crack is severe or affects the tile’s integrity, replace the tile to guarantee safety and a professional finish. Always handle cracked tiles carefully to avoid injury.
Conclusion
Did you know that improper drilling can cause cracks in tiles or bricks 80% of the time? By preparing the surface, choosing the right tools, using proper techniques, and handling materials carefully, you can avoid costly damage. Remember to wear safety gear and repair small cracks immediately to prevent further issues. With these tips, you’ll drill confidently and keep your surfaces intact, saving time and money while achieving professional-looking results.