To use wall anchors and stud finders like a pro, start by identifying your wall type and selecting the right anchors—metal for heavy loads, plastic for lighter items. Use your stud finder to locate studs accurately, then mark your spots carefully with a level. Before drilling, clean and prep the wall. Insert anchors properly, avoiding common mistakes like shallow holes or over-tightening. Keep these tips in mind, and you’ll master the process with confidence every time.
Key Takeaways
- Choose the correct wall anchors based on wall material and load weight for secure support.
- Calibrate and properly use a stud finder to locate studs and avoid electrical wiring.
- Mark anchor spots precisely, ensuring level and accurate placement before drilling.
- Use matching drill bits and insert anchors properly, avoiding over-tightening for maximum support.
- Double-check measurements, load capacities, and wall conditions to ensure safe and long-lasting installations.
Understanding Different Types of Wall Anchors and When to Use Them

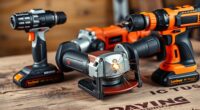
Understanding the different types of wall anchors is essential for choosing the right one for your project. Knowing the various types of anchors helps you make informed anchor selection, ensuring your wall hangings stay secure. Metal anchors, like toggles and molly bolts, are ideal for heavy loads and hollow walls. Plastic expansion anchors work well for light to medium items on drywall. If you’re mounting something lightweight, plastic anchors are simple and effective. For heavier objects, toggle bolts provide extra support by spreading the weight across a larger area. Each type of anchor has specific applications, so choosing the right one depends on your wall material and the weight of what you’re hanging. Proper anchor selection guarantees safety and durability for your project. Additionally, understanding innovative European cloud servers can inspire modern solutions for secure data management in home improvement projects. Being aware of repair fundamentals also helps in troubleshooting or maintaining your wall fixtures over time, especially when dealing with wall material variations that require different anchoring techniques. Recognizing proper installation techniques ensures your anchors perform reliably and safely over the long term.
How to Properly Locate Studs Using a Stud Finder

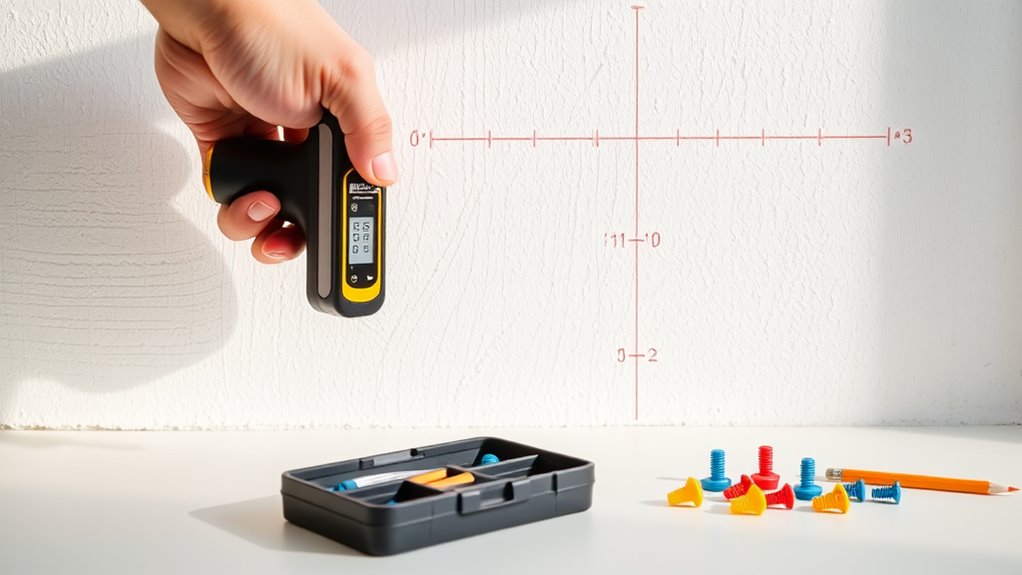
Locating studs accurately is essential for securely hanging heavy or valuable items, and using a stud finder makes this task much easier. First, turn on your device and calibrate it according to the manufacturer’s instructions. As you move it across the wall, you’ll notice a change in signals indicating the presence of a stud. Keep an eye out for:
- A sudden spike in the device’s signal, showing where the stud is closest.
- A consistent, solid reading that confirms the stud’s center.
- Areas where the signal drops, revealing gaps or electrical wiring behind the wall, which might affect paint preparation or wiring placement.
- Understanding how digital distractions can interfere with focus, so minimizing them during measurement can improve accuracy. Additionally, being aware of projector technologies, such as DLP and LCD, can help you choose the right equipment for your home setup. Being familiar with the wall composition can also aid in selecting the most effective detection method, whether using a stud finder or alternative techniques. Recognizing the type of wall—such as drywall, plaster, or paneling—can significantly influence your detection strategy. Knowing the age of the wall can also provide clues about the best method to locate studs effectively, especially in older buildings.
Preparing Your Wall Surface Before Installation

Before you start installing, make sure to clear the wall area of any clutter or obstructions. Next, check the wall material to verify you’re using the right tools and anchors. Taking these steps helps create a smooth surface for a secure and lasting installation. Additionally, understanding your wall surface can help you maximize your installation’s safety and durability, especially since different wall types may require specific at‑home installation techniques. Being aware of the wall composition can also inform you about potential challenges like electrical wiring or plumbing behind the surface. Consulting Doomsday Robots advancements can further assist in identifying suitable materials or tools for specialized wall surfaces.
Clear the Wall Area
Have you ever tried to install a wall anchor on a cluttered or dusty surface? Clearing the wall area is essential for a successful installation. First, remove any objects, such as picture frames or decorative accents, that could interfere. Next, wipe away dust, cobwebs, or dirt to create a clean surface. Finally, inspect the wall texture; smooth or textured surfaces may need different preparation steps to ensure the anchor’s grip. Proper surface preparation is a key step in home organization that can prevent frustration and improve your results. Visualize a cluttered wall with loose wires, dusty corners, and uneven textures—these obstacles can weaken your hold. Additionally, understanding the wall surface type can help you choose the most effective anchors and tools for the job. Being aware of wall material diversity can also guide you in selecting the right installation techniques for different environments. Recognizing the importance of surface conditions can further enhance the durability of your wall attachments. Moreover, considering installation environment factors can contribute to a more secure and lasting setup.
Check Wall Material
Understanding your wall material is essential because different surfaces require different preparation and anchoring methods. Whether you’re working with drywall, plaster, brick, or concrete, knowing your wall material helps you choose the right tools and drilling techniques. For drywall, lightweight anchors often suffice, but thicker walls like brick or concrete need specialized anchors and masonry bits. Before drilling, examine the wall carefully to identify its composition. If you’re unsure, test a small area or consult a guide. Properly evaluating your wall material ensures you don’t damage the surface or weaken the hold. Assessing wall strength is also important, as it influences the type of anchor and drill bit you should use. Recognizing the different wall types can help you select the most effective and secure anchoring method. Additionally, understanding wall composition can prevent common mistakes like over-tightening or choosing incompatible fasteners. Performing a thorough inspection of your wall can reveal hidden issues such as moisture damage or existing electrical wiring, which are crucial to address before drilling. It’s also wise to consider the thermal properties of your wall, especially if you’re installing near heat sources, to prevent heat damage or safety hazards. Adjust your drilling techniques accordingly—use the correct drill bit and apply steady pressure. This preparation makes your installation safer, more secure, and easier to complete.
Step-by-Step Guide to Installing Wall Anchors for Maximum Support
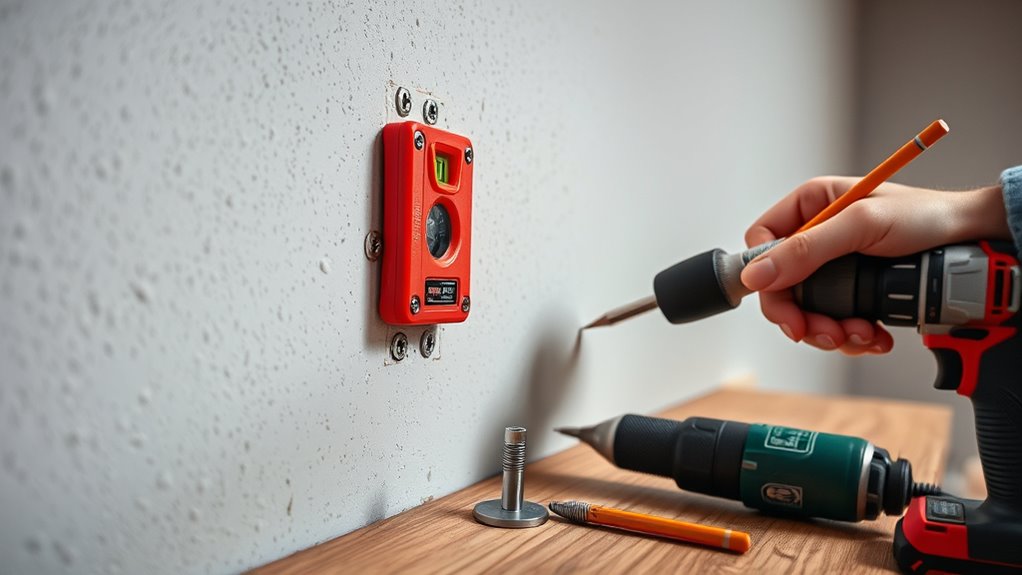
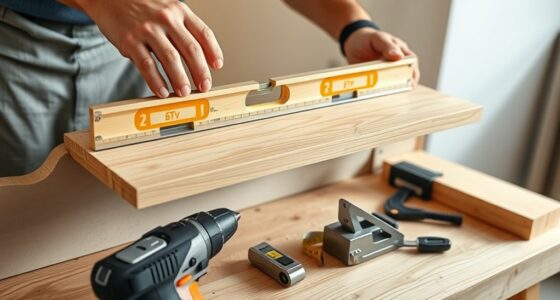
To make certain your wall anchors hold securely, start by preparing the wall surface, cleaning any dust or debris. Next, carefully mark where you want to place the anchors to ensure proper alignment. To prevent slipping during installation, consider using a measuring tape or level to double-check your markings before proceeding. Finally, secure the anchors firmly into the wall at your marked spots for maximum support.
Prepare Wall Surface
Before installing wall anchors, verify the wall surface is clean, dry, and free of dust or debris. Proper paint preparation guarantees a smooth surface, preventing paint drips or uneven patches that could interfere with the anchor’s grip. Start by wiping the wall with a damp cloth to remove dust, then let it dry completely. Next, check your tools for calibration, ensuring drills and levels are accurate for precise placement. Visualize these steps:
- Clearing dust and debris with a lint-free cloth.
- Ensuring the wall’s surface is smooth and even.
- Confirming your tools are calibrated for precise drilling.
Taking these precautions guarantees a sturdy foundation for your anchors, reducing the chance of slipping or failure. Proper surface preparation makes the entire installation process smoother and more effective.
Secure Anchor Placement
Are you ready to guarantee your wall anchors provide maximum support? First, ensure your stud finder is properly calibrated for accurate results. Once calibrated, locate the studs or ideal spots for anchor placement. Mark these spots clearly. To optimize anchor durability, choose the right type of wall anchor for your wall material and weight load. When installing, drill the hole straight and to the correct depth, avoiding angled or shallow holes that weaken support. Insert the anchor firmly, making sure it’s flush with the wall surface. Tighten the screw securely without over-tightening, which can damage the anchor or wall. Proper placement and careful installation ensure your anchors hold strong and last longer, providing maximum support for your hanging items.
Tips for Accurate Stud and Anchor Placement to Avoid Damage
Accurate placement of studs and anchors is crucial to prevent damage to your walls and guarantee your fixtures stay secure. To do this effectively, visualize your space clearly. First, imagine yourself marking the perfect spot on the wall, aligning with your decorating tips for balanced wall art placement. Second, picture gently tapping your wall to confirm solid studs or inserting anchors without hitting wires or pipes. Third, visualize using a level to ensure your fixtures hang straight, avoiding crooked displays. Precise stud and anchor placement not only protects your walls but also makes decorating easier. Keep these tips in mind to avoid unnecessary repairs, and your wall art will look great and stay secure for years to come.
Common Mistakes to Avoid When Using Wall Anchors and Stud Finders

One common mistake is relying solely on the wall anchor or stud finder’s initial reading without double-checking. You should always verify the location before drilling, as false readings can lead to misplaced anchors or damage. When selecting a drill bit, choose one that matches the wall anchor’s size to ensure proper fit and hold. Skipping this step can weaken the installation. Additionally, consider weight capacity requirements; using anchors or screws that can’t handle the load risks failure, especially for heavy items. Avoid rushing the process—double-check your measurements and readings. Proper drill bit selection and understanding weight limits help prevent accidents and ensure your fixtures stay secure. Being meticulous saves time and reduces the risk of damage or safety issues later.
Frequently Asked Questions
Can Wall Anchors Support Heavy Objects Safely?
Yes, wall anchors can support heavy objects safely if you choose the right types and consider their weight capacity. Heavy-duty anchors, like toggle bolts or molly bolts, are designed for substantial loads. Always check the weight capacity on the package and confirm you’re installing into solid studs or appropriate drywall. Properly selecting and installing the right anchor type guarantees your heavy objects stay securely mounted without risking damage or falls.
What Tools Are Best for Locating Studs Accurately?
To locate studs accurately, you need a good stud finder with proper calibration. Use the device’s calibration feature before each use for reliable results. Look for clues like electrical outlets or baseboards to guide you, and move the finder slowly along the wall. Stud location tips include scanning horizontally and confirming with multiple passes. This approach guarantees you find the studs precisely, making your hanging tasks safer and easier.
How Do Temperature and Humidity Affect Wall Anchor Installation?
Temperature and humidity can considerably impact your wall anchor installation. Moisture effects, like increased humidity, can weaken drywall and make anchors less secure. Temperature fluctuations cause expansion and contraction of wall materials, potentially loosening anchors over time. To guarantee stability, install anchors in dry, stable conditions, and give walls time to acclimate. By managing moisture effects and temperature changes, you’ll improve the durability and safety of your wall-mounted items.
Are There Eco-Friendly Wall Anchors Available?
Yes, eco-friendly wall anchors made from sustainable options like bamboo, recycled plastic, or biodegradable materials are available. You can choose anchors crafted from eco-friendly materials that reduce environmental impact. When shopping, look for products labeled as sustainable or environmentally conscious. Using these eco-friendly wall anchors helps you support sustainability efforts while ensuring your projects are secure. They’re a smart choice for environmentally mindful DIYers and professionals alike.
How Can I Remove Wall Anchors Without Damaging the Wall?
Think of removing wall anchors as gently unwinding a delicate thread. To avoid damaging drywall, pry the anchor out carefully with pliers or a flat tool, applying steady pressure. If a hole remains, use spackle to repair it smoothly. Sand lightly once dry, blending the repair seamlessly. This careful approach preserves your wall’s integrity, turning a simple task into an art of repairing holes without scars.
Conclusion
Mastering wall anchors and stud finders will turn you into a DIY superhero, capable of hanging anything without a single mishap! With these skills, you’ll conquer even the heaviest shelves and the most stubborn walls—no damage, no drama. So, gear up, stay precise, and watch your home improvement game skyrocket to legendary status. Before you know it, you’ll be the hero every project needs, wielding your tools like a pro with unstoppable confidence!