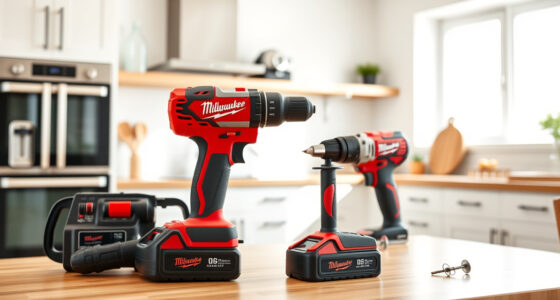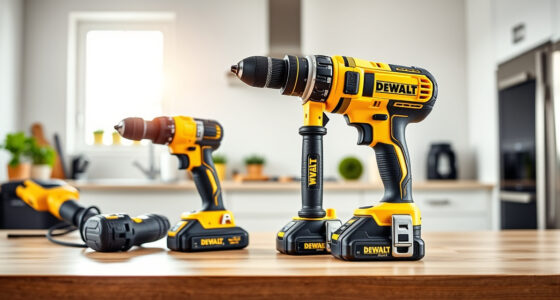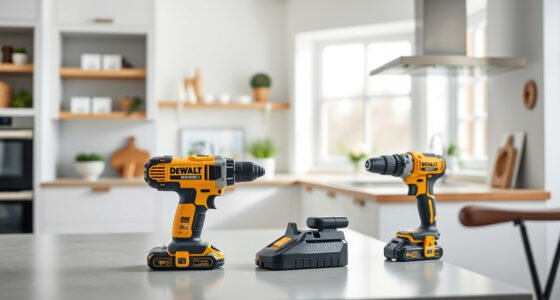
If your drill chuck keeps slipping, it’s likely due to improper tightening, wear, or debris buildup in the jaws. Make sure you’re tightening the chuck securely using the right tool and avoid over-tightening. Check for signs of damage or worn parts inside the chuck, and clean out any dust or shavings regularly. If issues persist, there may be internal damage needing replacement. Keep going to discover how to fix and prevent these common problems effectively.

Get business pricing on tools and workshop supplies
- Business-only prices and quantity discounts
- Tax-exempt purchasing
- Multiple users, one account, clear invoices
Key Takeaways
- Insufficient tightening or improper handling can cause the chuck to lose grip on the drill bit.
- Wear, cracks, or damage to the chuck’s jaws reduce its ability to hold bits securely.
- Debris, dust, or metal shavings in the chuck can prevent it from tightening properly.
- Over time, internal components may wear out, leading to decreased gripping power.
- Using the wrong size key or overtightening can damage the chuck, causing slipping during use.
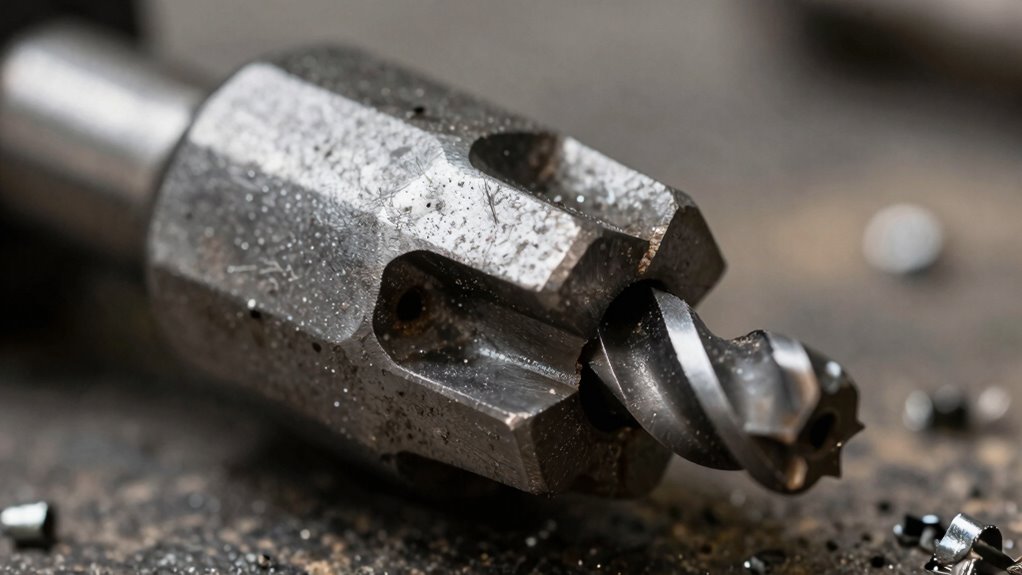
If your drill chuck keeps slipping, it can disrupt your work and compromise safety. This frustrating issue not only slows down your project but also increases the risk of accidents or damage to the material you’re working on. Understanding why this happens is key to fixing it quickly and preventing future problems. The primary cause often relates to the wear and tear of the chuck itself or improper use. To keep your drill functioning properly, you need to pay attention to safety precautions and perform regular maintenance tips. These simple steps can extend the life of your equipment and guarantee it performs reliably every time.
One common reason for slipping is that the chuck isn’t tightened enough. When you’re in a hurry or not paying close attention, you might forget to secure the bit properly. Always double-check that the drill bit is firmly seated and tightened before starting your work. Using the right size key or tightening mechanism is vital, especially when dealing with high-torque tasks. Over time, the chuck’s jaws can wear down or become loose, making it difficult for them to grip the bit securely. Regular maintenance tips include cleaning out debris, dust, and metal shavings from the chuck to assure smooth operation. Lubricating the moving parts with a light machine oil can also prevent rust and keep the jaws closing tightly. Additionally, inspecting the internal components for signs of damage or wear can help identify issues before they lead to slipping. Understanding the proper handling of your drill and practicing correct techniques can significantly reduce the risk of damage to the chuck or drill spindle.
Ensure the chuck is tightly secured and clean to prevent slipping and maintain optimal drill performance.
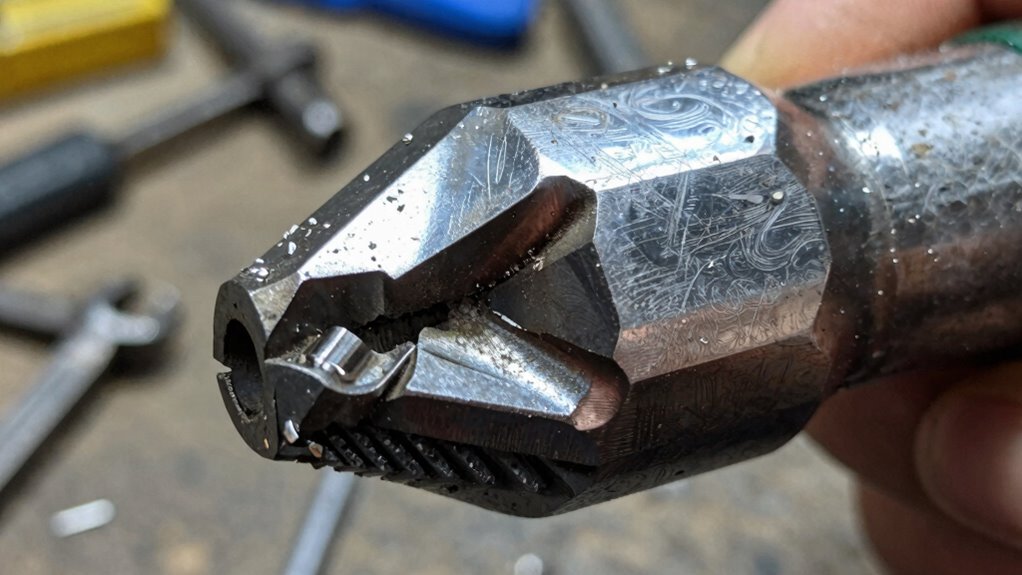
Another factor that can cause slipping is damage to the chuck’s internal components. If you notice cracks, deformities, or excessive wear, it’s time to replace the chuck altogether. Don’t ignore these signs, as continuing to use a damaged chuck increases safety risks and reduces efficiency. When replacing parts, always use compatible components and follow the manufacturer’s instructions. Proper safety precautions involve unplugging the drill before making adjustments, wearing eye protection, and keeping your work area clean to avoid accidents. Additionally, understanding the importance of proper maintenance can help prevent many common issues with drill chucks. Knowing how to handle and care for your drill correctly can significantly extend the lifespan of your equipment and ensure safe operation.
Additionally, improper handling or over-tightening can damage the chuck or the drill’s spindle, leading to slipping issues. Avoid forcing the chuck open or closed, and don’t overtighten it beyond recommended torque settings. Learning and following these safety precautions helps prevent damage and keeps your work safe. Remember, consistent maintenance, correct tightening procedures, and timely replacements are the best ways to guarantee your drill’s chuck stays secure. By paying attention to these details, you’ll avoid slipping problems and work more efficiently while protecting yourself and your tools.
As an affiliate, we earn on qualifying purchases.
Frequently Asked Questions
Can a Drill Chuck Slip Even When New?
Yes, a drill chuck can slip even when new. This often happens if the chuck material isn’t designed for the task or if the grip design isn’t secure enough. Low-quality materials or a poor grip design can cause slipping, especially under pressure. To prevent this, check that the chuck material is suitable for your work and make sure the grip design provides a firm, reliable hold.
How Do Temperature Changes Affect Chuck Grip?
Imagine your drill chuck as a handshake—firm when warm, but less so when cold. Temperature changes cause material expansion and thermal contraction, affecting the chuck’s grip. When it heats up, metal expands slightly, possibly loosening the grip; cooling causes contraction, tightening the hold. This fluctuation can make your chuck slip unexpectedly, especially if it’s not properly tightened or if materials aren’t designed to handle temperature swings.
Is It Safe to Force a Slipping Chuck?
No, it’s not safe to force a slipping chuck. Doing so can damage your drill and pose a safety risk. Instead, follow proper maintenance tips like cleaning and tightening the chuck correctly. Always wear safety precautions, such as gloves and eye protection, when working with power tools. If the chuck continues to slip, replace it or consult a professional to avoid accidents and guarantee your drill functions safely and effectively.
Can Applying Lubricant Prevent Slipping?
They say, “A stitch in time secures nine,” and that’s true for drill maintenance. Applying lubricant can help prevent slipping by reducing friction and keeping the chuck components moving smoothly. However, too much lubricant might cause slipping rather than prevent it. Use a light, appropriate lubricant for slipping prevention, and regularly check your chuck’s grip. Proper maintenance ensures your drill stays reliable and safe during use.
How Often Should I Replace a Worn Chuck?
You should replace a worn chuck as part of regular chuck maintenance whenever you notice signs of wear, such as slipping or difficulty tightening. Typically, the replacement frequency depends on usage, but you might consider swapping it out every few years if you use your drill often. Regular inspections help guarantee your chuck functions properly, preventing slips and maintaining peak performance. Always follow manufacturer recommendations for the best results.
As an affiliate, we earn on qualifying purchases.
Conclusion
If your drill chuck keeps slipping, don’t let frustration take over—this issue can feel as maddening as battling a mountain. Just remember, with a little troubleshooting and proper maintenance, you can tame this stubborn beast and get back to your projects with confidence. Keep your bits tight and your patience even tighter. Before you know it, you’ll be conquering DIY tasks like a hero, wielding your drill with the precision and power of a legend.
As an affiliate, we earn on qualifying purchases.
As an affiliate, we earn on qualifying purchases.
Fall yard work Picks
leaf blowers
As an affiliate, we earn on qualifying purchases.