
To assemble IKEA or flat-pack furniture smoothly, gather all parts and tools first, like a screwdriver, level, and rubber mallet. Follow instructions carefully and avoid rushing, taking your time with each step. Work on a stable surface, wear safety glasses if needed, and keep your workspace organized and well-lit. Asking for help with large pieces makes the process easier. Continue exploring these tips to guarantee your project stays safe and hassle-free.
Key Takeaways
- Organize all parts and hardware beforehand, using trays or containers for easy access during assembly.
- Follow the instruction manual carefully, taking your time and avoiding skipped steps.
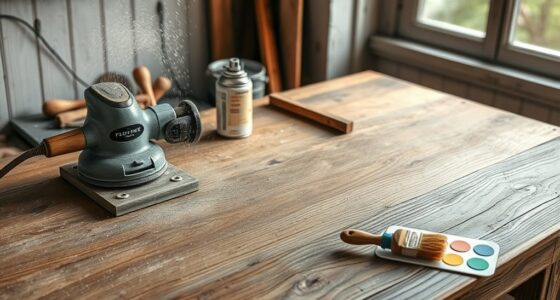
- Use essential tools like a Phillips-head screwdriver, power drill with adjustable settings, and a level for proper alignment.
- Work on a stable, well-lit surface and wear safety gear such as safety glasses when using power tools.
- Enlist help for large pieces, secure loose parts, and maintain a tidy workspace to ensure safety and efficiency.

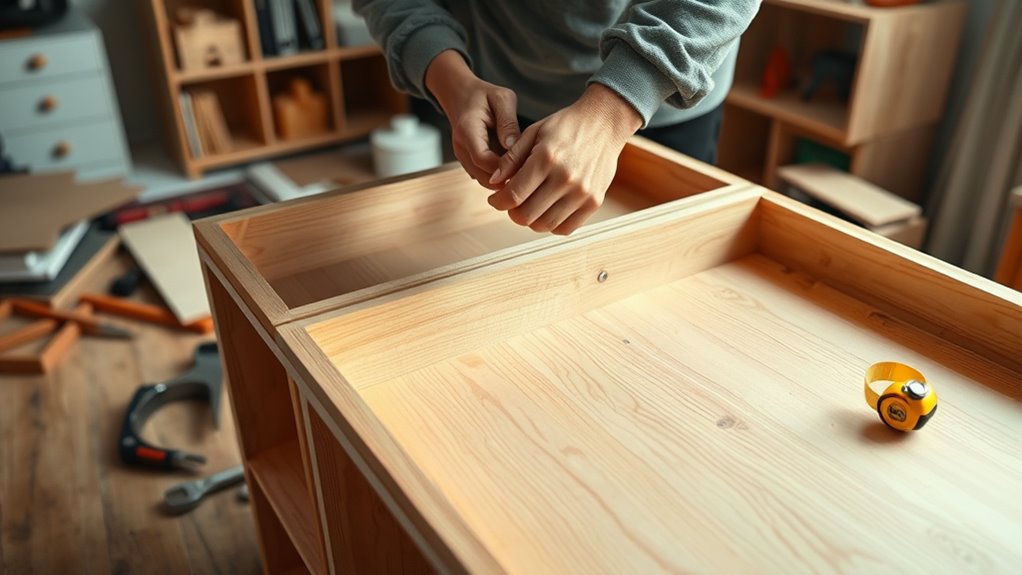
Have you ever wondered why assembling IKEA furniture often feels like solving a puzzle? It’s a common experience—you open the box, see a mountain of parts, and wonder how all these pieces fit together. But with a few DIY hacks, you can make the process smoother and more enjoyable. First, organize all the parts and hardware before you start. Lay out every screw, bolt, and piece, and cross-check them with the instruction manual. This helps prevent frustration later and saves time hunting for missing pieces. Using small containers or a tray for screws and bolts keeps everything accessible and prevents losing tiny parts.
Organize all parts and hardware before starting to make assembly smoother and more efficient.
When it comes to assembly, don’t rush. Take your time with each step, following the instructions carefully. A good DIY hack is to use a smartphone or tablet to display the manual so you can keep your workspace clear. Keep the manual nearby, and don’t skip steps—missing even one can cause issues down the line. As you work, remember to prioritize safety precautions. Always wear safety glasses when using power tools, and work on a stable, flat surface. If you’re using a drill or screwdriver, set the torque appropriately to avoid over-tightening, which can strip screws or damage parts. Keep your workspace well-lit so you can see small details clearly, and keep children or pets away from the area to avoid accidents.
Using the right tools makes a big difference. A Phillips-head screwdriver is essential, but consider adding a power drill with adjustable settings to speed things up. A rubber mallet can help gently tap pieces into place without damaging them, and a level ensures your furniture is perfectly aligned. Don’t forget to double-check connections as you go—tighten screws gradually and evenly to avoid putting stress on the furniture. When assembling larger pieces, ask for help if needed; teamwork reduces strain and makes the process quicker. Additionally, understanding the benefits of proper safety precautions can significantly reduce the risk of injury and damage during assembly.
Lastly, always follow safety precautions to prevent injuries. Secure loose parts, keep your work area tidy to avoid tripping hazards, and disconnect power tools when not in use. Remember, patience is key. Taking these precautions and applying simple DIY hacks turn what might seem like a formidable task into a manageable project. Before you know it, you’ll have sturdy, well-assembled furniture that looks great and lasts.
Frequently Asked Questions
How Long Does Typical Flat-Pack Furniture Assembly Take?
Typically, flat-pack furniture assembly takes about 1 to 3 hours, depending on the piece and your tool efficiency. Smaller items like side tables or shelves usually need less time, while larger units like wardrobes or beds may take longer. To speed up assembly, guarantee you have the right tools and follow instructions carefully. Staying organized and working methodically will help reduce the overall assembly time.
Can I Assemble IKEA Furniture Alone or Need Help?
You can definitely assemble IKEA furniture alone, but teamwork tips make it easier and safer. Solo assembly requires patience, organization, and the right tools. If you’re comfortable with DIY projects, you’ll manage well on your own; otherwise, don’t hesitate to ask for help. Remember, teamwork tips like sharing tasks, staying organized, and taking breaks guarantee a smoother process. Whether solo or with help, prioritize safety and enjoy the satisfaction of building your space.
What Should I Do if Parts Are Missing or Damaged?
If you find missing parts or damaged components, first double-check the packaging and your inventory. Contact IKEA customer service promptly, providing your order details and photos if possible. They can often send replacement parts quickly. Meanwhile, avoid forcing damaged pieces into place, as it might cause further issues. Staying patient and organized helps you resolve the problem efficiently, so you can finish your assembly smoothly.
Are There Eco-Friendly or Sustainable Options for Tools?
Sure, eco-friendly tools exist, so you don’t have to destroy a rainforest to assemble furniture. Look for tools made from sustainable materials like bamboo or recycled steel—think of it as giving your DIY project a green thumbs-up. These eco-friendly tools are just as effective, and you’ll feel good knowing you’re helping the planet while tightening those screws. Who knew sustainability could be so handy?
How Do I Disassemble Furniture for Relocation?
To disassemble furniture for relocation, start with the disassembly process by carefully removing screws and panels, keeping track of all hardware. Use labeled bags or containers for small parts and take photos to remember assembly order. Follow packing tips by wrapping pieces in bubble wrap or blankets to prevent damage. Keep tools handy, and document each step to make reassembly easier at your new location.
Conclusion
Now that you’ve got the tips and tools, assembling IKEA furniture becomes a manageable task. With patience and the right approach, you’ll transform flat packs into functional pieces in no time. Remember, isn’t it satisfying to see a pile of parts turn into something useful and beautiful? So, grab your tools, follow the steps, and enjoy the rewarding process of creating your perfect space—because you’re capable of turning simple parts into something special.