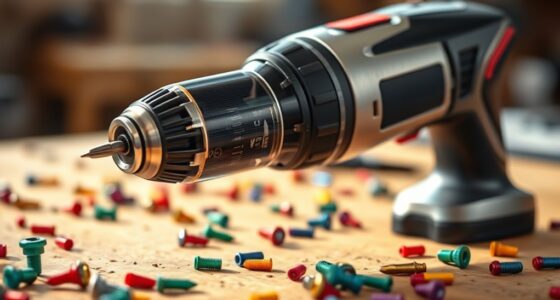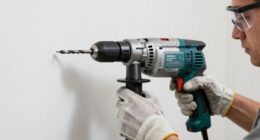
If your cordless drill isn’t working, start by checking the battery charge and making sure it’s fully charged or swapped out for a spare. Inspect the drill bit to ensure it’s tight and sharp, and verify that the chuck is secured properly. Clean any dust from vents and contacts, and test the switch for proper response. Troubleshooting these common issues can often restore function, and you’ll find more tips to fix your drill as you continue exploring the solutions.
Key Takeaways
- Check and fully charge or replace the battery, and clean contacts for a secure connection.
- Ensure the drill bit is the correct size, sharp, and securely tightened in the chuck.
- Inspect and clean motor vents and contacts; replace worn brushes if needed.
- Verify the trigger switch operates correctly and that the battery connection is secure.
- Perform regular maintenance, including cleaning dust and lubricating internal parts, to prevent overheating.
A cordless drill is a versatile tool, but when it stops working properly, it can be frustrating. One common issue is that the drill won’t turn on or seems to lose power unexpectedly. To troubleshoot this, start by checking the battery. Proper battery maintenance is essential for consistent performance. Ensure your battery is fully charged; if it’s old or hasn’t been charged in a while, it might not hold a full charge anymore. If the battery seems to be the problem, try charging it fully or swapping it with a spare if you have one. Sometimes, batteries develop poor connections or internal faults, so inspecting the contacts for dirt or corrosion and cleaning them gently can help. If charging doesn’t resolve the issue, consider replacing the battery, especially if it’s several years old, as worn-out batteries are a common culprit.
Check and charge your cordless drill battery regularly for optimal performance.
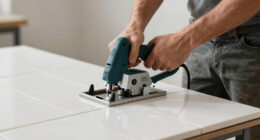
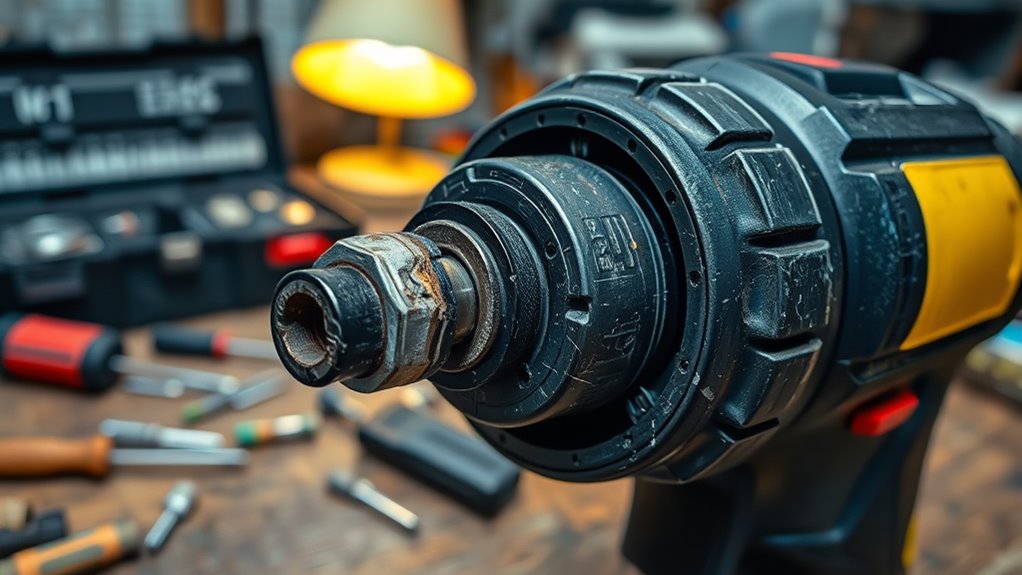
Another reason your drill may not work is improper drill bit selection. Using the wrong size or type of drill bit can cause the drill to stall or not perform as expected. Make sure you’re using a drill bit suitable for the material you’re working with, and that it fits tightly into the chuck. Loose bits slip or wobble, reducing efficiency and sometimes causing the motor to overwork or stop. When installing a new drill bit, tighten the chuck securely with the keyless or key-operated chuck to prevent slipping. Also, check that the drill bit is sharp; dull bits require more effort and can strain the motor, possibly triggering safety features or causing overheating.
If your drill runs but doesn’t seem to have enough power, it’s worth examining the battery connection and the motor itself. Sometimes, debris or dust inside the motor housing or on the contacts can hinder performance. Use compressed air to clean out dust from vents and contacts carefully. If your drill still underperforms, the brushes inside the motor might be worn out. Replacing brushes is a more advanced fix, but it can restore power if you’re comfortable working with small parts.
Additionally, ensuring that the electric motor is properly lubricated and free of obstructions can prevent overheating and maintain optimal function. Lastly, always remember to check the trigger switch. If it feels loose or doesn’t respond properly, the switch could be faulty. Replacing the switch might be necessary to restore full functionality. Regular maintenance, like keeping the battery contacts clean, using the correct drill bits, and ensuring the chuck is tight, can prevent many common problems. Troubleshooting doesn’t have to be complicated—start with the basics, and you’ll likely get your cordless drill back in working order quickly.

VEVOR 13-Gallon Air Compressor, 2HP, 4.6 SCFM@90PSI, Oil-Free Tank, 66dB Quiet Operation, Ideal for Tire Inflation, Woodworking, Auto Repairs, and Spray Painting (Maximum Pressure 125 PSI)
Built to Last: The 13-gallon large-capacity tank paired with a 2HP motor delivers fast air buildup in under...
As an affiliate, we earn on qualifying purchases.
Frequently Asked Questions
How Do I Reset My Cordless Drill’s Electronic Controls?
To reset your cordless drill’s electronic controls, first remove the battery and wait a few minutes to guarantee any residual power dissipates. Reinstall the battery, making sure it’s compatible with your drill to prevent issues. If your drill has overheating prevention features, allow it to cool down before use. Some models may require a specific reset button or sequence—check your user manual. This process helps clear glitches and restores proper function.
Can I Use a Different Brand Battery in My Drill?
Around 60% of drill users find battery compatibility issues cause their tools to stop working. You can’t always use a different brand battery in your drill, as brand differences often mean incompatible connections or voltage mismatches. Check your drill’s specifications first. Using the wrong brand or type can damage your tool or reduce performance. For safest results, stick with the original brand’s batteries or verified compatible alternatives.
What Is the Lifespan of a Typical Cordless Drill Battery?
A typical cordless drill battery lasts about 2 to 3 years with proper battery maintenance and good charging practices. To extend its lifespan, avoid letting the battery fully discharge regularly, and always store it in a cool, dry place. Keep the contacts clean and use the charger recommended by the manufacturer. By following these tips, you can maximize your battery’s performance and get the most out of your cordless drill.
How Do I Prevent My Drill From Overheating?
To prevent your drill from overheating, focus on battery maintenance and overheating prevention. Avoid overusing it continuously; take breaks to let it cool down. Keep the vents clean and ensure proper airflow around the drill. Also, don’t overload the tool beyond its capacity. Regularly check and maintain the battery, as a healthy battery helps prevent overheating. Proper usage and maintenance are key to extending your drill’s lifespan and performance.
Is It Safe to Use a Damaged Power Cord?
No, it’s not safe to use a damaged power cord. Damaged cord risks include electrical shorts, sparks, and potential fires, which can cause serious injury or damage your tools. Always prioritize power cord safety by inspecting cords regularly and replacing any with frays, cuts, or exposed wires. Using a damaged cord can compromise your safety and the drill’s performance, so avoid risks and get a proper replacement before continuing to work.

California Air Tools 8010 1.0 HP Ultra Quiet and Oil-Free Air Compressor, 8 Gallon Steel Tank, Lightweight with Wheels, 60 dBA Noise Level
ULTRA QUIET PERFORMANCE: The California Air Tools Ultra Quiet & Oil-Free Air Compressor operates at only 60 decibels,...
As an affiliate, we earn on qualifying purchases.
Conclusion
If your cordless drill isn’t working, don’t panic. Check the basics like battery charge, connections, and bits. For example, Sarah’s drill stopped working just before her project, but a quick battery recharge solved it. With a little troubleshooting, you can often fix common issues and get back to work quickly. Remember, most problems are simple to resolve—so stay patient and methodical. Your drill will be buzzing again in no time!

Klutch 29-Gallon Air Compressor, 2.5 HP, 120 Volts, 175 PSI
POWERFUL COMPRESSOR: Unleash the potential of your tools with this portable air compressor, the Klutch 29-Gallon Air Compressor's...
As an affiliate, we earn on qualifying purchases.

Air Compressor, 6-Gallon Pancake Air Compressor, MAX 175PSI, Compressor for Air Tools with 10 PCS Air Compressor Accessories Kit
【Portability】 The ECOMAX Air Compressor features a 6-gallon capacity, which optimizes both portability and air storage. This air...
As an affiliate, we earn on qualifying purchases.