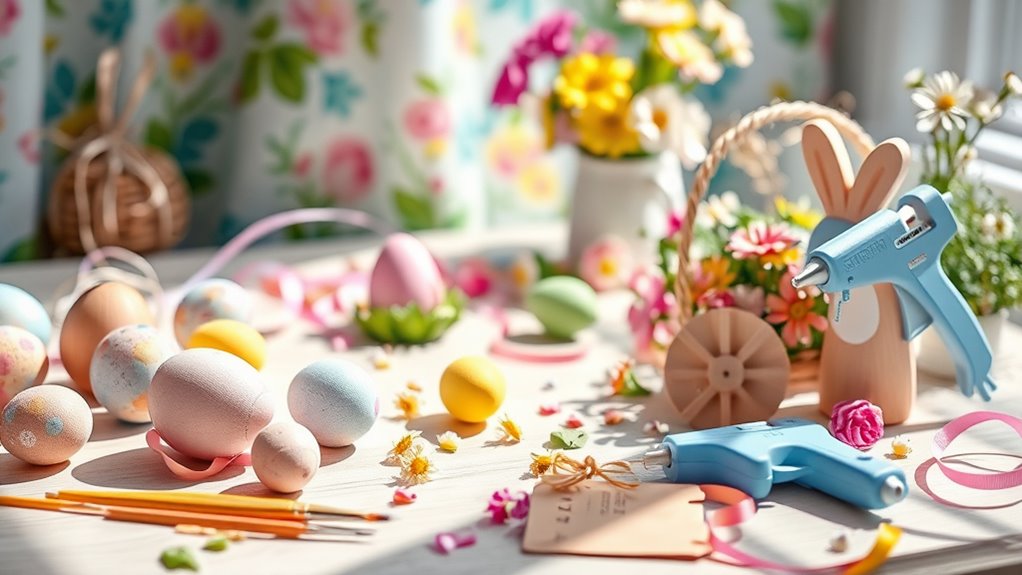

Create charming Easter décor with simple tools like glue guns, paints, and brushes. Craft a spring wreath by wrapping flowers and greenery around a base and adding painted eggs for vibrant accents. Paint eggs using acrylics or markers with fun patterns or designs to add a personal touch. Arrange your creations in bowls, on branches, or as table centerpieces to brighten your space. Keep exploring more ideas to make your celebration truly special.
Key Takeaways
- Create vibrant spring wreaths using faux flowers, greenery, and decorative accents like ribbons and bunnies.
- Paint and decorate eggs with acrylics, markers, or dye to make personalized Easter ornaments.
- Use basic tools like glue guns and brushes to craft Easter table centerpieces and seasonal displays.
- Incorporate painted eggs into DIY scenes, bowls, or branches for colorful, handcrafted decorations.
- Reuse and repurpose craft materials for sustainable, meaningful Easter décor with a personal touch.
Are you looking for fun and festive ways to celebrate Easter? Creating your own spring décor adds a personal touch to your holiday, and there are plenty of simple DIY crafts that can brighten up your space. One of the easiest ways to start is by making a beautiful spring wreath. You can gather supplies like a wire or foam wreath base, colorful faux flowers, greenery, and decorative accents such as ribbons or bunnies. Wrap the greenery and flowers around the wreath, securing them with hot glue as you go. For a more vibrant look, add some painted eggs nestled among the flowers. These painted eggs can be customized to match your color scheme, using acrylic paints to create polka dots, stripes, or even intricate patterns. Once dry, attach them securely to the wreath with glue or thin wire, ensuring they stay in place when hung on your door. This spring wreath will welcome guests with its cheerful charm and instantly evoke the spirit of Easter.
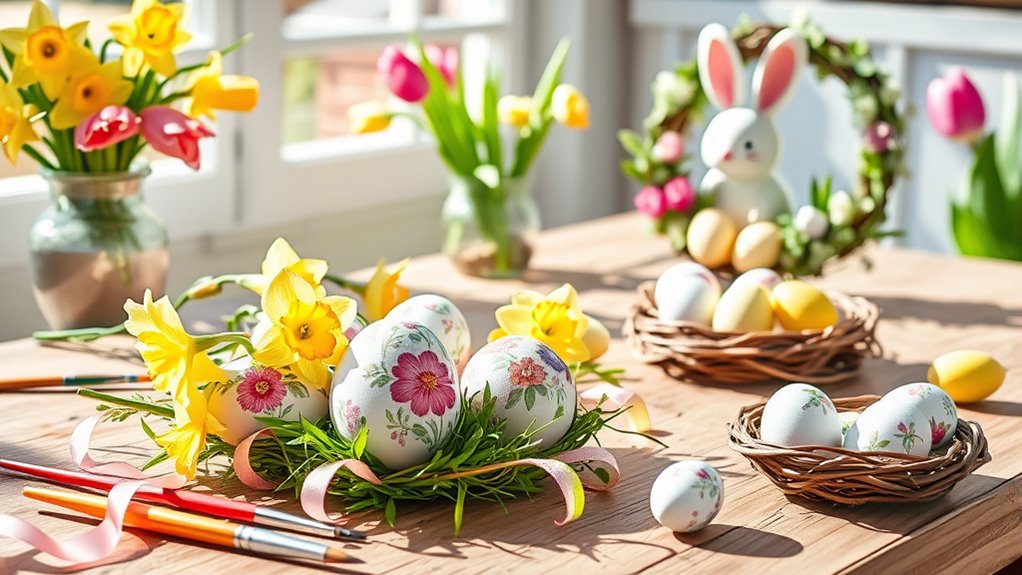
Beyond wreaths, painted eggs are a classic and versatile craft that can be as simple or elaborate as you like. Start with white or brown eggs, and use a variety of acrylic paints, markers, or even dye for different effects. You might choose traditional pastel hues, or experiment with bold, contrasting colors for a modern twist. Consider painting intricate patterns, floral designs, or cute characters like chicks and bunnies. If you want a more polished look, use stencils or masking tape to create clean lines and shapes. Once you finish painting, let the eggs dry thoroughly before displaying them in bowls, on branches, or as part of your table centerpiece. You can also make mini Easter scenes on the eggs using tiny brushes and fine detail work, transforming each one into a little piece of art.
These DIY projects don’t require advanced skills or expensive supplies, just a bit of creativity and some basic tools like glue guns, paints, and brushes. They’re perfect for involving kids in the fun, letting everyone contribute their personal touches. Plus, these crafts serve as memorable keepsakes that you can reuse and display year after year. Incorporating sustainable crafting practices, such as reusing materials or repurposing decorations, can make your Easter décor even more meaningful. Whether you’re hanging a spring wreath on your front door or filling a basket with your painted eggs, these DIY decorations will add a cheerful, homemade touch to your Easter celebration. So gather your materials, embrace your creativity, and enjoy making personalized décor that captures the joy and renewal of spring.
Frequently Asked Questions
What Are Budget-Friendly Materials for Easter Crafts?
You can find budget-friendly materials for Easter crafts in recyclable supplies like cardboard, paper towel rolls, and egg cartons. Inexpensive embellishments such as plastic eggs, faux grass, and colorful ribbons also add charm without breaking the bank. By repurposing everyday items and sourcing inexpensive decorations, you can create festive, beautiful décor that’s both fun to make and easy on your wallet.
How Can I Customize Crafts for Different Age Groups?
You can customize crafts for different age groups by choosing age-appropriate techniques, adjusting complexity, and ensuring safety considerations. For young children, opt for simple, colorful designs using non-toxic materials and avoid small parts. For teens and adults, incorporate more detailed techniques, sophisticated materials, and creative themes. Always keep safety considerations in mind, supervising younger crafters and selecting suitable tools, so everyone enjoys the process safely and creatively.
Are There Eco-Friendly Craft Supply Options?
Yes, you can definitely choose eco-friendly craft supplies. Look for recycled materials like paper, cardboard, and fabric to reduce waste. Biodegradable supplies, such as plant-based glues, natural dyes, and bamboo tools, help minimize your environmental impact. By selecting these options, you create beautiful spring décor while supporting sustainability. It’s easy to make your Easter crafts greener and more conscious with mindful choices in your supply list.
How Long Do DIY Easter Decorations Typically Last?
Your DIY Easter decorations can last anywhere from a few days to several weeks, depending on the materials and preservation tips you use. If you toss them out early, they’ll only last a blink—because who really wants lasting memories? To extend their lifespan, keep fragile items protected from sunlight and humidity, and consider sealing paint or glue. After all, the true joy is in the fleeting beauty, right?
Can These Crafts Be Made With Children Safely?
Yes, you can make these crafts safely with children by supervising them closely and choosing age-appropriate tools. Always guarantee kids use safe, simple tools and handle small parts carefully to prevent accidents. Keep a watchful eye during the craft session, and adapt projects to suit their age and skill level. That way, you both enjoy creating festive decorations while staying safe and having fun.
Conclusion
Now that you’ve got these Easter DIY crafts under your belt, your spring décor will shine brighter than the Easter Bunny’s smile! With just a few simple tools and your creative spirit, you can transform everyday items into stunning decorations that’ll wow everyone who visits. So go ahead, get crafty, and turn your home into the most festive, colorful Easter wonderland ever—because your DIY skills are truly out of this world!