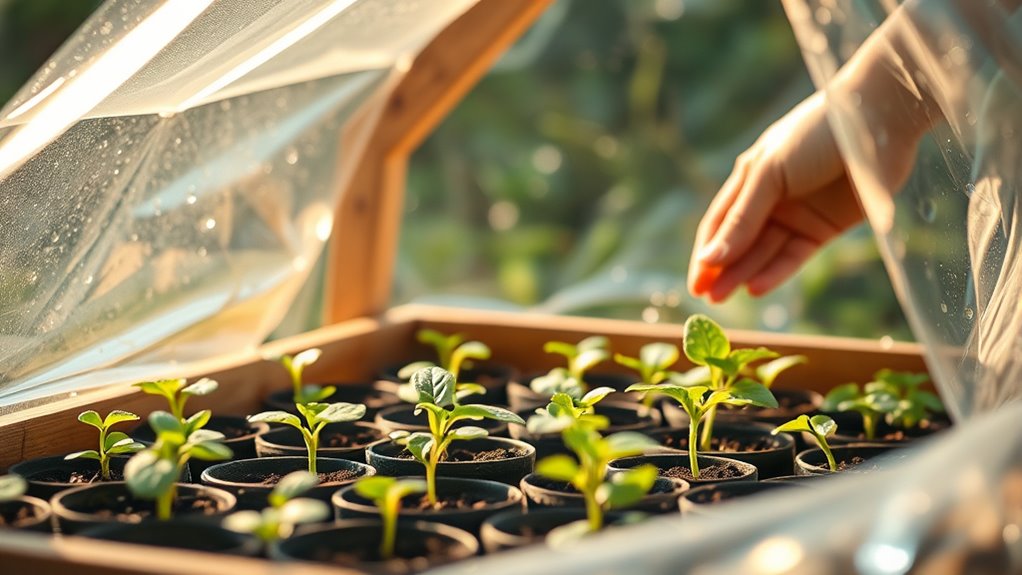

Building a simple DIY greenhouse is an affordable way to start seeds early and protect your plants. Use basic materials like clear plastic sheeting, wooden pallets, or old windows to create a frame that’s easy to assemble. Insulate with bubble wrap or foam panels, and add vents or small fans for airflow. Position it where it gets plenty of sun, and you’ll extend your growing season effortlessly. Keep exploring for more tips to optimize your homemade greenhouse.
Key Takeaways
- Use affordable, transparent materials like plastic sheeting or old windows to create a cost-effective, protective environment for seed starting.
- Position the greenhouse in a south-facing spot for maximum sunlight exposure and optimal seed germination.
- Insulate with foam panels or bubble wrap to maintain consistent warmth and improve seedling growth.
- Incorporate simple ventilation and heating solutions, such as vents or small space heaters, to control temperature and humidity.
- Make the structure portable with lightweight materials like PVC or scrap wood to adapt to seasonal changes and extend your growing season.
Ever wondered how to extend your growing season without breaking the bank? Building a simple greenhouse is a smart way to do just that, and it doesn’t have to be complicated or expensive. The key is understanding climate control and choosing the right DIY materials to keep your plants happy and healthy. When you create a homemade greenhouse, you’re in charge of temperature, humidity, and light—all crucial factors for seed starting and plant growth. By focusing on these elements, you can keep your plants protected from cold snaps, wind, and pests, giving you more control over your gardening success.
Start with basic DIY materials like clear plastic sheeting, wooden pallets, PVC pipes, or even repurposed windows. These materials are affordable and easy to work with, making your greenhouse project accessible even if you’re new to construction. For climate control, think about how to insulate and ventilate your structure. For example, using foam insulation panels or bubble wrap along the walls can help retain heat during colder months, while adjustable vents or small fans can improve airflow and prevent overheating on warmer days. You can even add a simple heating source, such as a heat lamp or a small space heater, to maintain consistent temperatures, especially during chilly nights.
Use affordable materials like plastic sheeting, pallets, PVC pipes, or repurposed windows for easy DIY greenhouse insulation and ventilation.
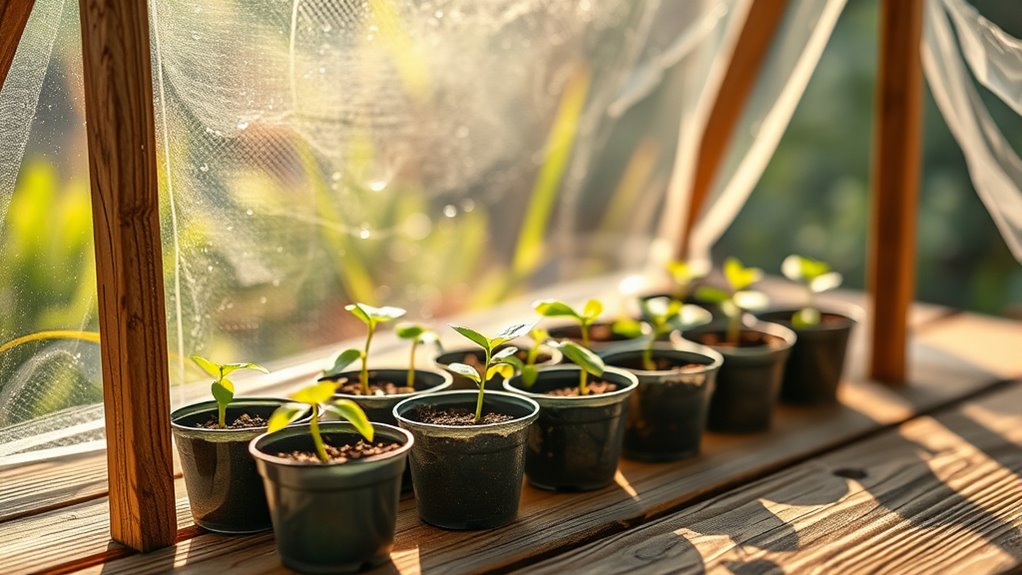
The design of your greenhouse should prioritize easy access and sufficient sunlight. Position it in a spot that receives ample natural light, ideally on a south-facing side if possible. Cover the frame with your chosen transparent material—plastic sheeting or repurposed windows—ensuring it’s taut and well-secured to prevent drafts and heat loss. A simple slope or pitched roof helps with water runoff and can optimize sunlight exposure. Remember, controlling the climate isn’t just about insulation and ventilation; it also involves monitoring your environment. A basic thermometer or hygrometer helps you keep an eye on temperature and humidity levels so you can make adjustments as needed.
Another tip is to create a small, portable frame that you can move as the seasons change, giving your plants the best growing conditions year-round. Using DIY materials like scrap wood or PVC, you can craft a lightweight, functional structure that’s easy to store or relocate. The goal is to build a space that’s affordable, effective, and tailored to your specific climate challenges. Once set up, you’ll find that managing climate control becomes second nature, and your seedlings will thank you with healthy growth and earlier harvests. Building your own greenhouse might take some effort, but with the right DIY materials and attention to climate control, you’ll enjoy a longer, more productive gardening season.

Greenhouse Plastic Sheeting 12 x 25ft – 6 Mil Clear Polyethylene Film, UV Resistant & Anti-Drip Heavy Duty Plastic Cover – Multi-Purpose Clear Tarp for Garden, Agriculture, and Construction (5-Layer)
【5-Layer Co-Extrusion Technology】 Engineered with advanced 5-layer technology for superior mechanical strength and flexibility. Our 6 mil plastic…
As an affiliate, we earn on qualifying purchases.
As an affiliate, we earn on qualifying purchases.
Frequently Asked Questions
What Materials Are Best for Building a DIY Greenhouse?
You should use recycled materials like old windows, plastic bottles, or pallets to build your DIY greenhouse, making it eco-friendly and cost-effective. For the transparent covering, opt for clear plastic sheeting or polycarbonate panels, which allow plenty of sunlight to enter while trapping heat. These materials are durable, affordable, and readily available, helping you create an efficient environment for starting seeds and growing plants.
How Much Does It Cost to Make a Simple Greenhouse?
You can build a simple greenhouse for around $50 to $200, depending on your materials and size. It’s a classic case of “you get what you pay for,” so good budget planning is key. Conduct a cost analysis to balance affordable supplies with durability. Using recycled or inexpensive materials like plastic sheeting and PVC pipes keeps costs low, while investing a bit more guarantees your greenhouse lasts through seasons.
How Do I Control Pests in My Homemade Greenhouse?
You can control pests in your homemade greenhouse by implementing pest prevention techniques like keeping the area clean and removing debris. Use natural repellents such as neem oil or companion planting to deter pests without chemicals. Regularly inspect your plants for early signs of pests, and isolate affected plants to prevent spread. These strategies help maintain a healthy environment, ensuring your seedlings thrive without pest issues.
What Is the Ideal Temperature for Seed Germination?
You’ll find that the ideal seedling temperature for successful germination is between 65-75°F, closely matching the warmth of a cozy room. When your seedling temperature hits this range, germination conditions become just right, encouraging sprouting. Keep in mind, maintaining consistent warmth is key—fluctuations can slow growth or cause poor germination. Use a thermometer to monitor and adjust your homemade greenhouse’s environment to guarantee excellent seedling success.
How Long Does It Take to See Seedlings Grow Inside?
You’ll typically see seedling progress within 7 to 14 days, depending on the plant type and conditions. Keep an eye on your growth timeline, as some seeds sprout faster than others. Maintain consistent warmth and moisture inside your homemade greenhouse to encourage healthy growth. If you notice no signs of seedlings after two weeks, check your temperature and watering practices to guarantee ideal conditions for germination and early development.

Bamworld 23 x 17 x 54-Inch Mini Greenhouses for Outdoors Portable Green House with PE Cover Sturdy Eucalyptus Wood Frame Small Greenhouse for Winter Plant Frost Protection Plant Garden Hot House
Premium Eucalyptus Wood & Enhanced Stability: Constructed from high-quality, naturally rot-resistant eucalyptus wood. Features custom-designed three-way connectors for…
As an affiliate, we earn on qualifying purchases.
As an affiliate, we earn on qualifying purchases.
Conclusion
Now that you’ve built your simple greenhouse, you’re ready to give your seeds a head start. With a bit of patience and care, you’ll enjoy lush seedlings and healthier plants. Remember, even in this modern age, a touch of old-world charm can make gardening all the more rewarding. So, don’t forget to keep it cozy and watch your green thumb flourish—after all, the secret to a thriving garden lies in your hands.

2 Car Garage Door Insulation Kit, 16 Pcs Double Bubble Panels Reflective Insulating Aluminum Radiant Barrier Thermal with Self Adhesive Dots Set for Garage Greenhouse Attics Walls (23.6 x 47.2 Inch)
SUPERIOR HEAT INSULATION – Designed with double-layer bubble technology and reflective aluminum coating, this garage door insulation kit…
As an affiliate, we earn on qualifying purchases.
As an affiliate, we earn on qualifying purchases.

Amico 12" Smart Shutter Exhaust Fan with Thermostat & 8 Speed, 1282 CFM (Up To 1600 Sq.Ft), 25W Energy Saving Brushless DC Motor, Wall Mount Garage/Attic/Greenhouse Vent Fan, Plug & Play, FCC
【Massive 1282 CFM Airflow & Wide Coverage】Dominate the heat with a powerful 1282 CFM airflow capability. Driven by…
As an affiliate, we earn on qualifying purchases.
As an affiliate, we earn on qualifying purchases.