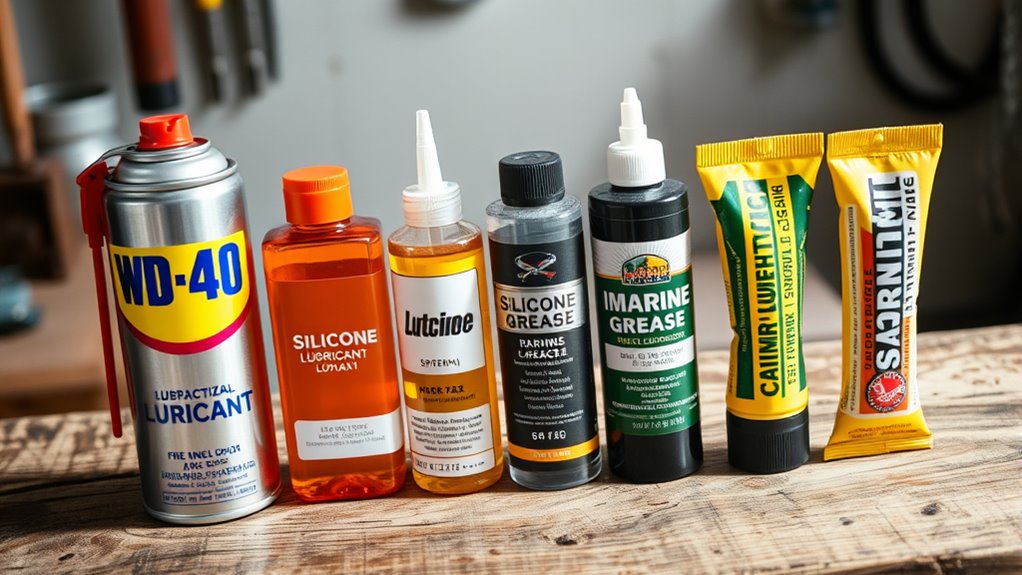

Beyond WD-40, you’ll want to familiarize yourself with lubricants like lithium grease for heavy-duty tasks, silicone spray for flexible parts, bar and chain oil for outdoor equipment, penetrating oil for rusted components, and dry lubricants for clean, dust-prone environments. Using the right lubricant for each job keeps tools smooth and prevents rust. Mastering these options will enhance your DIY projects and tool longevity—stick with us to discover how each one plays a key role.
Key Takeaways
- Use silicone spray for flexible, non-staining lubrication on hinges, locks, and rubber seals.
- Apply lithium grease for heavy-duty machinery and moving parts requiring long-lasting protection.
- Choose rust inhibitors or penetrating oils like PB Blaster for rusted or seized components.
- Opt for dry lubricants, such as graphite, for tools and equipment exposed to dust and dirt.
- Use specialty lubricants like electrical contact grease to protect sensitive electronic parts.

Lubricants are vital tools in any DIYer’s toolkit, helping to keep machines and moving parts running smoothly. Whether you’re tightening hinges, maintaining power tools, or working on outdoor equipment, choosing the right lubricant makes a significant difference. One of the main reasons to use lubricants is to support tool maintenance, guaranteeing your tools perform efficiently and last longer. Proper lubrication reduces friction, minimizes wear, and prevents parts from seizing or corroding over time. It’s not just about making things easier to move; it’s about protecting your investments and keeping your projects on track.
Lubricants protect tools, reduce wear, and extend their lifespan for smoother, more efficient DIY projects.
When it comes to tool maintenance, selecting a lubricant suited to the specific task is essential. For instance, light oils work well for small, moving components like hinges or locks, while heavier greases are better for larger machinery or parts that need more protection. Regularly applying lubricant prevents dirt and debris from settling into moving parts, which can accelerate wear and cause malfunction. You also want to pay attention to rust prevention. Rust is a common enemy, especially when outdoor tools are exposed to moisture or humid conditions. Many lubricants contain rust inhibitors that form a protective barrier on metal surfaces, preventing oxidation and corrosion. This layer acts as a shield, especially in storage or when tools are not in use for extended periods.
Your approach to tool maintenance should include routine lubrication. After each project, wipe down tools to remove dirt and moisture before applying a thin coat of lubricant. This simple step can save you from costly repairs or replacements down the line. When working on outdoor equipment, be mindful of environmental conditions—storing tools in dry, protected areas also helps keep rust at bay. For highly exposed metal parts, consider using a rust-specific lubricant or protective spray designed to withstand harsh weather. Additionally, understanding natural corrosion processes can help you better prevent rust and damage.
Another key point is understanding when to reapply lubricants. If you notice squeaking, stiffness, or increased effort to operate a tool, it’s a clear sign that lubrication is needed. Conversely, over-lubricating can attract dirt or create a mess, so apply just enough to coat the surfaces evenly. Keep in mind that some lubricants are designed for specific materials—using the wrong type can cause damage or reduce effectiveness. Reading labels and instructions ensures you’re selecting the right product for your particular maintenance tasks. Ultimately, incorporating proper tool maintenance and rust prevention practices with suitable lubricants helps you get more reliable, longer-lasting tools, making every DIY project smoother and more successful.
Frequently Asked Questions
Can I Use WD-40 as a Long-Term Lubricant?
You shouldn’t use WD-40 for long-term lubrication because it’s designed more for quick fixes and moisture protection. Its lubricant longevity is limited, and it can evaporate or wash away over time, leaving parts unprotected. For long-term lubrication, opt for products like silicone or lithium greases that are formulated for durability. This way, you guarantee your equipment stays well-lubricated and protected over extended periods.
Are There Eco-Friendly Lubricant Options for DIY Projects?
You can definitely choose eco-friendly lubricants for your DIY projects. While some might worry about effectiveness, biodegradable options and plant-based lubricants work just as well without harming the environment. These lubricants are designed for durability and smooth operation, making them perfect replacements for traditional products. By opting for these, you help protect the planet while maintaining your tools and projects efficiently.
How Do I Store Lubricants Properly?
You should store lubricants in a cool, dry place away from direct sunlight to prevent degradation. Use airtight containers to minimize exposure to air and moisture, which can cause spoilage or leaks. Choose containers made of durable, chemical-resistant materials like metal or high-quality plastic to prevent corrosion or leaks. Always tightly seal the containers after use, and keep them upright to avoid spills. Proper storage extends lubricant lifespan and maintains effectiveness.
Can Lubricants Damage Plastic or Rubber Parts?
Did you know that over 60% of plastic and rubber parts can be damaged by certain lubricants? Yes, some lubricants can harm plastic safety and rubber compatibility, causing cracking or degradation. Always check labels and use lubricants designed for plastics or rubber to prevent damage. By choosing the right product, you protect your parts and ensure long-lasting, effective lubrication without risking costly repairs.
What’s the Best Way to Clean Excess Lubricant?
To clean excess lubricant, start by wiping the area with a clean rag or paper towel. For stubborn residue, use a mild solvent like isopropyl alcohol or a dedicated cleaning solvent as an alternative to harsh chemicals. Gently scrub the area to remove any leftover lubricant, then wipe again with a clean cloth. Always test the solvent on a small area first to prevent damage to plastics or rubber.
Conclusion
Think of lubricants like trusty sidekicks in your DIY adventure—each with a unique skill set. Whether you’re sliding open a stubborn door or tuning a squeaky bike, having the right lubricant is like wielding a secret weapon. With these five essentials in your toolkit, you’re prepared to conquer any project with confidence. So, gear up, choose wisely, and let these lubricants be your allies on every fix and fix-it quest!