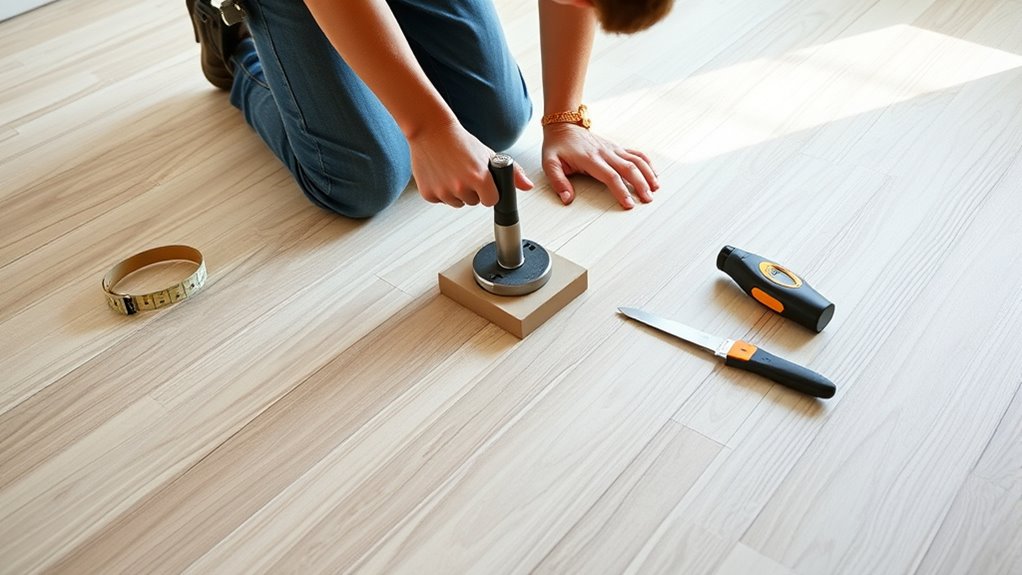

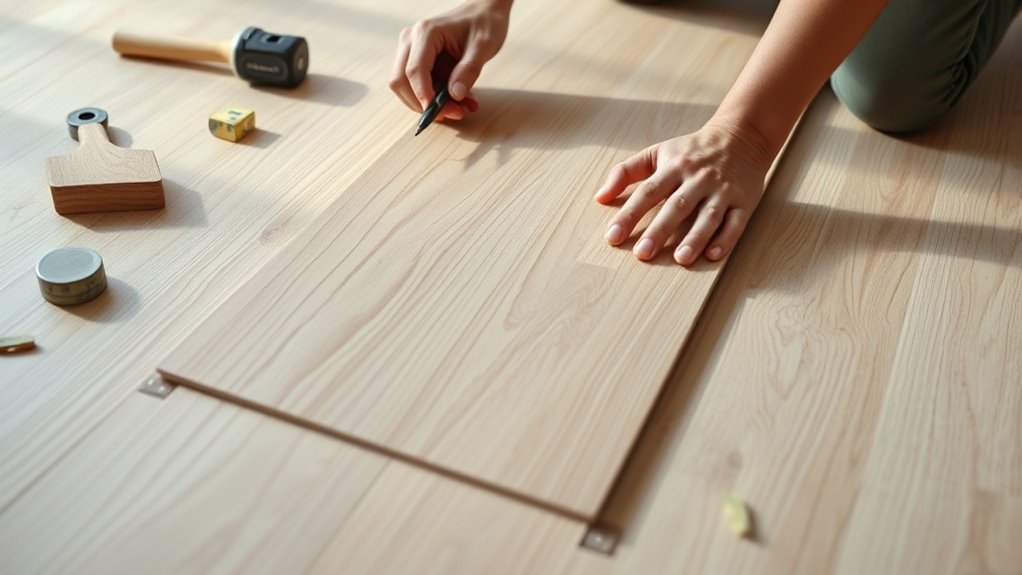
Start by gathering essential tools like a tape measure, tapping block, spacers, a hand or power saw, and a pull bar. Begin with a clean, flat subfloor, then lay down moisture-resistant underlayment, taping all seams securely. When installing the planks, use the tongue-and-groove system, leaving a 1/4 inch expansion gap around edges. Keep planks snug, check alignment often, and install changeover strips where needed. With these tips, you’ll achieve a professional, smooth finish—continue to learn more for perfect results.
Key Takeaways
- Use a tapping block and pull bar to ensure tight, secure planks during installation.
- Measure and cut underlayment accurately, overlapping seams and taping for a smooth base.
- Leave a 1/4 inch expansion gap around walls to accommodate flooring movement.
- Utilize spacers to maintain consistent gaps during laying and prevent misalignments.
- Double-check plank fit and alignment frequently to avoid gaps and ensure a professional finish.
Laying down laminate flooring is a straightforward process that can considerably enhance the look of any room. Before you start, you want to make sure the subfloor is clean, flat, and dry. Once the surface is ready, your first step is to focus on underlayment preparation. The underlayment acts as a cushion, providing soundproofing and moisture protection while helping the flooring expand and contract naturally. Roll out the underlayment, unroll it smoothly, and cut it to fit the room’s dimensions, ensuring all edges overlap slightly. Tape the seams together with moisture-resistant tape to prevent shifting during installation. Proper underlayment preparation is vital because it sets a stable foundation, reducing the risk of uneven areas or future squeaks.
Proper underlayment preparation ensures a stable foundation and prevents future squeaks.
As you begin laying the laminate planks, start along one wall, leaving a small expansion gap—usually about 1/4 inch—between the flooring and the wall. This gap allows for natural movement caused by temperature and humidity changes. As you work your way across the room, lock the planks into place using the tongue-and-groove system, applying gentle pressure to ensure a snug fit. Keep an eye on your measurements and align each row carefully, avoiding gaps or misalignments that can compromise the look and durability of your floor. Incorporating proper measurement techniques can help maintain consistency and precision throughout the installation.
Eventually, you’ll reach the last row, which might need trimming to fit. Here, transition strips come into play. Transition strips are essential for connecting your laminate flooring to other types of flooring or covering expansion gaps at doorways and thresholds. To install transition strips, cut the last row of planks to fit tightly, then secure the strip to the subfloor or threshold with nails or adhesive—depending on the type. Transition strips provide a clean, finished look and help bridge the height difference between floors, preventing tripping hazards.
Throughout the process, periodically check that your planks are tight and aligned, and don’t forget to leave space for expansion at all edges. When you’re done, install the transition strips at doorways or where the flooring meets different surfaces to guarantee a seamless transition. Taking care with underlayment preparation and properly installing transition strips not only makes your laminate flooring look professional but also extends its lifespan. With patience and attention to detail, you’ll end up with a stunning, durable floor that transforms your space.
Frequently Asked Questions
How Do I Prepare the Subfloor Before Laying Laminate?
You should start by cleaning the subfloor thoroughly to remove debris and dust. Check for levelness, filling any dips or high spots. Then, unroll the underlayment and cut it to size, ensuring it overlaps seams. Install a moisture barrier if needed, especially in damp areas, to prevent moisture from seeping up. This preparation creates a smooth, stable surface that helps your laminate flooring lay down perfectly.
What Are Common Mistakes to Avoid During Installation?
To avoid mistakes during installation, guarantee the subfloor is dry and free of moisture, which can cause warping. Don’t forget to leave expansion gaps around the edges to allow for natural expansion and contraction. Avoid rushing the process; measure carefully and lock the planks securely. Skipping these steps can lead to uneven flooring or gaps over time. Proper preparation and attention to detail ensure a smooth, long-lasting install.
How Do I Handle Doorways and Thresholds?
Handling doorways and thresholds is like crossing a busy street—you need careful planning. When tackling doorway changes, measure and cut your planks precisely to fit snugly under the door jambs. For threshold installation, use a threshold strip to bridge the gap smoothly. Always leave a gap for expansion, then secure the transition pieces tightly. Properly managing these areas ensures your flooring looks seamless and professional, avoiding future squeaks or shifts.
What Is the Best Way to Cut Laminate Planks?
To cut laminate planks effectively, choose a fine-tooth blade, like a circular saw or a jigsaw, for smooth edges. Use edge trimming to get precise, clean cuts, especially around doorways or irregular spaces. Measure carefully, mark your cut line, and secure the plank to prevent movement. Always wear safety gear and make slow, controlled cuts to avoid chipping and ensure a professional finish.
How Do I Maintain and Clean Laminate Flooring After Installation?
A stitch in time saves nine, so keep your laminate flooring looking its best. Regularly vacuum to prevent dirt from scratching the surface, and clean spills immediately with a damp cloth. Use gentle stain removal methods for stubborn spots, avoiding harsh chemicals. Maintain your vacuum to guarantee it works effectively, and always follow manufacturer instructions. With consistent care, your laminate flooring stays beautiful and durable for years to come.
Conclusion
Now that you know the tools and tricks for a smooth laminate flooring install, you’re ready to tackle the project confidently. Did you know that proper preparation can reduce installation time by up to 30%? Taking your time with measurements and using the right tools guarantees a seamless finish. With patience and attention to detail, you’ll have a stunning new floor that transforms your space—so get started and enjoy the satisfying results of your handiwork!