
To build a DIY pegboard wall for organizing your tools, measure your space and select a sturdy backing like plywood or pre-made pegboard. Install hooks and brackets at comfortable heights, grouping similar tools for easy access. Reinforce and level your setup for durability and efficiency. Customizing with labels, shelves, or bins helps tailor the system to your needs. Keep exploring to discover helpful tips and tricks for creating a practical and organized workspace.
Key Takeaways
- Measure wall space and select a suitable pegboard or plywood for mounting your tool rack.
- Install sturdy hooks or brackets at comfortable heights to hang tools efficiently.
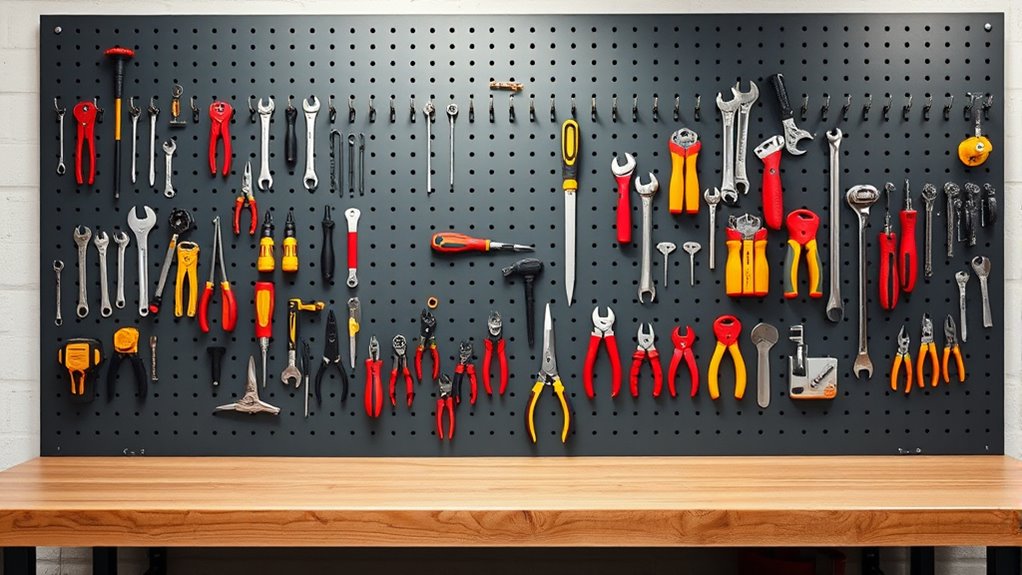
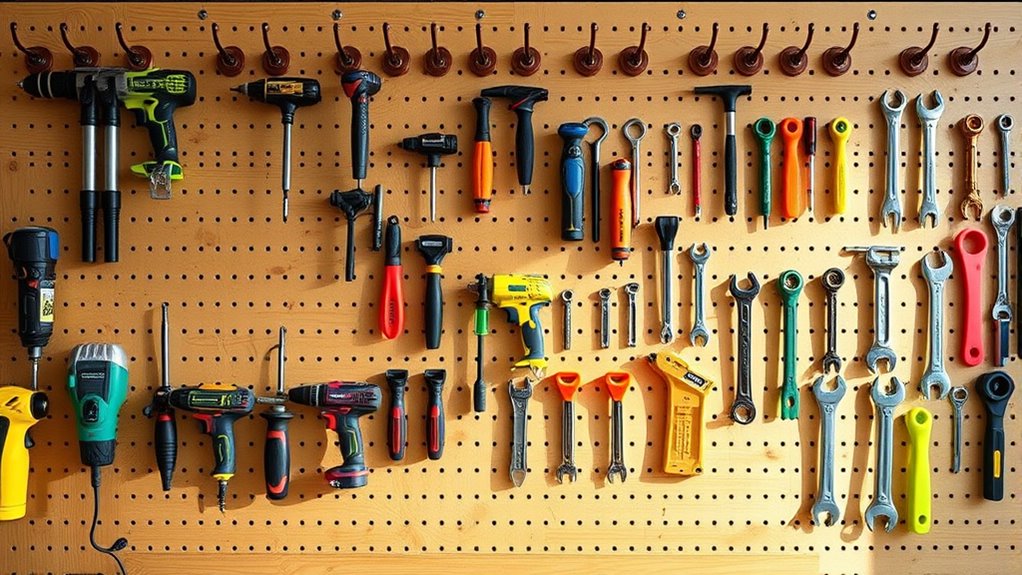
- Organize tools by type or usage, creating designated zones for easy access and clutter reduction.
- Add small shelves or bins for storing nails, screws, and small accessories within the pegboard system.
- Customize and adjust the layout over time to accommodate new tools and enhance overall organization.
Ever wondered how to organize your tools efficiently and keep your workspace tidy? Building a DIY pegboard wall is a fantastic way to create effective storage solutions that make finding and accessing your tools quick and easy. When it comes to organizing, wall mounting your tools is a smart choice because it frees up valuable bench space and keeps everything within arm’s reach. Plus, a pegboard offers versatility—you can customize it to fit your specific needs, whether you’re storing hand tools, power tools, or accessories.
Organize your workspace with a DIY pegboard wall for easy tool access and maximum efficiency.
To get started, you’ll need some basic materials: plywood or a pre-made pegboard, hooks, and mounting hardware. When selecting your storage solutions, consider the types of tools you own and how often you use them. Installing a sturdy wall-mounted pegboard allows you to hang tools in a way that’s both accessible and visible. This prevents clutter from piling up and reduces the risk of misplacing important tools. Wall mounting also helps you utilize vertical space, which is especially valuable in smaller workshops or garages.
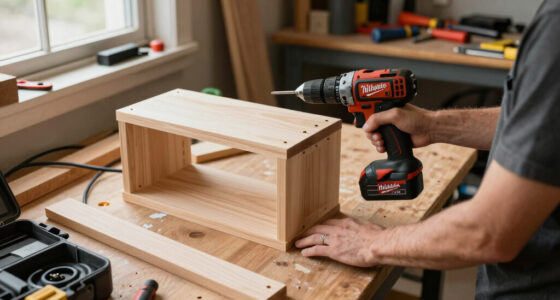
Before installing, measure your available wall area carefully. Decide where you want the pegboard to go, ensuring it’s at a comfortable height for easy access. Mark the spots for your mounting brackets or screws, making sure they’re level for a tidy look. Use a drill to secure the brackets or hooks into the wall, and then hang your pegboard. If you’re attaching a plywood board instead, reinforce it with a frame or backing to prevent warping over time. Once mounted, start organizing your tools by hanging them on hooks, arranging similar items together, and creating designated zones for different tool types.
The key to an effective DIY pegboard wall is flexibility. You can add or reposition hooks as your collection of tools grows or changes. Consider installing small shelves or bins for storing smaller items like nails, screws, or tape. Labeling sections can also help you quickly locate what you need, saving time during projects. Remember, the goal is to make your workspace more efficient and enjoyable, so take your time to plan your layout and choose storage solutions that suit your workflow.
Building a tool rack with a wall-mounted pegboard is a simple yet powerful upgrade for any workshop. It not only enhances organization but also boosts productivity by keeping your tools visible and within easy reach. With a little effort, you’ll create a customized storage system that makes working on your projects more enjoyable and less frustrating. Plus, the satisfaction of having a neat, organized space is well worth the effort.

Spampur Peg Board, 4 Pack Metal Pegboard Panels with 50 Hooks, Black Pegboards Wall Organizer, Heavy Duty Peg Board for Walls Home, Garage Tool Storage, Office Organization, Craft Room, Kitchen
- Durable Metal Construction: High-quality steel with scratch-resistant finish
- Strong Weight Capacity: Supports up to 50 lbs per panel
- Customizable DIY Design: Combine panels for various wall sizes
As an affiliate, we earn on qualifying purchases.
As an affiliate, we earn on qualifying purchases.
Frequently Asked Questions
What Are the Best Materials for a Durable Pegboard?
When choosing materials for a durable pegboard, you should prioritize high-quality options like MDF, PVC, or metal, as they excel in durability factors. Consider material selection carefully, focusing on strength, moisture resistance, and weight capacity. Metal pegboards, especially steel, offer superior durability, while PVC provides corrosion resistance, making it ideal for humid environments. These materials guarantee your tool rack stays sturdy and reliable over time.
How Do I Prevent My Tools From Slipping off the Pegs?
Think of your tools as trusted companions, needing secure holds. To prevent slipping off the pegs, use non-slip grips or peg protectors, which act like gentle hands, keeping tools steady. These accessories provide extra friction and cushioning, ensuring your tools stay put during work or storage. By adding non-slip grips and peg protectors, you create a safer, more organized space, where every tool is firmly in place, ready when you need it most.
Can I Customize the Pegboard Layout for Specific Tools?
Yes, you can customize your pegboard layout for specific tools by using adjustable tool hooks. These hooks allow you to easily rearrange and tailor the layout to fit various tools perfectly, maximizing space and accessibility. With custom pegboard layouts, you can create designated spots for each tool, making your workspace more organized. Simply move the adjustable hooks around as needed to accommodate different sizes and shapes of tools.
What Weight Can a Standard Pegboard Hold Safely?
A standard pegboard can typically hold around 50 pounds safely, but this depends on the material durability. If your pegboard is made of high-quality, sturdy material like thick MDF or metal, it might support more weight. Always check the manufacturer’s specifications for pegboard weight limits, and verify you use appropriate anchors and hooks to distribute the load evenly, preventing damage and ensuring safety.
How Do I Maintain and Clean My DIY Tool Rack?
To keep your DIY tool rack in top shape, regularly dust and wipe it down with a damp cloth using gentle cleaning methods. Check for loose hooks or fasteners and tighten them as needed for maintenance tips. Avoid harsh chemicals that could harm the surface. Periodic cleaning and inspections guarantee your pegboard stays sturdy and organized, making tool access easy and safe over time.

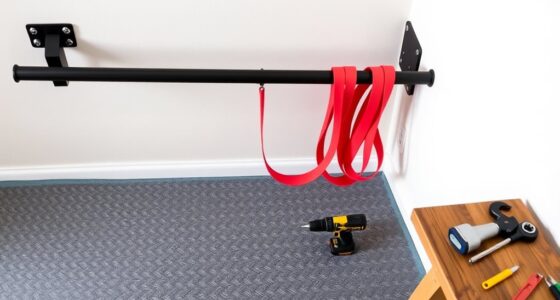
PIYILO 48 in Garage Tool Organizer Wall Mount, Adjustable Tool Storage Rack
- Versatile Organization System: Includes six double-layer hooks and three rails
- Compatible with Standard Stud Spacing: Fits 16-inch on-center studs for easy mounting
- Easy Wall Mounting: Includes hardware for quick installation and customization
As an affiliate, we earn on qualifying purchases.
As an affiliate, we earn on qualifying purchases.
Conclusion
By building this pegboard wall, you’re not just organizing tools—you’re creating a foundation for your craftsmanship and growth. Each hook and shelf symbolizes your readiness to take on new projects and challenges. This simple yet sturdy rack reminds you that order in your workspace reflects clarity in your mind. As your tools hang neatly, so too can your ideas and ambitions, proving that with a little effort, you can turn chaos into a space of endless possibility.
PIYILO 48 in Garage Tool Organizer Wall Mount, Adjustable Tool Storage Rack
- Versatile Organization System: Includes six double-layer hooks and three rails
- Compatible with Standard Stud Spacing: Fits 16-inch on-center studs for easy mounting
- Easy Wall Mounting: Includes hardware for quick installation and customization
As an affiliate, we earn on qualifying purchases.
As an affiliate, we earn on qualifying purchases.

Daanxw Peg Board Kit, Includes Pegboard and Accessories,with Hooks and Bins,Peg Board Wall Organizer for Office,Ornaments Display,Crafts Organization (66, Black)
- Material: High-quality steel with powder coating
- Size: 12 x 12 inches per panel
- Customization: DIY shape and size options
As an affiliate, we earn on qualifying purchases.
As an affiliate, we earn on qualifying purchases.