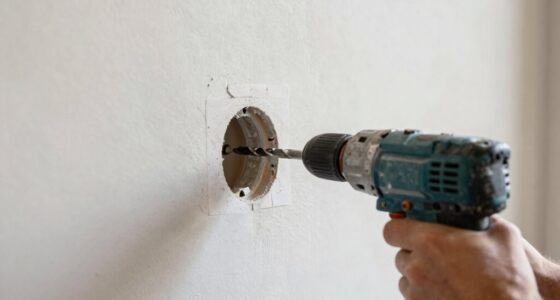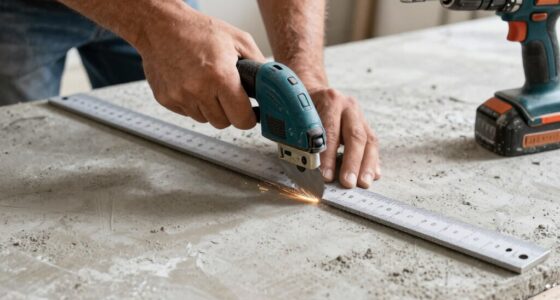
To replace rotten exterior boards, you’ll need a combination of power tools like a circular saw for precise cuts, a reciprocating saw for awkward angles, and a power saw for quick, clean removal. Hand tools like a pry bar help lift damaged boards without damaging surrounding siding. Choosing the right tools and using them safely guarantees a professional, long-lasting repair. If you keep exploring, you’ll discover more tips for a successful project.
Key Takeaways
- Use a power saw, like a circular or reciprocating saw, for fast, precise cuts on damaged boards.
- Employ a pry bar to carefully remove rotten boards without damaging surrounding siding.
- Select sharp, appropriately sized blades for wood to ensure clean cuts and safe operation.
- Always wear eye and ear protection when operating power tools to ensure safety.
- Follow proper techniques and safety guidelines to achieve durable, professional repairs.
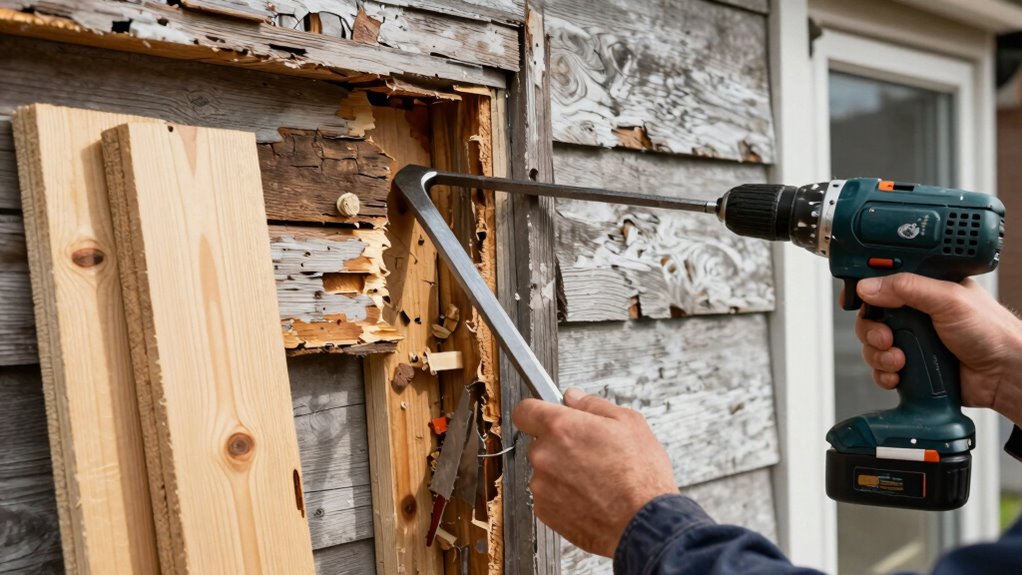
When it’s time to replace rotten exterior boards, having the right tools makes the job safer and more efficient. The first essential tool you’ll need is a power saw. A power saw allows you to cut through damaged boards quickly and cleanly, saving you time and effort. Choose a circular saw or a reciprocating saw depending on the size and thickness of the boards. A circular saw is great for straight, precise cuts on larger sections, while a reciprocating saw offers more flexibility for awkward angles or smaller cuts. Make sure your saw has a sharp blade suited for wood, and always wear eye and ear protection to stay safe during operation.
Next, you’ll want a pry bar, which is critical for removing rotten boards without damaging the surrounding siding. With a pry bar, you can carefully lift the damaged board away from the wall, providing space to work and preventing unnecessary destruction. To use it effectively, slide the pry bar behind the rotten board, applying steady pressure to loosen it from nails or fasteners. Be gentle at first to avoid damaging the underlying structure or the siding that still remains intact. If the board is stubborn, leverage the pry bar gradually, and consider using a hammer to tap it deeper under the board if needed. This tool gives you control, making removal safer and less labor-intensive. Understanding the importance of proper tool selection can greatly improve the quality and safety of your repair work.
Additionally, knowing how to safely operate these tools is essential for preventing accidents and ensuring a successful repair. Proper tool maintenance also plays a vital role in keeping your equipment functioning correctly and safely over time. Having these tools in hand streamlines the replacement process and reduces the risk of accidents. The power saw speeds up your cuts, while the pry bar gives you the leverage needed to carefully remove damaged boards. Recognizing the importance of safety precautions** can significantly reduce the likelihood of injury during your project. With proper technique and safety precautions, you’ll find that replacing rotten exterior boards** becomes a manageable task. Investing in quality tools and knowing how to use them correctly makes all the difference in achieving a durable, professional-looking repair.
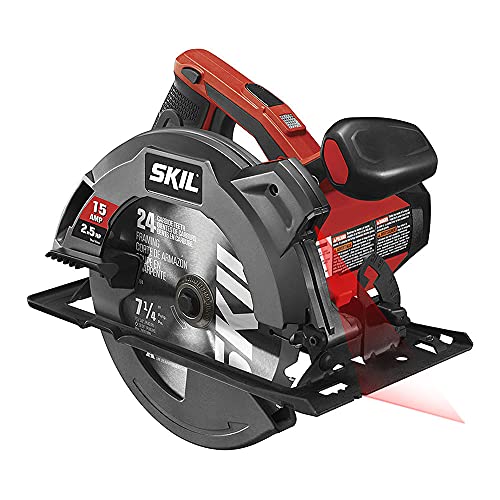
SKIL 15 Amp 7-1/4 Inch Circular Saw with Single Beam Laser Guide – 5280-01
- Powerful Motor: 15-amp motor with 5300 RPM
- Included Blade: 7-1/4 inch carbide-tipped blade
- Easy Blade Changes: Spindle lock for quick blade swaps
As an affiliate, we earn on qualifying purchases.
As an affiliate, we earn on qualifying purchases.
Frequently Asked Questions
How Do I Identify Rotten Exterior Boards Early?
You can identify rotten exterior boards early by inspecting your home regularly, looking for soft spots, discoloration, or mold. Tap the wood; a hollow sound indicates decay. Use a screwdriver to check for looseness or crumbling. Applying wood treatment and weatherproofing techniques can prevent rot, but early detection helps you address problems before extensive damage occurs. Keep an eye out for peeling paint or warping, which also signal potential issues.
What Safety Gear Is Recommended During Replacement?
You should wear protective gloves and safety goggles during replacement to stay safe. Gloves protect your hands from splinters, sharp nails, and debris, while goggles shield your eyes from dust, flying particles, or accidental impacts. Always make sure your safety gear fits well and is in good condition. Wearing these essentials minimizes risks, allowing you to focus on the task and complete the job efficiently without injury.
Can I Replace Boards Without Professional Help?
Replacing rotten exterior boards without professional help is doable if you follow DIY tips, but be cautious of common mistakes like underestimating the task or neglecting safety. Think of it like fixing a leaky faucet—simple if you know the steps, but tricky if you rush. With patience and proper tools, you can tackle this project yourself. Just remember, research thoroughly and don’t skip safety precautions to avoid costly errors.
How Long Does It Typically Take to Replace Exterior Boards?
Replacing exterior boards usually takes a day or two, depending on the extent of damage. If you notice paint peeling or signs of insect infestation, it might take longer to make sure all rot and pests are removed. You’ll need time to carefully remove damaged boards, treat the area, and install new ones. Proper preparation prevents future issues, so don’t rush the process. Patience guarantees a durable, long-lasting repair.
What Maintenance Prevents Future Board Rot?
You can prevent future board rot by applying paint protection, which seals the wood and shields it from moisture. Improving ventilation around your exterior walls allows air to circulate, reducing humidity and dampness that cause rot. Regularly inspecting and maintaining your siding also helps catch issues early. Combining these efforts keeps your exterior boards dry and protected, extending their lifespan and maintaining your home’s appearance.

DEWALT 20V MAX XR Reciprocating Saw Cordless, Brushless, Compact,Variable Speed, Pivoting Head, LED Light, Tool Only (DCS367B)
- Extended Runtime: Up to 2.5x more runtime
- Compact Design: 14.5-inch length for tight spaces
- Lightweight and Easy to Maneuver: Weighs only 5 lbs.
As an affiliate, we earn on qualifying purchases.
As an affiliate, we earn on qualifying purchases.
Conclusion
Replacing rotten exterior boards is essential for your home’s safety and curb appeal. With the right tools, you can tackle this project efficiently and confidently. Did you know that neglecting damaged siding can decrease your home’s value by up to 10%? Don’t wait until minor issues turn into costly repairs. Equip yourself with the proper tools, and you’ll protect your investment while enhancing your home’s beauty. Start today—your home deserves the best care.

LitKiwi 1PCS Wooden Vinyl Siding Removal Tool for Installation and Repair
- Durable Steel Construction: Sturdy, integrally formed steel for longevity
- Ergonomic Wooden Handle: Non-slip, comfortable grip for ease of use
- Easy Vinyl Siding Removal: Disassembles siding quickly without damage
As an affiliate, we earn on qualifying purchases.
As an affiliate, we earn on qualifying purchases.

EZARC Arc Edge Reciprocating Saw Blades, 15-Inch 6TPI for Pruning, 3-Pack
- Blade Length: 15-inch extra long arc edge
- Cutting Efficiency: Fast coarse cut with Japanese teeth
- Design Innovation: Arc edge with triple-ground teeth
As an affiliate, we earn on qualifying purchases.
As an affiliate, we earn on qualifying purchases.