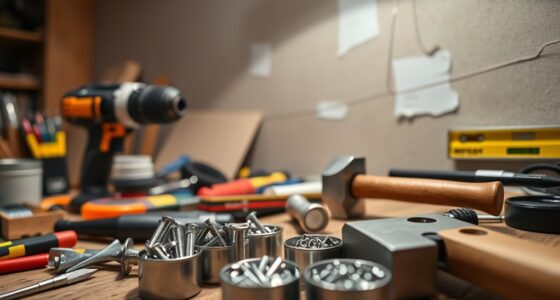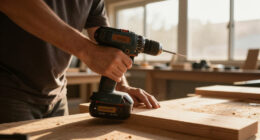
To make installing crown molding easier, gather essential tools like a miter saw, nail gun, coping saw, level, and clamps. Measure carefully and mark where each piece will go, then cut precise angles for corners. Use a level to keep everything straight, and fit pieces before nailing to guarantee seamless joints. Fill gaps and sand for a polished finish. Keep these tips in mind, and you’ll master DIY trim work in no time.
Key Takeaways
- Use a miter saw to make precise angled cuts for corners and seamless joints.
- Employ a coping saw for complex corner joints to ensure tight, professional fits.
- Clamp molding securely during fitting to prevent shifting and ensure accurate placement.
- Select the right nail gun and fasteners suited for your material (wood, MDF, or PVC).
- Always measure twice, double-check angles, and level each piece for a clean, professional finish.
Ever wondered how to add a polished, professional touch to your room? Crown molding is the perfect way to elevate your space, but getting it just right can seem intimidating. The key lies in understanding the right installation techniques and making informed material comparisons. With the right approach, you can achieve a beautifully finished look without hiring a pro.
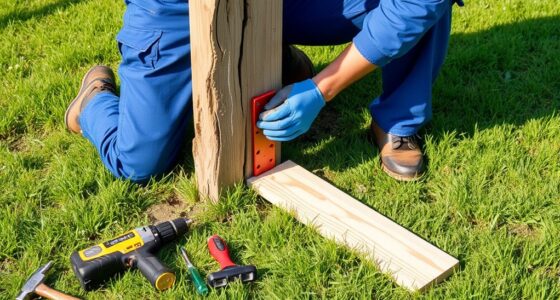
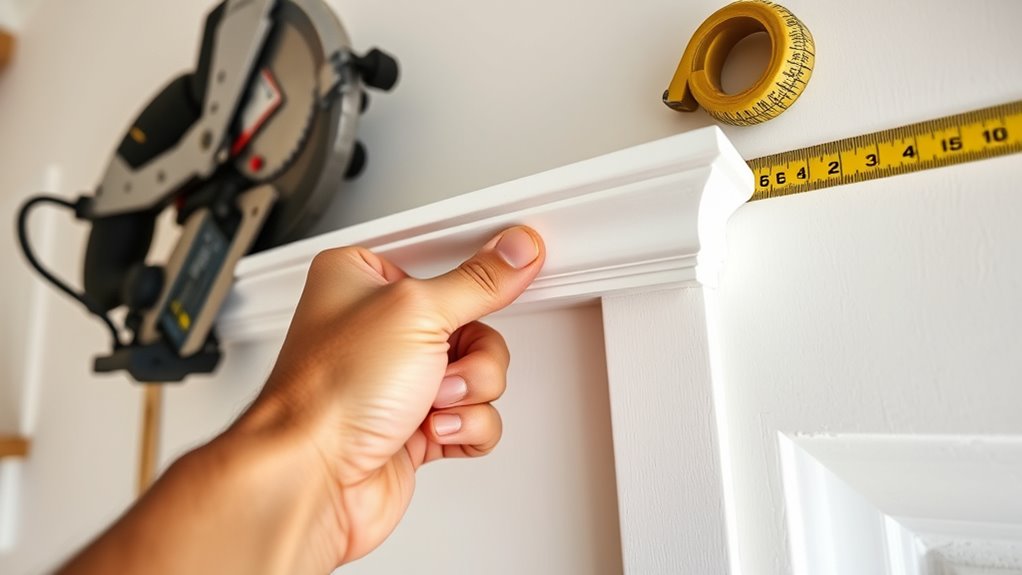
First, focus on your installation techniques. Properly preparing your workspace is essential. Measure your walls carefully, marking where each piece of molding will go. Use a miter saw to cut your pieces at precise angles—most crown molding requires 45-degree cuts for corners. When cutting, remember that crown molding is installed with the back edge resting against the wall and ceiling, so your cuts should reflect this orientation. To guarantee seamless joints, take your time fitting each piece before nailing. Clamps can help hold pieces in place during assembly, and a nail gun speeds up the process, providing clean, consistent nails. If you’re working with complex corners, a coping saw can help create tight joints that look professional. Always double-check your measurements and test-fit pieces before attaching them permanently. Using a level helps keep your crown molding straight, especially on uneven walls. Finish by filling nail holes and seams with wood filler, then sanding smooth before painting or staining. Additionally, choosing the right material can influence both the ease of installation and the final appearance.
Next, consider material comparisons to find the best fit for your project. Wood remains the classic choice, offering a natural look and easy customization, but it can be more expensive and susceptible to warping over time. MDF (medium-density fiberboard) is a budget-friendly alternative that’s easy to work with and resists warping, making it ideal for DIY projects. PVC or plastic crown molding is lightweight, water-resistant, and perfect for humid areas like bathrooms or kitchens, but it might not have the same aesthetic appeal as wood or MDF. When choosing materials, think about your room’s style, budget, and the level of durability you need. Each material has its own installation quirks—wood can be nailed directly, MDF requires careful handling to avoid chipping, and PVC often snaps together, reducing the need for nails.

AltitudeCraft Crown Stops for Miter Saw – Simplifies Compound Angle Cutting, Heavy Duty Crown Molding Jig Fits DEWALT DWS780 DW718 DW716 & Other DEWALT Models
Simplify Complex Cutting: Streamlines crown cutting by allowing for precise 45° miter cuts (nested method) without needing the…
As an affiliate, we earn on qualifying purchases.
As an affiliate, we earn on qualifying purchases.
Frequently Asked Questions
What Are the Best Types of Wood for Crown Molding?
You should choose pine, oak, or poplar for crown molding, as they offer great options for wood grain and finish choices. Pine is affordable and easy to work with, while oak has a prominent grain that adds character. Poplar is versatile and smooth, perfect for painted finishes. These woods let you customize your crown molding with various stain and paint options, giving your space a polished, professional look.
How Do I Calculate the Length of Crown Molding Needed?
To calculate the length of crown molding you need, start with measuring your room’s ceiling perimeter, using measuring techniques like a tape measure along the walls. Add a few extra inches for cuts and corners. Use calculation formulas such as multiplying wall lengths or adding 10-15% for waste. This *guarantees* you’ve got enough material, and your crown molding project turns out seamless and professional-looking.
Can Crown Molding Be Installed on Uneven Walls?
You can install crown molding on uneven walls, but you’ll need to roll up your sleeves and do some wall preparation. Use leveling techniques like shimming or trimming the back of the molding to create a smooth, even appearance. It’s a bit of a balancing act, but with patience and attention to detail, you’ll turn a rough wall into a stunning feature. Remember, a little effort goes a long way!
What Safety Gear Should I Wear During Installation?
When installing crown molding, you should wear safety glasses to protect your eyes from dust and debris, and a dust mask to avoid inhaling sawdust or fumes. These safety gear pieces keep you safe while using power tools and handling materials. Always guarantee your safety equipment fits properly and is in good condition. Taking these precautions helps prevent injuries and makes your DIY project more enjoyable and successful.
How Do I Repair Damaged or Cracked Crown Molding?
A stitch in time saves nine, so start by removing any loose or cracked pieces carefully. Apply molding adhesive behind the damaged area and press it firmly in place. Use caulking techniques to fill gaps and cracks for a seamless look. Sand lightly once dry, then touch up with paint. This quick fix helps restore your crown molding’s beauty and prevents further damage, keeping your project on track.
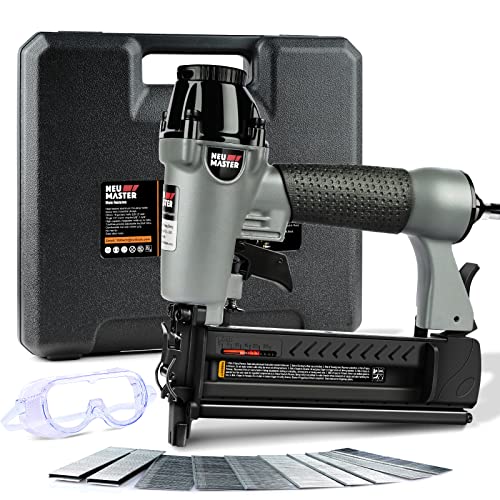
NEU Master Nail Gun, 2 in 1 Pneumatic Brad Nailer/Staple Gun
2-IN-1 PNEUMATIC BRAD NAILER & STAPLER — Fires both 18GA brad nails (5/8"–2") and 1/4" crown staples (5/8"–1-5/8")…
As an affiliate, we earn on qualifying purchases.
As an affiliate, we earn on qualifying purchases.
Conclusion
Now that you know the tools and tricks, installing crown molding becomes manageable. Imagine transforming your living room with perfectly aligned trim that adds elegance and value. For instance, Sarah followed these steps and successfully installed crown molding in her dining area, impressing her friends. With patience and the right approach, you’ll create a polished, professional look that enhances your space. So go ahead, grab your tools, and give your home that stunning finishing touch you’ve always wanted!

IRWIN Tools ProTouch Coping Saw (2014400), Blue & Yellow
High-speed steel coping saw blades cut through most materials with ease
As an affiliate, we earn on qualifying purchases.
As an affiliate, we earn on qualifying purchases.

Elmer's E855 Carpenter's Wood Filler, 3.25-Ounce Tube, White
Paintable and sandable
As an affiliate, we earn on qualifying purchases.
As an affiliate, we earn on qualifying purchases.