To install decorative wall panels yourself, start by choosing the right materials like wood, MDF, or PVC, depending on your style and needs. Measure your wall carefully and plan your layout, marking panel positions accurately. Gather essential tools such as a saw, level, nails or screws, adhesive, and a drill. Follow step-by-step tips for proper alignment, sealing gaps, and finishing with paint or stain to achieve a polished look. Keep going to discover more expert advice for a smooth installation process.
Key Takeaways
- Measure wall space accurately and plan panel layout before purchasing materials.
- Use appropriate tools like a saw, level, adhesive, and nails for precise cutting and secure installation.
- Mark panel positions carefully to ensure straight alignment and seamless seams.
- Attach panels with suitable fasteners, filling gaps and nail holes with caulk for a smooth finish.
- Finish with painting or staining after installation, following proper drying times for a polished look.

Adding wall paneling is a great way to enhance your home’s style without breaking the bank. Whether you want a modern, rustic, or classic look, choosing the right paneling materials can make a significant difference. You have plenty of options, including wood, MDF, PVC, or reclaimed materials, each offering different aesthetics and durability. Wood paneling creates warmth and texture, perfect for a cozy, traditional feel. MDF provides a smooth, paintable surface that’s budget-friendly and versatile. PVC panels are lightweight, water-resistant, and ideal for bathrooms or kitchens. Reclaimed wood adds character and eco-friendliness, giving your space a unique, vintage vibe. When selecting paneling, consider how the material’s durability and aesthetics align with your room’s needs and style preferences.
Once you’ve selected your paneling materials, consider how you want to incorporate design ideas into your space. Think about the overall style you’re aiming for—shiplap for a farmhouse look, raised panels for a formal feel, or geometric patterns for a contemporary touch. Planning your design ideas beforehand helps you visualize the finished look and ensures you buy enough materials. For example, if you’re doing a full wall, measure carefully to determine how many panels you’ll need, and add a little extra for cuts and mistakes.
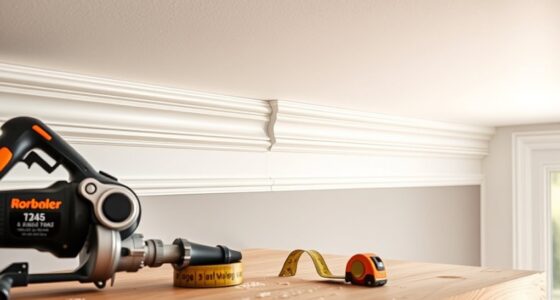
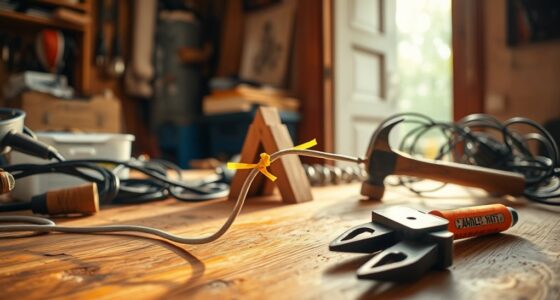
When it comes to installing the panels, preparation is key. Start by clearing and cleaning your wall, then use a level and measuring tape to mark your layout. A straight, even installation depends on proper alignment, so take your time to mark your panels’ positions accurately. Depending on your chosen paneling materials, you might need specific tools like a saw, nails, adhesive, or a drill. For example, wood panels often require nails or screws, while MDF can be glued or nailed. If you’re working with PVC or lightweight panels, adhesive might suffice, making installation cleaner and easier.
To ensure a professional finish, pay close attention to seams and edges. Use caulk to fill gaps or nail holes, then sand lightly for smoothness if necessary. Painting or staining your panels after installation can further customize your look, so choose your finish in advance. Always follow manufacturer instructions for adhesives and paint to avoid mishaps.
Frequently Asked Questions
Can I Install Wall Panels Over Wallpaper?
Yes, you can install wall panels over wallpaper, but first, you’ll need to remove the wallpaper and prepare the wall surface. Start by stripping off the wallpaper, then clean and smooth out any residue or bumps. Proper paneling preparation guarantees a secure, even installation. Use a level and adhesive suitable for your wall type, and consider sanding or priming the surface for the best results.
What Is the Best Paneling for High Humidity Areas?
For high humidity areas, you should choose moisture-resistant options like vinyl or PVC panels, which handle moisture well and are easy to clean. Mold-resistant materials, such as fiber cement or certain treated woods, also work great because they prevent mold growth. These materials keep your space looking fresh and avoid issues caused by dampness, making them ideal choices for bathrooms, kitchens, or laundry rooms.
How Do I Remove Existing Wall Panels Safely?
Carefully carve, pry, and peel your panels to prevent damage during removal. Start with a utility knife to score the edges, then gently pry with a crowbar or putty knife to loosen the panels. Be patient, and work in sections to avoid wall damage. After removal, clean and prepare the wall by sanding or patching holes, ensuring it’s smooth and ready for new paneling or paint.
What Are Eco-Friendly Options for Decorative Panels?
You can choose eco-friendly decorative panels made from sustainable materials like bamboo, cork, or reclaimed wood. Recycled options, such as panels crafted from recycled metal or plastic, also reduce waste and environmental impact. Look for products certified by environmental organizations to guarantee sustainability. Using these eco-friendly materials helps you create stylish interiors while supporting environmentally responsible choices, making your space beautiful and sustainable at the same time.
How Long Does DIY Wall Panel Installation Typically Take?
Imagine your hands confidently attaching each panel, transforming your space step by step. DIY wall panel installation usually takes about one to three days, depending on your project’s size and complexity. To stay on track, set clear timing expectations and follow preparation tips like measuring carefully and gathering all tools beforehand. With patience and organization, you’ll enjoy a beautiful, personalized wall in just a weekend or so.
Conclusion
Just like Da Vinci brought artistry to life on a canvas, your wall paneling project transforms your space into a masterpiece. With patience and the right tools, you’ve crafted a stunning backdrop that’s uniquely yours. Remember, every nail and panel echoes the spirit of craftsmanship and creativity. So step back, admire your work, and let your home tell a story of your dedication—proof that, with a little effort, you can create something truly extraordinary.