
To hang shelves securely, start by locating wall studs with a stud finder and mark their positions. Use appropriate hardware like heavy-duty brackets, rust-resistant screws, or anchors, depending on your wall type. Drill pilot holes into studs or masonry for stability, then level your brackets before attaching the shelves. Avoid common mistakes like overloading or skipping pilot holes. If you follow these tips, you’ll be able to install shelves confidently and safely—more details can help you master the process.
Key Takeaways
- Use a stud finder to locate wall framing for secure shelf mounting.
- Choose heavy-duty brackets and fasteners rated for the shelf’s weight and wall type.
- Drill pilot holes into studs or masonry to prevent wall damage and ensure stability.
- Level shelves accurately during installation to avoid tilting or uneven placement.
- For drywall, prefer mounting into studs or use high-quality anchors for heavier loads.
Essential Tools for a Perfect Shelf Installation

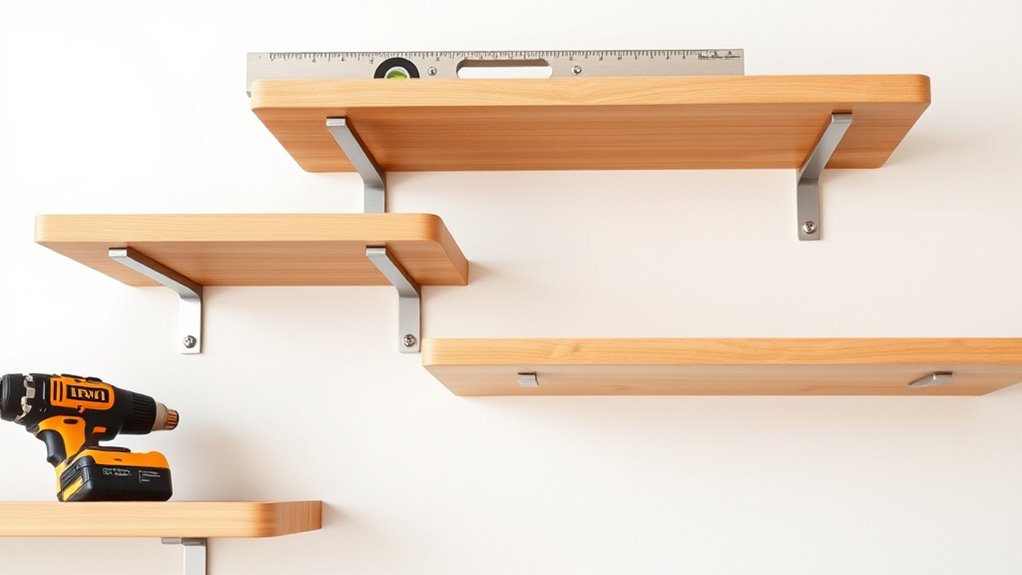
To make certain your hanging shelves are secure and level, you need the right tools. Start with a drill equipped with assorted drill bits for pilot holes and driving screws; this prevents splitting and guarantees secure attachment. A level, preferably a 4-foot or laser type, is essential for checking that your shelves are perfectly horizontal. Use a stud finder to locate wall studs—these provide the strongest support for brackets. Keep a tape measure handy to mark precise placement and maintain even spacing. Finally, have a screwdriver or a cordless drill with a screwdriver bit ready to tighten screws firmly. Utilizing AI-powered tools, such as digital level apps or smart stud finders, can further improve accuracy and efficiency in your installation. Incorporating proper measuring techniques ensures your shelves are both functional and visually balanced. With these tools, you’ll ensure a sturdy, straight, and professional-looking shelf installation that lasts.
Selecting the Right Materials for Stability and Style
When selecting materials for your hanging shelves, focus on choosing durable brackets that can support weight and match your decor style. Make sure to pick shelves made from quality materials that complement your space, whether for function or aesthetics. Don’t forget to use strong fasteners that securely hold everything in place and prevent sagging or falling. Incorporating energy-efficient cloud solutions can also inspire eco-friendly choices in your home upgrades.
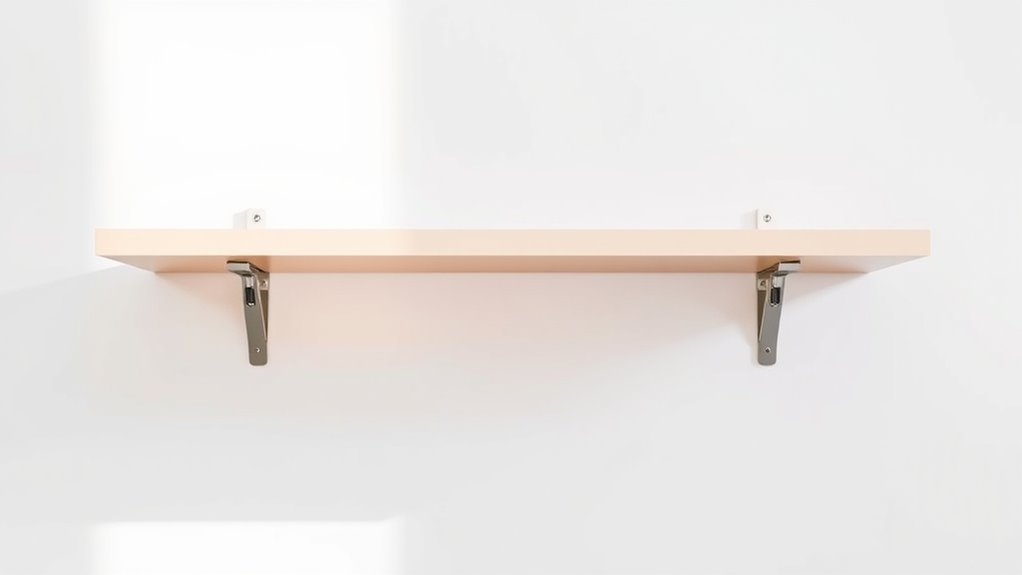
Choosing Durable Brackets
Choosing the right brackets is essential for ensuring your shelves stay sturdy and look great over time. Opt for brackets made from durable materials like stainless steel, heavy-duty iron, or reinforced aluminum—these resist rust and weight stress. The style should complement your decor, so consider sleek, minimalist designs for modern spaces or decorative brackets for a vintage look. Make sure the brackets are rated for the weight you’ll place on the shelves, and check their size to match your shelf width. Heavy-duty brackets provide extra support and stability, especially for larger or heavier shelves. Avoid flimsy or thin brackets that can’t handle load demands, as they can cause sagging or collapse. Investing in quality brackets guarantees both safety and a polished appearance.
Matching Shelves With Decor
Selecting the right shelves to match your decor involves considering both style and functionality. You want shelves that complement your existing design while providing stability. For a modern look, opt for sleek, floating shelves in neutral tones like white or black, which blend seamlessly with contemporary spaces. If your decor is rustic or vintage, choose natural wood finishes or distressed styles that add warmth and character. Consider the weight capacity needed for your items—heavier materials like solid wood or metal are more durable and stable. For lighter decor or displays, glass or acrylic shelves work well and create an airy feel. Balancing aesthetics with material strength guarantees your shelves support your decor confidently without compromising style. Additionally, using best airless paint sprayers can help achieve a smooth, professional finish on your shelves or surrounding walls, enhancing the overall look and durability of your decor setup.
Selecting Strong Fasteners
To guarantee your shelves stay securely mounted and support the intended weight, using strong fasteners is essential. Choose screws that are compatible with your wall type and brackets, typically 1 1/2 to 2 1/2 inches long for studs. Use sturdy wall anchors if you can’t locate studs, but prioritize fixing brackets into wall studs for maximum stability. Metal screws, preferably galvanized or coated, resist rust and add strength. Avoid light-duty fasteners that can bend or pull out under load. For floating shelves, ensure the support rods and screws are heavy-duty and rated for the weight you plan to hold. Selecting high-quality fasteners ensures your shelves won’t wobble, sag, or fall, keeping your space safe and stylish. Additionally, selecting fasteners made from corrosion-resistant materials can prolong the durability of your installation in humid environments. Considering environmental factors such as humidity or exposure to water can also help in choosing the right fasteners for outdoor or damp areas. Using fasteners with appropriate load ratings is crucial to ensure they can handle the weight and stress placed upon the shelves over time. Properly choosing fasteners also involves considering water chemistry and environmental factors that could impact material longevity over time. For outdoor installations, opting for fasteners with weatherproof coatings can further protect against rust and deterioration.
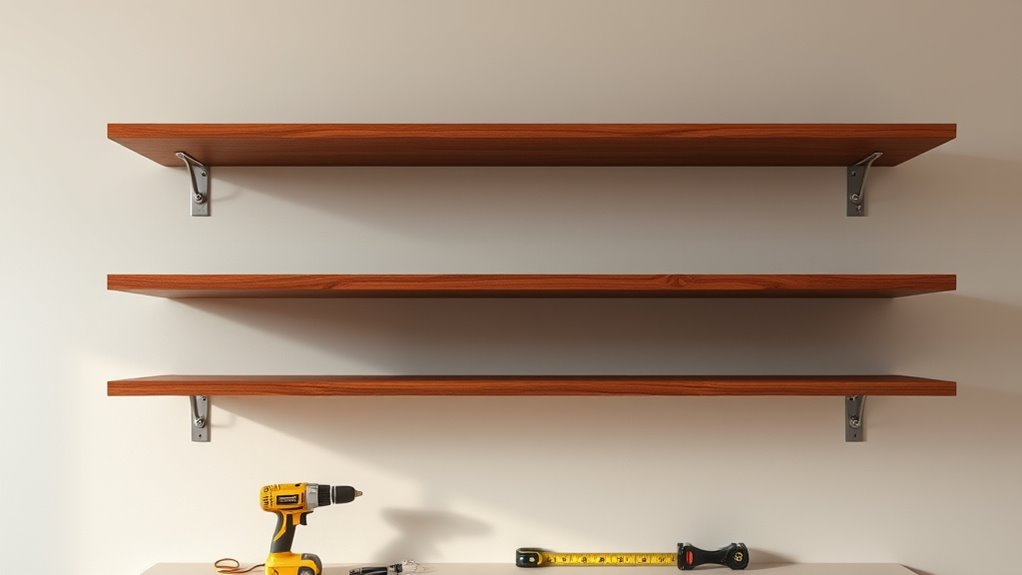
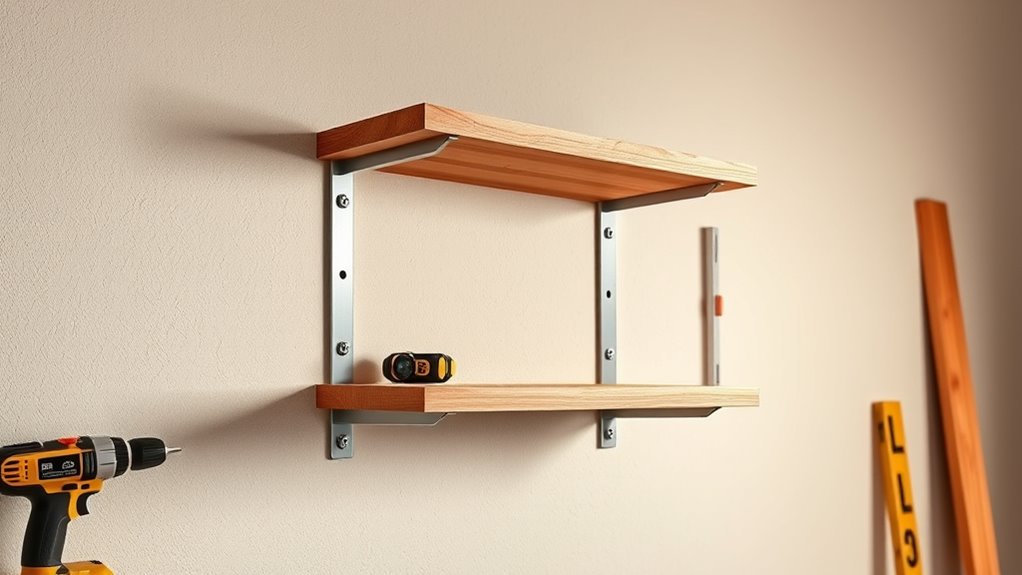
Step-by-Step Guide to Mounting Shelves Securely
Mounting shelves securely begins with proper planning and preparation. First, locate the wall studs using a stud finder and mark their positions clearly. Measure the desired shelf height and mark the bracket spots accurately, ensuring even spacing. Use a level to draw straight lines for guiding bracket placement. Drill pilot holes into the studs at the marked points, using a drill bit about 1/8 inch in diameter. Attach the brackets firmly into the studs with screws, making sure they sit flush against the wall. If studs aren’t available, insert wall anchors into drilled holes, then secure the brackets. Before placing the shelf, double-check that everything is level. Slide the shelf onto the brackets and, if needed, secure it with small screws or set screws to prevent shifting. Ensuring proper hardware selection is essential for a reliable and safe installation. Additionally, considering local automation options can help coordinate lighting or other smart home features for enhanced convenience and safety. Utilizing stud finder technology can further improve the accuracy of your wall assessments, saving time and reducing errors. Incorporating proper anchoring techniques can also enhance the overall stability, especially for heavier shelves or in drywall-only installations.
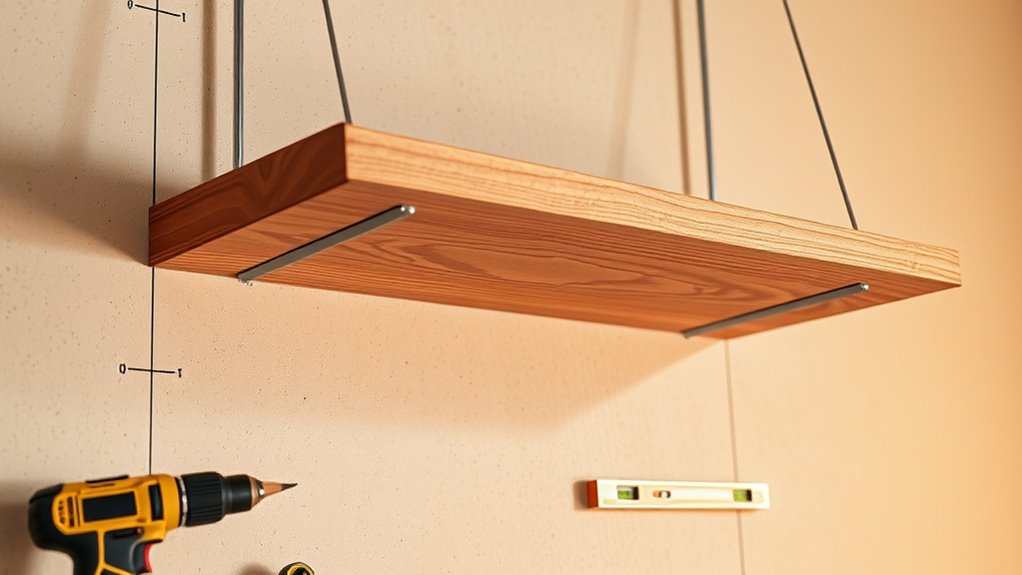
Special Considerations for Floating Shelves
Floating shelves rely on specialized heavy-duty steel brackets that are designed to hold significant weight primarily through attachment to wall studs. To guarantee stability, cut drywall around the bracket area to access studs directly, then securely attach brackets into them. Avoid relying solely on drywall anchors, as they can’t support heavy loads of floating shelves. Use a level to align brackets accurately before fastening. Drill precise holes in the shelf boards with a doweling jig to support the center rod or mounting hardware. Apply a small amount of semi-permanent silicone adhesive along with mechanical fasteners to prevent shifting or wobbling without permanent bonding. Remember, at least one or two studs must support the shelf; otherwise, it risks sagging or falling. Proper placement and sturdy attachment are key to a secure, long-lasting floating shelf. Additionally, understanding wall stud placement can help in planning optimal support for heavier shelves. Knowing how to locate wall studs precisely ensures that your shelves are anchored securely and safely. Being aware of load‑bearing capacity can further help you choose the right brackets and hardware for your specific needs. Consulting mounting hardware specifications can also ensure you select components that will handle your desired weight safely. To further enhance stability, consider using stud finders to accurately locate framing behind drywall and avoid unnecessary drilling.
Adapting Your Approach for Different Wall Types

When hanging shelves, you’ll need to modify your approach based on your wall type. For drywall, using the right wall anchors or mounting on studs guarantees stability. Masonry and plaster walls require specialized tools and techniques, like masonry bits or careful stud locating, to secure your shelves properly. Additionally, understanding water quality can influence the choice of fasteners or anchors, ensuring long-term stability and preventing damage. Selecting the appropriate hardware based on wall material is essential for a secure installation. Being aware of installation techniques can also help prevent common mistakes and ensure your shelves remain sturdy over time. Considering thermal behavior in different wall types can also help you choose the best mounting method to withstand temperature fluctuations and prevent damage over time. Properly assessing wall structure can further optimize your installation process and shelf durability.
Drywall Mounting Tips
Adapting your approach for drywall requires attention to detail and proper technique to guarantee your shelves stay secure. First, always locate wall studs with a stud finder; mounting brackets directly into studs provides the strongest support. If studs aren’t accessible, use high-quality drywall anchors rated for the shelf’s weight—preferably toggle or molly bolts. Avoid relying solely on standard plastic anchors for heavy loads. Drill pilot holes slightly smaller than your screws to prevent drywall damage. When attaching brackets, ensure they are flush against the wall and level before tightening. For extra security, consider using semi-permanent silicone adhesive along with mechanical fasteners. Remember, the key to a secure drywall mount is combining proper hardware with precise placement and leveling. Additionally, understanding auditory processing can help in creating a well-structured and clear mounting plan, ensuring each step is executed effectively. Recognizing the importance of wall type knowledge can further enhance your mounting success by selecting the appropriate hardware for different surfaces.
Masonry Wall Strategies
Mounting shelves on masonry walls such as brick or concrete requires a different approach than drywall or plaster. You’ll need to use a masonry drill with the right bit to create sturdy holes for your anchors. Start by marking the bracket positions carefully, then drill pilot holes into the masonry, avoiding oversizing to maintain shelf support. Use plastic or lead anchors suited for heavy loads, and tap them flush with the surface. For extra stability, consider using a hammer drill to make clean, precise holes. When attaching brackets, ensure they’re level and firmly anchored into the masonry. Avoid relying solely on wall anchors; securing brackets directly into solid masonry prevents sagging and guarantees your shelves stay secure over time. Additionally, understanding pool hydraulics can help ensure your shelving installation is safe and stable in environments with high moisture levels.
Plaster Wall Considerations
Plaster walls require careful handling to make certain your shelves stay secure without causing damage. Because plaster is brittle, drilling too aggressively can crack or crumble it. Use a low-speed drill with a sharp masonry or carbide-tipped bit to gently create pilot holes. Locate wall studs using a stud finder, as attaching brackets directly into studs ensures maximum stability. When studs aren’t accessible, opt for high-quality wall anchors designed for plaster, such as toggle bolts or screw-in anchors, which distribute weight more evenly. Avoid oversized holes that weaken the wall or compromise support. Understanding the properties of plaster can help you choose the best mounting methods. Additionally, selecting the appropriate wall anchors and following proper installation techniques can significantly improve the shelf’s hold and longevity. Using the correct tools and techniques is especially important for maintaining the integrity of plaster walls, which tend to be more delicate than drywall. Recognizing the strength limitations of plaster can help prevent accidental damage during installation. Being aware of these material characteristics can guide you in applying suitable mounting strategies and prevent unnecessary repairs. Taking these precautions helps prevent damage and guarantees your hanging shelves stay secure over time.
Common Pitfalls and How to Avoid Them
One of the most common mistakes when hanging shelves is failing to locate wall studs, which can lead to weak and unstable installations. Without proper support, shelves may sag or fall. To avoid this, always use a stud finder and confirm stud locations before drilling. Don’t rely solely on drywall anchors for heavy loads; they’re best suited for light items. Skipping pilot holes can cause splitting or misaligned screws, weakening the mount. Use a level to ensure brackets are straight; uneven shelves look unprofessional and may be unsafe. Here’s a quick guide:
| Mistake | Consequence | Solution |
|---|---|---|
| Ignoring wall structure | Unstable shelves | Locate studs, use appropriate anchors |
| Skipping pilot holes | Wood splitting, misalignment | Drill pilot holes for secure fastening |
| Not leveling before mounting | Tilted shelves | Use a level, adjust bracket positions |
| Overdrilling shelves | Reduced support strength | Avoid drilling through shelves, keep holes precise |
Frequently Asked Questions
How Do I Measure for Optimal Shelf Placement and Spacing?
To measure for ideal shelf placement, start by deciding how high you want the shelves and mark those spots with a pencil. Use a tape measure to measure equal spacing between shelves, considering the items you’ll place. Make certain your marks are level by using a level tool. Check that the distance between shelves fits your items comfortably, and double-check measurements before drilling to keep everything aligned and secure.
What Weight Can Different Types of Shelves Typically Support?
You can typically expect standard wood shelves to support 20 to 50 pounds when mounted properly on studs, while floating shelves often hold 15 to 30 pounds. Heavy-duty steel brackets can carry 50 to 100 pounds or more, depending on wall anchoring. Always check the manufacturer’s weight limits, make certain of secure attachment to studs, and distribute weight evenly to prevent sagging or falling.
Which Tools Are Best for Installing Shelves on Uneven Walls?
Imagine building a sturdy bridge across uneven terrain. You need the right tools to level your path. Use a long, accurate level or a laser level to identify high and low spots. A stud finder helps you anchor into solid support, while shims or spacers help adjust brackets for a flat, even shelf. With these tools, you’ll bridge the gap of uneven walls smoothly and securely.
How Can I Prevent Shelves From Sagging Over Time?
To prevent shelves from sagging over time, make certain you use sturdy brackets that are rated for the weight you plan to load. Attach these brackets securely into wall studs whenever possible, not just drywall or plaster. Distribute weight evenly across the shelf, avoid overloading, and consider adding support brackets or reinforcement, especially for longer shelves. Regularly check and tighten screws to maintain stability and prevent gradual sagging.
Are There Safety Tips for Hanging Shelves in High-Traffic Areas?
Imagine this—your shelves are the modern-day knights guarding your belongings. In high-traffic areas, always locate wall studs for maximum support, especially if you’re using floating shelves. Use heavy-duty brackets, and make sure they’re level before fastening. Avoid weak anchors; opt for screws driven into studs. Regularly check stability, and don’t overload shelves. Safety first keeps your space stylish and secure, preventing accidents and ensuring your shelves stand tall through many adventures.
Conclusion
With the right tools and techniques, hanging shelves becomes effortless. You’ll enjoy the satisfaction of a secure, stylish display, turning a simple wall into a showcase. But remember, patience and precision matter—rushing can lead to wobbling or damage. When you take your time and follow these tricks, you create not just a sturdy shelf, but a space that feels thoughtfully curated. It’s more than just hanging; it’s about making your home truly yours.