
To level an uneven floor using self-leveling methods, gather essential tools like a self-leveling compound, trowel or squeegee, mixing bucket, drill with paddle, and a level or laser guide. First, prepare the surface by cleaning and repairing any damage. Then, mark uneven spots, mix the compound to a fluid consistency, and pour starting from the lowest areas. Spread evenly and let it cure fully for a smooth, stable foundation—continue for detailed steps and tips.
Key Takeaways
- Clear the area of furniture, debris, and dust to prepare a clean workspace.
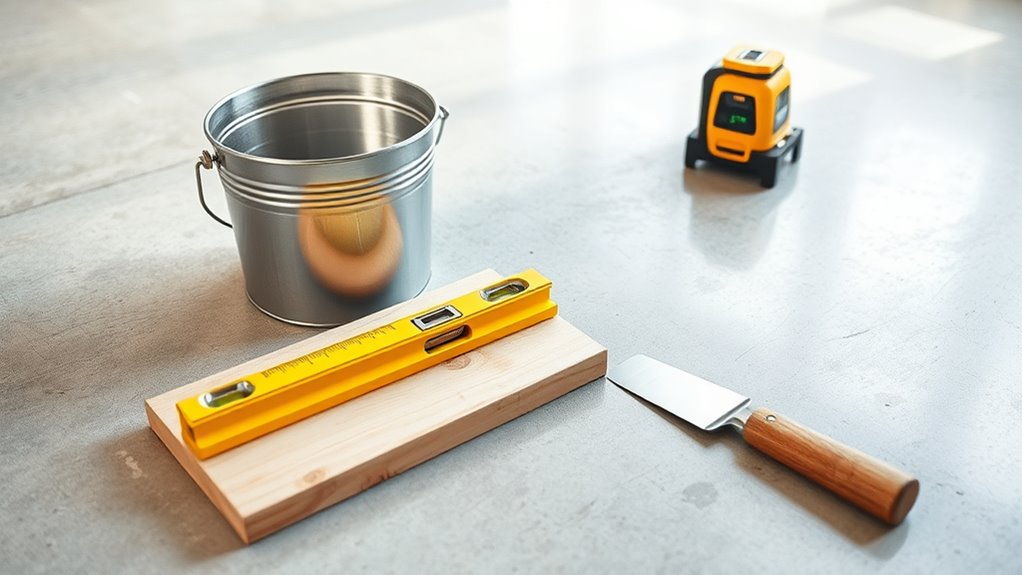
- Gather essential tools: self-leveling compound, trowel, mixing bucket, drill, and level or laser guide.
- Assess floor unevenness by marking high and low spots using a straightedge or laser level.
- Mix the compound according to manufacturer instructions to achieve a fluid consistency, then pour starting at low points.
- Spread the compound quickly for proper leveling, and allow sufficient curing time before installing flooring.

An uneven floor can cause problems for your home’s stability and aesthetic appeal, but fixing it is a manageable project if you know where to start. The first step in leveling your floor involves thorough floor preparation. You need to clear the area of furniture, rugs, and debris, ensuring a clean, dust-free surface. Check the floor’s surface for cracks, loose boards, or damaged sections, and repair or replace them as needed. This preparation is essential because any debris or irregularities can interfere with the leveling process and compromise the final result. Additionally, understanding simple systems for organizing your space can help maintain the level and organization of your finished floor over time.
Once the surface is prepped, you’ll want to gather your leveling tools. These typically include a self-leveling compound, a trowel or squeegee, a mixing bucket, a drill with a paddle attachment for mixing, and a level or laser guide for accuracy. Using leveling tools correctly is vital; they help you distribute the compound evenly and achieve a smooth, flat surface. Before applying the compound, it’s advisable to test the floor with a long straightedge or a level to identify the highest and lowest points. Mark these areas to understand where the most work is needed.
When mixing the self-leveling compound, follow the manufacturer’s instructions carefully to guarantee proper consistency. The mixture should be fluid enough to flow easily but not so runny that it separates or pools. Pour the compound onto the lowest section of your floor first, then use the trowel or squeegee to spread it outward, working quickly before it starts to set. Gravity helps the compound settle into the low spots, creating a level surface. You may need to go over the surface with a level or laser to verify that it’s flat and adjust your work accordingly.
Keep in mind that patience is key. Self-leveling compounds generally set within 15 to 30 minutes, so work swiftly but carefully. Avoid walking on the freshly poured compound until it’s fully cured, which can take several hours. Proper floor preparation combined with the correct use of leveling tools guarantees a smooth, even surface that’s ready for your final flooring installation. Taking the time to prepare and use the right tools not only makes the process easier but also guarantees a professional-looking result, extending the lifespan and stability of your flooring project.
Frequently Asked Questions
How Long Does Self-Leveling Compound Take to Dry Completely?
Self-leveling compound typically takes about 24 to 48 hours to dry completely, but this depends on factors like thickness and humidity. During this drying time, the curing process continues, guaranteeing the compound gains strength and stability. You should avoid heavy foot traffic or placing furniture on it until it’s fully cured. To guarantee proper drying, follow the manufacturer’s instructions and keep the area well-ventilated.
Can I Walk on the Floor Immediately After Applying?
You shouldn’t walk on the floor immediately after applying self-leveling compound; it’s like trying to dance on a freshly poured ice rink. During curing, your floor needs time to set and gain strength. Rushing can cause cracks or uneven spots, so follow safety precautions and wait until the recommended drying time. Give it a day or more, and your floor will be safe and solid enough for light foot traffic.
Is There a Weight Limit for Furniture on a Leveled Floor?
Yes, there’s a weight limit for furniture on a leveled floor, depending on the floor’s durability and the furniture’s weight. You should check the manufacturer’s guidelines for the self-leveling compound used, as some floors can handle heavy furniture, while others may need reinforcement. Distributing furniture weight evenly helps prevent damage or cracking. Be cautious with extremely heavy items until you’re sure the floor can support them safely.
What Are Common Mistakes to Avoid During Leveling?
Think of leveling as baking a perfect cake—you need precision. To avoid mistakes, guarantee proper surface preparation by cleaning and repairing the floor beforehand. Don’t rush with incorrect mixing techniques; follow the manufacturer’s instructions closely. Skipping steps or rushing can cause uneven settling or cracks. Always work steadily, check your work frequently, and avoid over-pouring. This careful approach helps you achieve a smooth, durable, and professional-looking floor.
Can I Level a Floor With Existing Cracks or Damage?
Yes, you can level a floor with cracks or damage, but first, you must repair the cracks and prepare the surface. Start with crack repair to fill and stabilize the damaged areas, then clean and make certain the surface is free of debris. Proper surface preparation is essential for the self-leveling compound to adhere effectively. Skipping these steps can lead to uneven results or further damage over time.
Conclusion
With your tools in hand and determination in your heart, you’ve taken the first step toward transforming a lopsided floor into a smooth, solid canvas. Think of it as taming a wild river—once leveled, it flows seamlessly, guiding your home’s beauty and stability. So, roll up your sleeves and embrace the process. Before you know it, your space will stand tall and proud, a masterpiece of balance and craftsmanship ready to support whatever comes next.