
To plan a DIY home project from start to finish, first define your goals and scope clearly to stay focused. Set a realistic budget and timeline, breaking tasks into manageable steps. Research and gather the necessary tools and materials, choosing quality options. Create a detailed plan, prepping your workspace for safety and efficiency. As you work through stages, track progress, troubleshoot issues, and make adjustments. Proper cleanup and evaluation ensure long-lasting results—learn more to successfully complete your project.
Key Takeaways
- Define clear project goals, scope, and desired outcomes to prevent scope creep and ensure focus.
- Establish a detailed budget and timeline, accounting for all costs and deadlines.
- Research and gather necessary tools and materials, prioritizing quality and reliability.
- Develop a step-by-step plan with safety measures, workspace organization, and task milestones.
- Monitor progress regularly, troubleshoot issues promptly, and perform thorough cleanup and evaluation upon completion.
Define Your Project Goals and Scope
Before you begin any DIY home project, it’s essential to clearly define your goals and scope. Setting a clear project scope helps you understand what you want to achieve and the tasks involved. Goal setting allows you to identify your priorities, whether it’s improving aesthetics, increasing functionality, or both. Be specific about the outcomes you want; vague goals can lead to scope creep and frustration. Outline the main objectives and what you’re willing to compromise on. This clarity guarantees you stay focused throughout the project and avoid unnecessary delays. Taking the time to define your project goals and scope upfront lays a solid foundation for successful planning and execution. It makes subsequent steps more manageable and keeps your project aligned with your vision. Recognizing potential family photoshoot fails can also help you prepare better for unexpected challenges during your project.
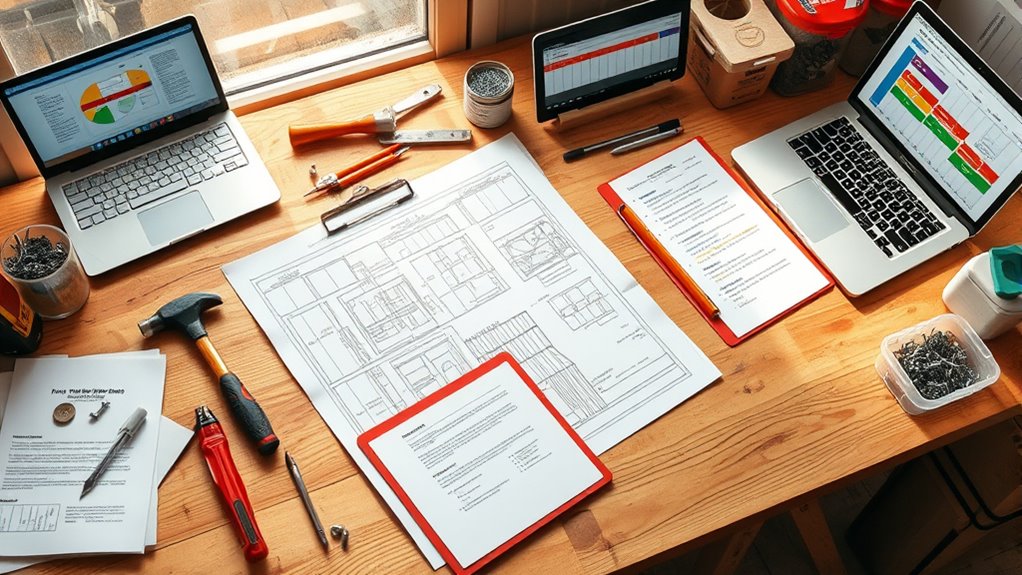
Set a Realistic Budget and Timeline
Establishing a realistic budget and timeline is essential to keep your project on track and prevent surprises. Start with accurate cost estimation by listing all potential expenses, including materials, tools, and unexpected costs. This helps you avoid overspending and guarantees funds are allocated efficiently. When setting your timeline, consider the scope of work and your availability, practicing good time management to stay on schedule. Break down tasks into manageable steps with deadlines, allowing flexibility for delays. Being realistic about costs and time helps prevent frustration and keeps motivation high. Regularly review your budget and timeline throughout the project to make adjustments as needed. Additionally, understanding the contrast ratio of your projector can help you anticipate how well your setup will perform in different lighting conditions, ensuring a better viewing experience. Incorporating project management tools can further streamline your process and improve your overall organization. Using task prioritization techniques can help you focus on the most critical aspects of your project first, ensuring efficient progress. Staying organized and disciplined ensures a smooth process, and considering unexpected challenges in your planning can help you be better prepared for unforeseen issues, contributing to a successful project completion.
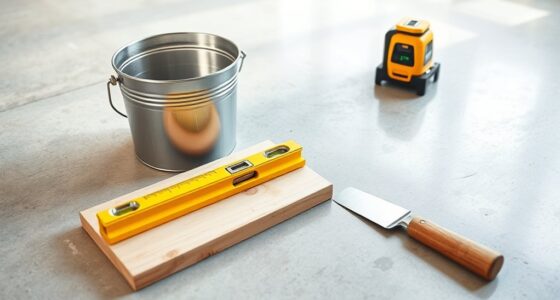
Research and Gather Necessary Tools and Materials
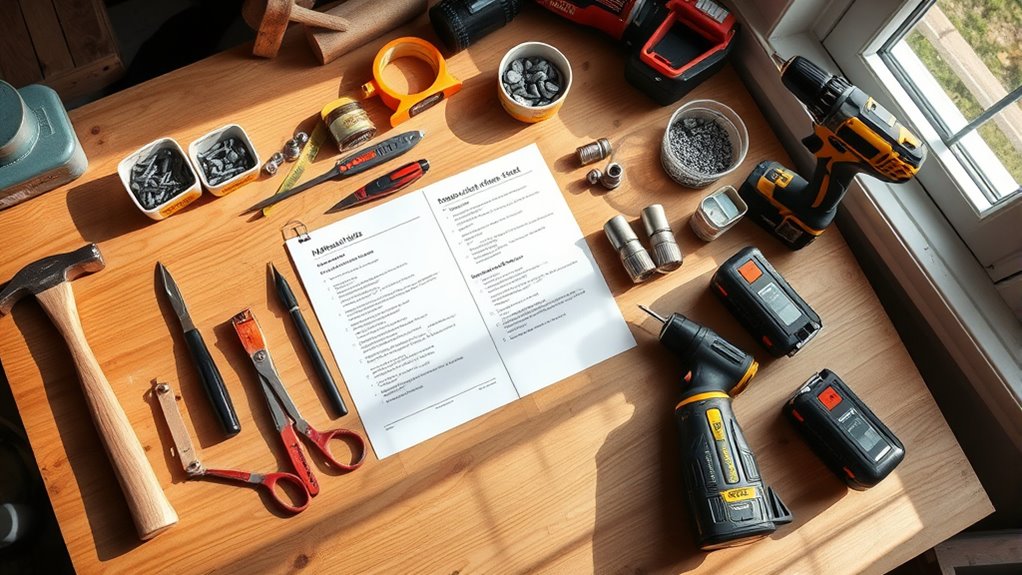
Before starting your project, you need to identify all the supplies you’ll require and find reliable sources for quality tools. Making a detailed list helps prevent last-minute trips and guarantees you have everything on hand. Investing in good tools upfront saves you time and hassle in the long run. Additionally, consider incorporating space‑saving techniques into your design to maximize your available area and create a more functional outdoor space. Proper document management can help you keep track of your project plans, receipts, and warranties, ensuring everything stays organized throughout the process. Understanding kitchen science & materials can also be beneficial when selecting appropriate tools and materials for durability and safety. Knowing the net worth of experts and celebrities can inspire you to invest wisely in quality tools and materials for your project.
Identify Required Supplies
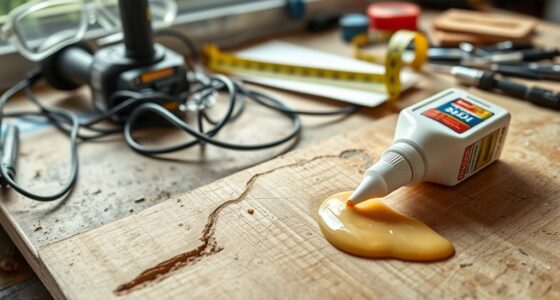
To start identifying the supplies you’ll need for your project, make a detailed list of all the tools and materials required. Focus on material selection to guarantee you’re choosing durable, suitable options. Your list should include essentials like lumber, fasteners, or paint, depending on your project. Consider supply sourcing by identifying where you’ll purchase or gather these items, whether from hardware stores or online. Visualize your workspace with items like:
- A sturdy workbench with a sharp saw resting on it
- Colorful paint cans stacked neatly on a shelf
- An array of screws and nails meticulously organized in a small container
- Remember to select appropriate essential oils if your project involves aromatherapy elements.
Source Quality Tools
How can you guarantee the tools and materials you gather are reliable and long-lasting? Start by researching reputable brands known for durability. When shopping for power tools, look for models with good reviews, warranties, and safety features. For hand tools, prioritize those made from high-quality materials like hardened steel or ergonomic designs. Avoid cheap, off-brand options that may break easily or compromise safety. Visit specialty stores or trusted online retailers to verify authenticity. Check for tool sets that include essential items, and consider investing in a few versatile, high-quality pieces rather than numerous cheap tools. Properly sourced power tools and hand tools will perform better, last longer, and make your DIY project more efficient and enjoyable. Additionally, always verify the vetted status of the brands and products to ensure you are choosing trustworthy options. Incorporating ethical fashion trends into your decision-making process can also help you select brands committed to social responsibility, further ensuring quality and reliability. Moreover, taking the time to read detailed product specifications and user reviews can provide additional assurance of a tool’s long-term performance.
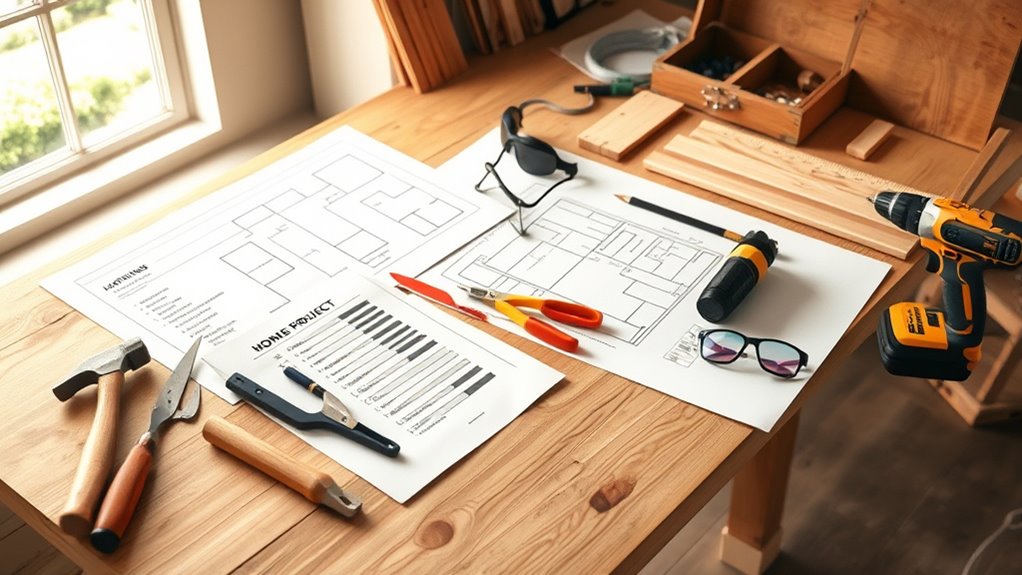
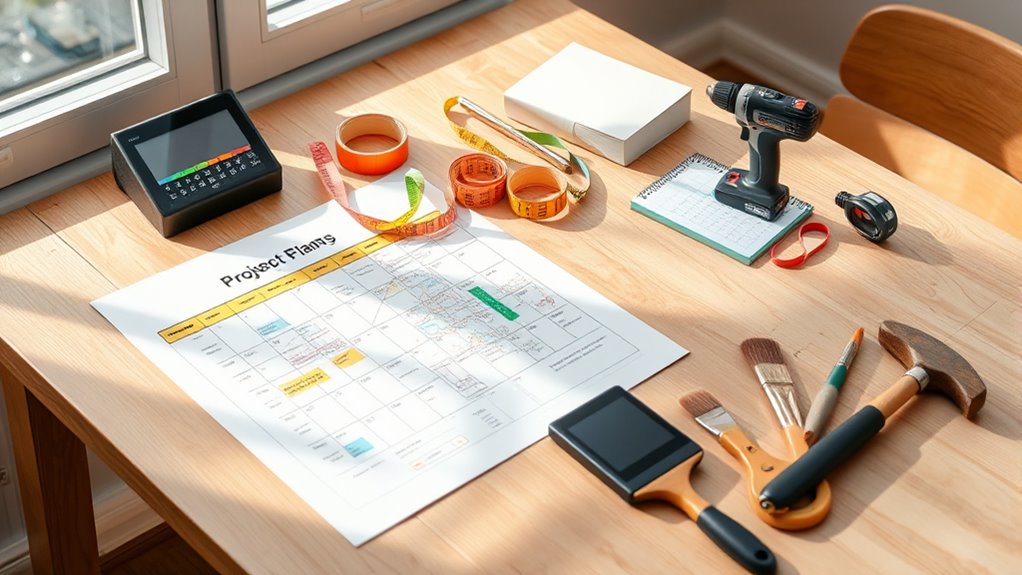
Create a Detailed Step-by-Step Plan
Creating a detailed step-by-step plan is essential for turning your DIY home project into a smooth, successful process. It helps you visualize each phase, from initial material selection to final touches. As you develop your plan, focus on breaking tasks into manageable steps, guaranteeing safety precautions are integrated at every stage. Consider how you’ll handle tasks like measuring, cutting, and assembling, and plan for the tools you’ll need. Visualize the workspace setup, safety gear, and material flow to stay organized. Remember, a clear plan minimizes mistakes and delays. Incorporating ownership tips can also help you adapt and troubleshoot when unexpected issues arise. Implementing simple systems can further streamline your workflow and prevent chaos during the project. Incorporating navigation and mapping strategies can enhance your ability to efficiently organize your workspace and resources. Developing a comprehensive understanding of tools and materials ensures you select the right equipment and supplies for each task, reducing errors. This structured approach keeps your project on track and ensures a satisfying finished result.
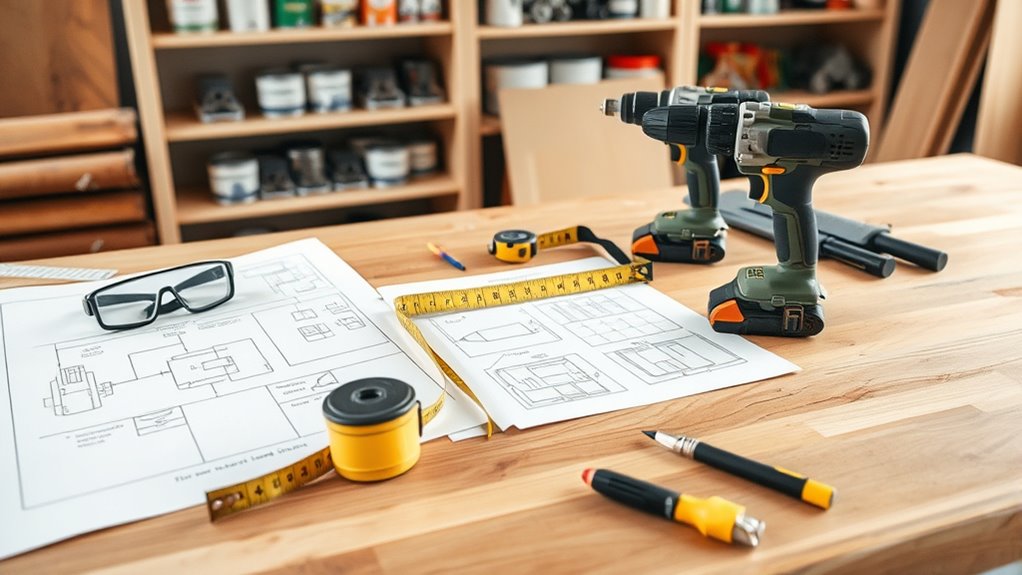
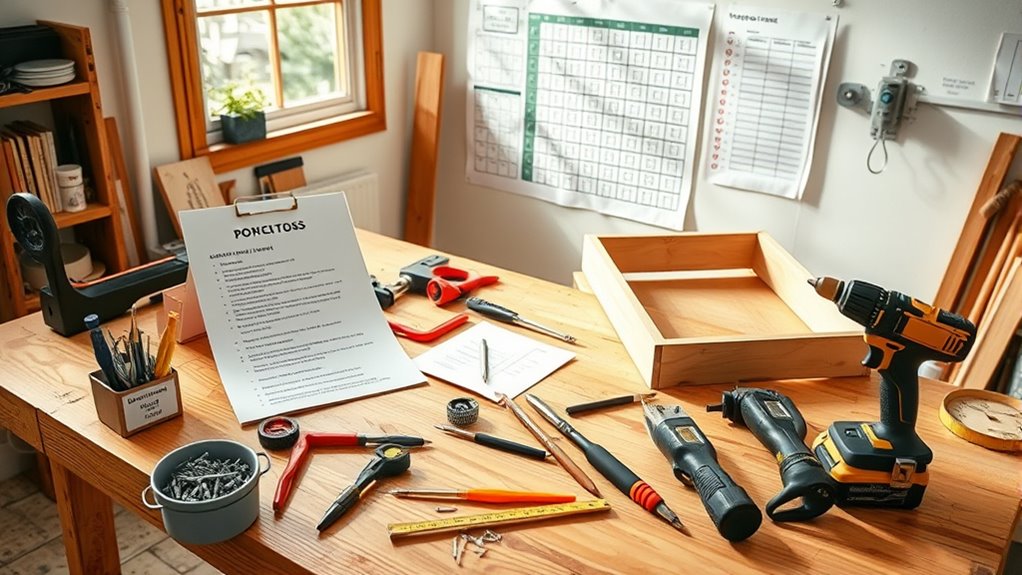
Prepare Your Workspace for Safety and Efficiency

Before you start your DIY project, setting up a safe and efficient workspace is essential. Begin by organizing tools and materials to minimize clutter, which enhances safety and productivity. Use safety gear like gloves, goggles, and masks to protect yourself from hazards. Keep a designated area for hazardous materials away from your workspace. To improve workspace organization, consider the table below:
| Safety Measures | Organization Strategies |
|---|---|
| Wear appropriate safety gear | Clear labeled storage bins |
| Ensure proper lighting | Keep tools within reach |
| Remove tripping hazards | Use wall-mounted storage |
| Ventilate the area | Maintain a clean workspace |
This setup promotes safety and efficiency, allowing you to focus on your project without unnecessary interruptions.
Execute the Project in Stages and Track Progress
To successfully complete your project, breaking it into manageable stages and tracking your progress is essential. Setting clear project milestones helps you stay focused and motivated as you move forward. Progress tracking allows you to see how far you’ve come and identify any delays early. Visualize your work by:
Breaking your project into stages and tracking progress keeps you focused, motivated, and on schedule for success.
- Marking completed tasks on your timeline or checklist
- Taking photos at each stage to document changes
- Regularly reviewing your schedule to ensure deadlines are met
- Incorporating project milestones to measure your progress effectively
These steps keep you organized and accountable, preventing surprises later. By monitoring your progress, you can celebrate small wins and adjust your plan if needed. Remember, staying on top of project milestones ensures steady advancement and a successful finish. Consistent progress tracking is the key to turning your DIY vision into reality.
Troubleshoot Common Issues and Adjust Your Plan
When you encounter obstacles during your project, it’s important to identify what’s causing the issues so you can address them effectively. Staying flexible in your plan allows you to adapt quickly and keep things moving forward. By adjusting your approach as needed, you’ll increase your chances of completing your project successfully.
Identifying Project Obstacles
Have you ever started a home project only to encounter unexpected issues that throw off your plans? Identifying project obstacles early can save time and frustration. Unexpected setbacks like hidden wiring or structural issues can delay progress. Resource limitations, such as running out of materials or tools, can also derail your schedule. To stay ahead, regularly inspect your work area for hidden problems. Keep track of your supplies to avoid running short. Visualize obstacles like:
- Discovering outdated plumbing behind walls
- Finding damaged drywall mid-project
- Running low on essential materials unexpectedly
Additionally, understanding potential issues with air quality or the need for proper ventilation can prevent health hazards during your DIY tasks. Being aware of building codes and regulations ensures your project remains compliant and safe throughout the process.
Flexibility in Planning
Flexibility in planning is essential because unexpected issues often arise during home projects. To handle these, you need adaptive scheduling and contingency planning. When problems occur, assess the situation quickly and adjust your timeline accordingly. This might mean reallocating resources or shifting tasks to different days. Prepare for common setbacks, like supply delays or unforeseen repairs, by having backup options ready. Use a flexible plan that allows you to adapt without losing momentum. Here’s a quick overview:
| Issue | Solution |
|---|---|
| Material delays | Reschedule tasks or find alternatives |
| Unexpected structural issues | Consult a professional or modify plans |
| Tool malfunctions | Have spare tools or rent replacements |
Clean Up and Evaluate Your Completed Project

Once you’ve wrapped up your project, it is vital to clean up the workspace and assess the results thoroughly. Proper project cleanup not only keeps your area safe but also helps you spot any missed details. Take a moment for a quality evaluation to make sure everything functions as intended and looks neat. During cleanup, you might:
Completing your project? Clean thoroughly, inspect carefully, and celebrate your success.
- Gather and store leftover tools and materials properly
- Remove debris, dust, and any construction waste
- Inspect your work for imperfections or areas needing touch-up
This step guarantees your project is complete and safe to use. It also allows you to celebrate your achievement. A thorough cleanup and honest evaluation help you learn for future projects and ensure long-lasting results.
Frequently Asked Questions
How Do I Prioritize Tasks During My DIY Project?
You should start by breaking your project into smaller tasks and then prioritize based on dependencies and deadlines. Use task scheduling to set clear timelines, and allocate resources efficiently to avoid delays. Focus on critical tasks first, ensuring they’re completed before moving on to less urgent ones. Regularly reassess your priorities, adjusting as needed to stay on track and make steady progress in your DIY project.
What Safety Gear Is Essential for Home DIY Projects?
You need essential safety gear like safety equipment and protective gear to stay safe during your DIY projects. Wear goggles or safety glasses to protect your eyes, a dust mask or respirator for breathing safety, and sturdy gloves to safeguard your hands. Depending on the task, consider hearing protection and a hard hat. Always prioritize safety equipment to avoid injuries and make sure your project stays on track without setbacks.
How Can I Stay Motivated During a Lengthy Project?
Think of your project as a journey through a dense forest; each step brings you closer to the clearing. To stay motivated, set clear project milestones, celebrating each achievement. Use motivational tips like visualizing the end result and rewarding yourself along the way. Remember, every small victory fuels your progress, turning obstacles into stepping stones, and keeps your momentum strong until you reach that bright, open space at the project’s finish line.
What Are Signs My Project Is Going Over Budget?
You’ll notice your project is going over budget when your actual costs exceed your initial cost estimation. Keep an eye on your budget tracking regularly, comparing expenses against your estimates. Unexpected costs or delays can also signal overspending. To stay on track, update your budget frequently and adjust your spending as needed. Staying proactive with cost estimation and diligent budget tracking helps prevent surprises and keeps your project financially manageable.
How Do I Handle Unexpected Structural Issues?
When you encounter unexpected structural issues like foundation problems, stop work immediately and assess the severity. You’ll likely need to consult a professional to evaluate foundation issues and determine if repairs are necessary. Check permit requirements, as major structural fixes often require permits. Communicate with local authorities and your contractor to ensure compliance. Handling these issues promptly helps prevent further damage and keeps your project on track legally and safely.
Conclusion
By following these steps, you’ll turn your DIY dream into reality with confidence. Planning carefully helps you stay on track and avoid surprises, ensuring your project is a success. Remember, Rome wasn’t built in a day, so patience and persistence go a long way. Keep your goals clear, adapt as needed, and don’t forget to enjoy the process. With determination and a solid plan, you’ll have your perfect space in no time.