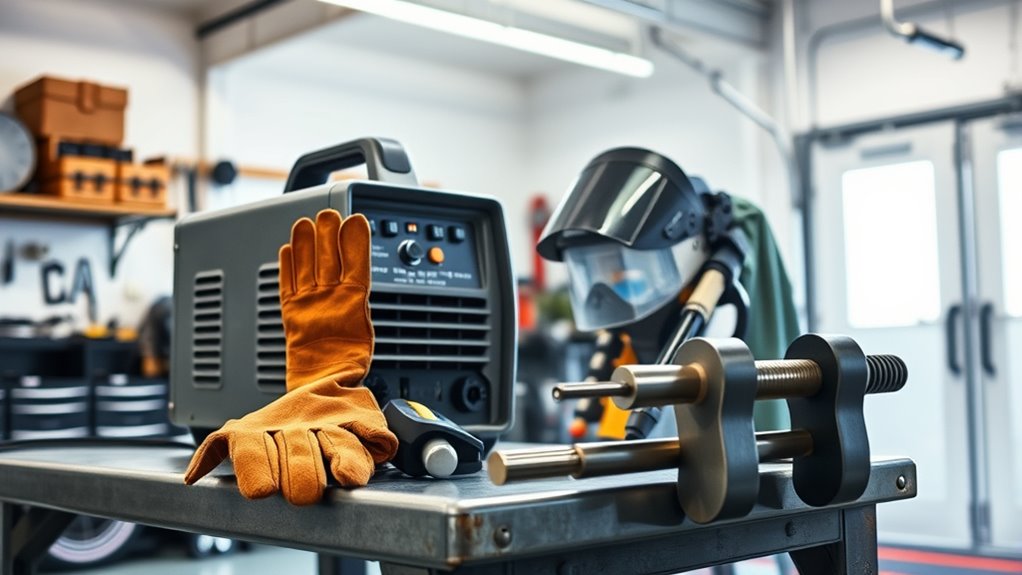
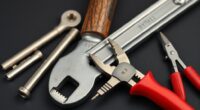
To start welding at home, you’ll need a basic setup with a compatible welding machine, like a MIG or stick welder, along with protective gear such as a welding helmet, gloves, and long-sleeved clothing. Make certain you have proper workspace ventilation, a clear area free of flammable materials, and a convenient work table. Checking equipment settings and using compatible consumables are also essential. Continue exploring to find out how to set up your ideal welding station effectively.
Key Takeaways
- Select a suitable welding method (MIG, TIG, or Stick) based on your projects and skill level.
- Gather essential safety gear: welding helmet, gloves, protective clothing, and proper ventilation.
- Ensure your workspace is well-ventilated, organized, and free of flammable materials.
- Use a compatible welding machine with correct settings for your material type and thickness.
- Keep necessary consumables on hand, such as filler rods, welding wire, and replacement parts.

Getting started with welding requires a proper setup to guarantee safety and quality results. Before you fire up your welder, it’s essential to understand the importance of welding safety and material selection. These foundational steps will help you avoid accidents and ensure your project turns out strong and durable. Safety isn’t just about wearing the right equipment; it’s about creating a workspace that minimizes risks. Always wear protective gear, including a welding helmet with appropriate shading, gloves, and a long-sleeved shirt to shield your skin from sparks and UV radiation. Make sure your workspace is well-ventilated to prevent inhalation of harmful fumes, and keep a fire extinguisher nearby in case of emergencies. Keeping your area tidy and free of flammable materials further reduces hazards, creating a safer environment to work in. Proper lighting is also essential to see your work clearly and prevent mistakes that could compromise safety.
Material selection is equally critical. Not all metals weld the same way, and choosing the right materials can considerably impact your weld quality. For beginners, common metals like mild steel, stainless steel, and aluminum are good options because they are relatively easy to work with, especially when paired with compatible consumables and filler rods. When selecting materials, consider their thickness, composition, and compatibility with your chosen welding process. Thinner metals require more precision and control, so ensure your equipment settings are adjusted accordingly. Proper material selection not only makes welding easier but also affects the strength and longevity of your finished piece. Using incompatible metals or poor-quality materials can lead to weak welds, cracking, or corrosion over time. Taking the time to understand welding techniques and how different materials behave will greatly improve your results.
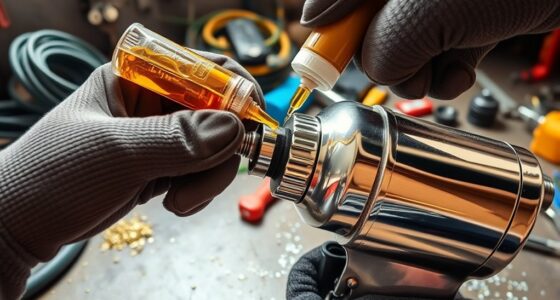
Before you start welding, double-check your equipment’s setup. This includes ensuring your welder is properly grounded, your settings are adjusted for the material type and thickness, and your consumables are correctly installed. A stable power supply and correct wire feed speed help produce clean, consistent welds. Pay attention to your welding safety practices throughout—never skip safety checks or ignore warning signs of equipment malfunction. When you combine careful material selection with strict safety protocols, you set yourself up for successful, safe welding sessions. Remember, patience and preparation are key. Investing time to get your setup right will save you frustration later and produce stronger, more professional-looking welds right from the start.
Frequently Asked Questions
What Safety Gear Is Essential for Beginner Welders?
You need essential safety gear like protective clothing and respiratory protection when welding. Wear flame-resistant clothing to shield your skin from sparks and hot metal. Use a welding helmet with a proper shade to protect your eyes and face from intense light and UV rays. Respiratory protection, like a mask or ventilator, is vital to avoid inhaling harmful fumes. Always prioritize safety to prevent injuries and health issues while welding at home.
How Do I Choose the Right Welding Machine for Home Use?
Picking the perfect portable welding machine for home use is pivotal. Prioritize versatile types like MIG or flux-cored welders for ease and efficiency. Consider your projects’ size and scope, opting for lightweight, portable options that fit your space and budget. Research brands and read reviews to guarantee durability and dependability. By balancing power, portability, and price, you’ll choose a machine that meets your needs and sparks your welding passion.
What Are Common Mistakes to Avoid When Starting Welding?
When starting welding, avoid technique pitfalls like rushing the weld or applying inconsistent pressure. Also, steer clear of equipment mistakes such as using the wrong settings or poor grounding. Practice steady hand movements and double-check your machine’s settings before beginning. Keep your workspace organized, wear proper safety gear, and don’t skip learning proper techniques. These steps help prevent common mistakes and improve your welding skills quickly.
How Much Does a Basic Welding Setup Typically Cost?
A basic welding setup usually costs between $300 and $1,000, depending on your equipment budget and the type of welding you want to do. You’ll need a welder, protective gear, and some accessories. While more advanced tools increase welding cost, starting with a simple MIG or stick welder keeps expenses manageable. Be mindful of your budget to choose quality equipment that fits your skill level and project needs.
Do I Need Special Electrical Outlets or Wiring for Welding Equipment?
They say “better safe than sorry,” and that’s true for electrical wiring. You’ll need to check your welding equipment’s electrical requirements and verify outlet compatibility. Most welders need a dedicated circuit, often a 240V outlet, to prevent overloads. If your current outlets aren’t compatible, you might need special wiring or outlets installed. Always consult a professional electrician to make sure your setup is safe and up to code.
Conclusion
Starting your welding journey is like assembling a puzzle—you need the right pieces in place. With just a few essential tools, you can turn metal into art or repair, revealing endless possibilities. I remember my first weld; it was rough, but every spark taught me something new. Once you’ve got your setup ready, you’ll find that sparks fly not just from your torch but from your confidence and creativity too.