To use a multimeter for home projects, start by choosing the right type—digital for easy readings or analog for spotting fluctuations. Always inspect the leads and set the device to the correct mode, like voltage, resistance, or current. Test circuits carefully by touching probes in the right spots and following safety steps. If you keep going, you’ll learn how to troubleshoot effectively and keep your projects safe and accurate.
Key Takeaways
- Select the appropriate multimeter type (digital or analog) based on your project needs for easier readings or trend observation.
- Always set the multimeter to the correct measurement mode (voltage, resistance, or current) before testing.
- Use proper safety precautions, such as wearing gloves and glasses, and ensure the circuit is de-energized when measuring resistance or continuity.
- Connect the black lead to COM and the red lead to the appropriate port, then touch probes to the circuit points carefully for accurate readings.
- Regularly inspect and calibrate your multimeter to maintain accuracy and ensure safe, reliable home project measurements.
Understanding the Different Types of Multimeters

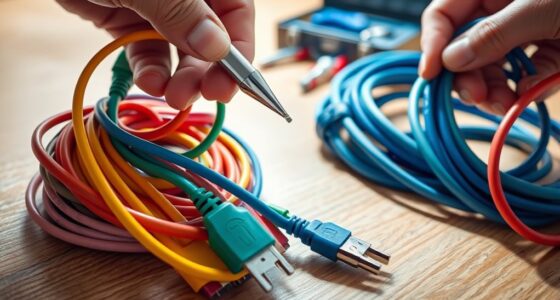
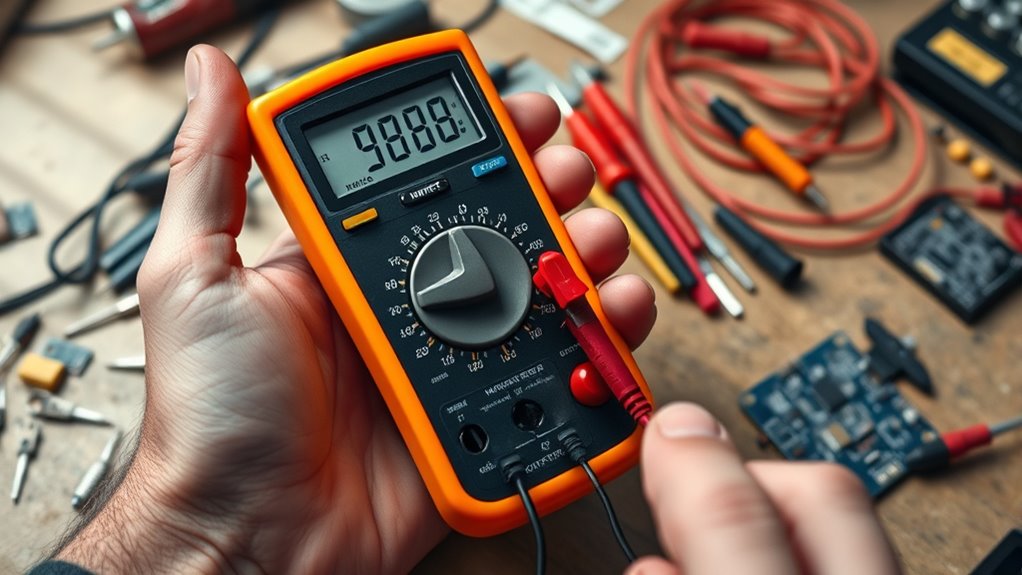
When choosing a multimeter, it’s important to understand the different types available, as each serves specific functions. A digital multimeter is popular for its ease of use, providing clear numerical readings on a digital display. It’s ideal for quick, accurate measurements of voltage, current, and resistance. On the other hand, an analog multimeter uses a needle and dial to display measurements, which some users find helpful for observing trends or fluctuations over time. Digital multimeters tend to be more precise and easier to read, making them well-suited for most home projects. Analog multimeters, while less common today, can be beneficial for detecting small changes or fluctuations in electrical signals. Knowing these differences helps you choose the right tool for your specific needs. Additionally, understanding measurement accuracy can help ensure you select a multimeter that provides reliable results for your home projects. Ensuring your multimeter is properly multimeter calibration is essential for maintaining measurement reliability, especially when troubleshooting complex electrical issues. Being aware of measurement accuracy can help ensure you select a multimeter that provides reliable results for your home projects. Moreover, selecting a multimeter with appropriate measurement ranges ensures you avoid overloads and obtain precise readings.
Essential Safety Precautions Before Using a Multimeter
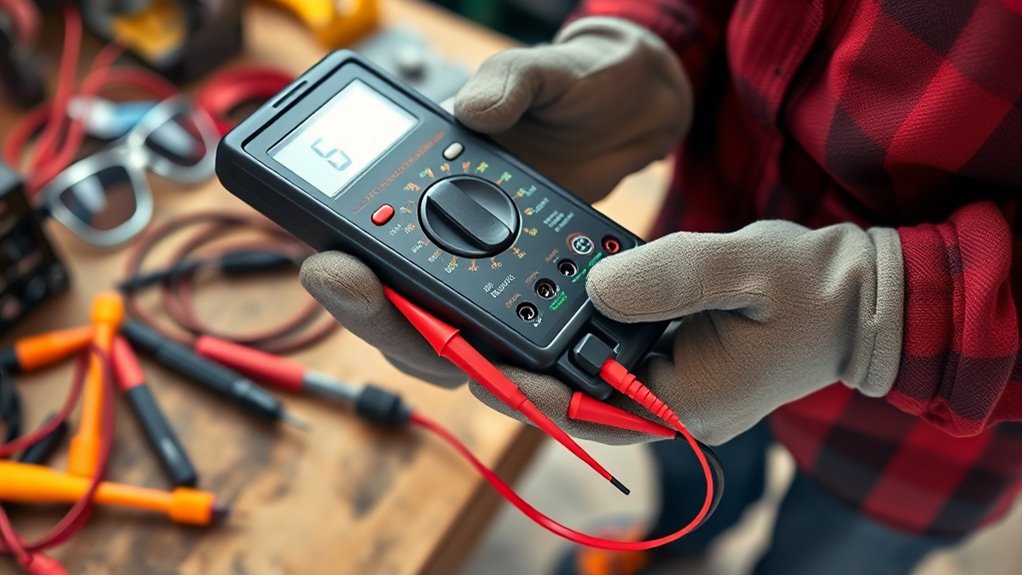
Before using a multimeter, it’s essential to prioritize safety to prevent electrical accidents or damage. Start by wearing appropriate personal protective equipment, like insulated gloves and safety glasses, to reduce risk. Always check your multimeter’s condition—inspect leads and probes for damage before use. Maintain electrical hazard awareness; know where live wires are and avoid contact. Ensure the device is set to the correct measurement mode for your task. Keep your hands dry and work in a clean, dry environment to minimize slip or accidental contact. Remember, never attempt measurements on circuits exceeding your multimeter’s rated voltage. Additionally, understanding electrical safety protocols helps prevent injuries and ensures proper handling of electrical components. Familiarize yourself with the safe testing practices specific to multimeter use. Being aware of measurement limits is crucial to avoid equipment damage or inaccurate readings. Properly understanding multimeter functions aids in choosing the right settings for different measurements. Recognizing the importance of sustainable practices in electrical work can also enhance safety and efficiency. By following these precautions, you protect yourself and ensure accurate readings, reducing the chance of dangerous situations. Safety first keeps your projects smooth and risk-free.
How to Set Up Your Multimeter for Basic Measurements
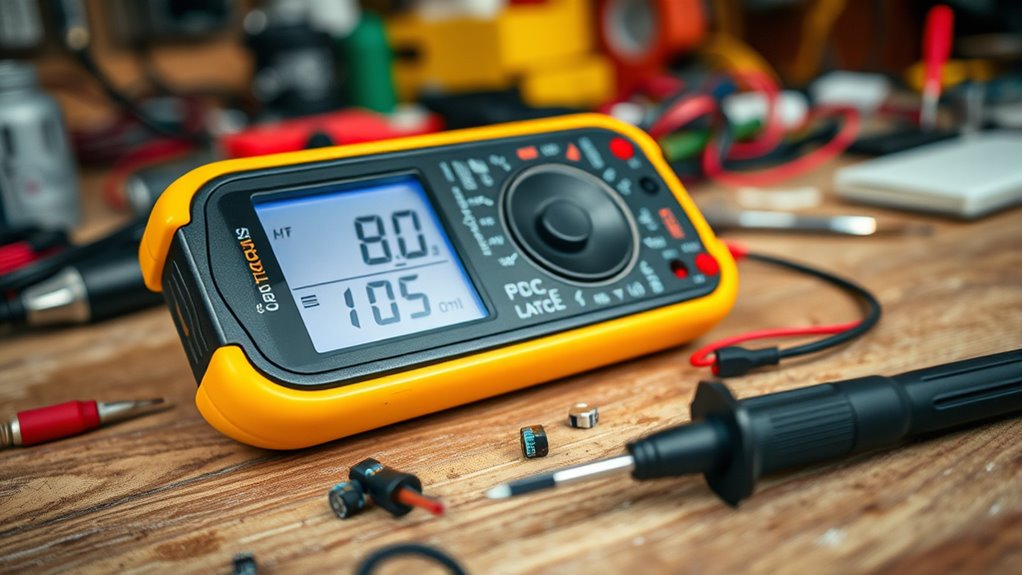
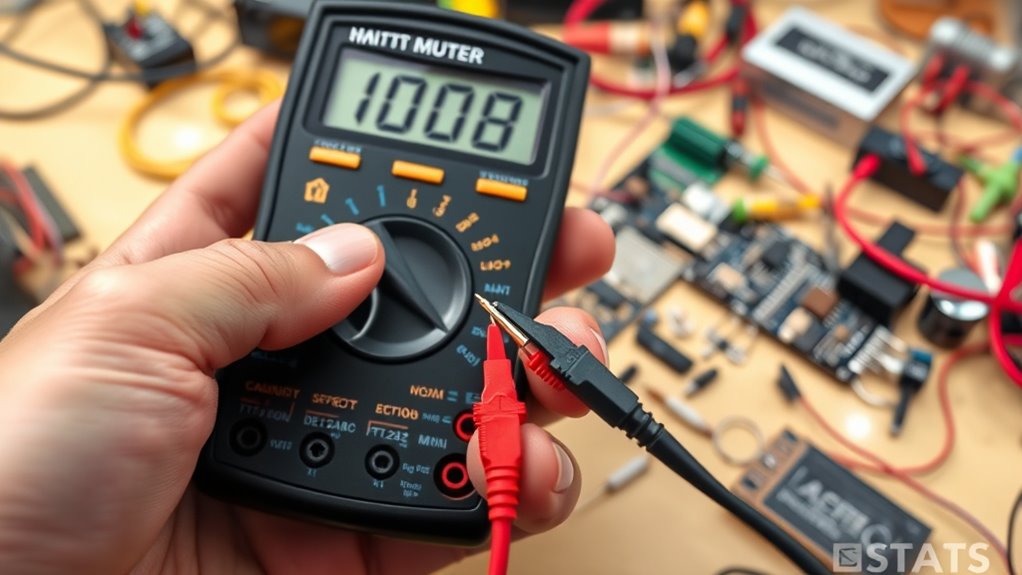
To set up your multimeter for basic measurements, start by selecting the appropriate measurement mode on the device, such as voltage, current, or resistance. Before use, verify your multimeter is properly calibrated; this helps maintain accuracy and prevents errors caused by common multimeter faults like drift or inaccurate readings. Check the probes for damage and ensure they’re securely connected. If your multimeter hasn’t been calibrated recently, consider performing a quick calibration check with a known reference to confirm accuracy. Always set the dial to the correct measurement range if your multimeter isn’t auto-ranging. This setup minimizes errors and prepares your device for precise readings. Proper setup helps avoid mistakes and ensures reliable results during your home projects. Additionally, understanding multimeter calibration and how to maintain it can significantly improve measurement accuracy over time. Regular inspection and maintenance of your multimeter are essential for consistent measurements. Maintaining proper device care ensures your multimeter remains accurate and reliable for all your home projects.
Measuring Voltage: Step-by-Step Guide

Measuring voltage with a multimeter is a straightforward process that provides essential information about electrical circuits. It helps you analyze circuit behavior and verify voltage regulation. To start, set your multimeter to the appropriate voltage range—AC or DC—based on your circuit. Then, follow these steps:
Measuring voltage with a multimeter is simple and essential for circuit analysis and troubleshooting.
- Connect the black lead to the common (COM) port.
- Connect the red lead to the voltage (V) port.
- Touch the black probe to the circuit’s ground or negative terminal.
- Touch the red probe to the point where you want to measure voltage.
- Remember, understanding how to use a multimeter correctly can make your home projects safer and more efficient, especially when creating calm, clutter-light homes with simple tools. Knowing how to interpret the readings can also help prevent electrical hazards and ensure proper circuit functioning. Additionally, familiarizing yourself with the multimeter’s features can improve your troubleshooting skills and accuracy. Exploring water park amenities at nearby hotels can also enhance your family vacation experience, making it more enjoyable and memorable. Regular practice with your multimeter can help develop measurement accuracy, leading to better results in your home projects.
Checking Continuity and Resistance With Your Multimeter
Now, you’ll learn how to test circuit paths to guarantee they’re complete and functioning properly. By measuring resistance levels, you can identify faulty components or broken connections. Understanding how to interpret your multimeter readings helps you troubleshoot effectively and make accurate assessments. Remember to use the appropriate measurement units when analyzing your readings for precise results. Additionally, recognizing the significance of sound quality can help you understand the importance of proper maintenance in your DIY projects. To ensure safety and accuracy, always verify your multimeter calibration before starting testing.
Testing Circuit Paths
Ever wondered how to quickly determine if a circuit path is complete or broken? Circuit path testing with your multimeter allows for efficient continuity verification. To do this, set your multimeter to the continuity or resistance mode. Touch the probes to each end of the circuit segment. If the multimeter beeps or shows a low resistance reading, the path is complete. If there’s no beep and resistance is high or infinite, the path is broken. Keep these tips in mind:
- Ensure the circuit is powered off before testing
- Maintain good contact between probes and contact points
- Use the correct multimeter settings for continuity or resistance
- Confirm the multimeter’s probes are functioning properly
This process helps you quickly identify faults, ensuring your home projects stay on track.
Measuring Resistance Levels
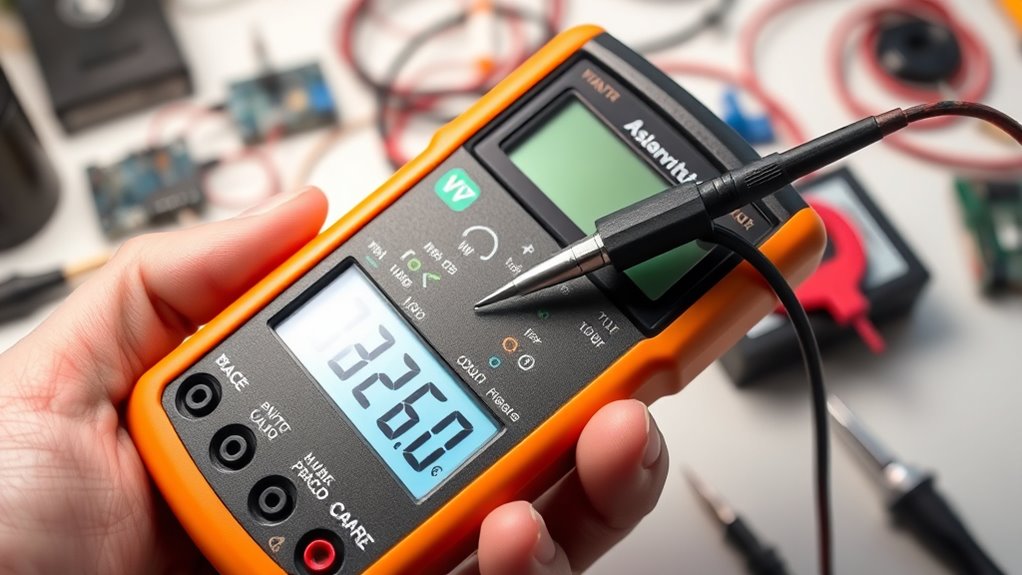
To check the resistance levels in a circuit, set your multimeter to the resistance (Ω) or continuity mode. Touch the probes together to guarantee it reads zero or near-zero resistance, confirming proper function. When testing resistors, place the probes on each end and read the display; a low resistance indicates a good resistor, while an infinite reading suggests it’s open or faulty. Measuring insulators involves testing materials that shouldn’t conduct electricity; a high or infinite resistance confirms they’re effective insulators. Always verify the circuit is de-energized before measuring resistance to avoid damage or inaccurate readings. Resistance measurements help identify faulty components and verify proper insulation. This process is essential for troubleshooting and ensuring safety in your home projects.
Interpreting Multimeter Readings
Interpreting multimeter readings accurately is essential for diagnosing electrical issues. When checking continuity and resistance, your goal is to understand what the readings reveal about circuit analysis and component identification. A low resistance reading indicates a closed circuit, confirming continuity. Conversely, a high or infinite reading suggests an open circuit or fault. To interpret readings effectively:
- Confirm the multimeter is set to the correct mode (continuity or resistance).
- Ensure probes are properly connected and contact points are clean.
- Look for a beep or steady reading to verify continuity.
- Compare readings against expected values for specific components or circuits.
Understanding these readings helps you determine if a component functions correctly or if there’s a break in the circuit. Accurate interpretation safeguards time and prevents unnecessary replacements or repairs.
How to Measure Current Safely and Accurately
Measuring current with a multimeter requires careful attention to safety and accuracy. Before starting, ensure your multimeter is set to the correct current range to prevent damage or injury. Always turn off the power before connecting the meter in series with the circuit. When you’re ready, connect the multimeter’s leads in series with the component or wire where you want to measure current. Keep your fingers away from exposed conductors, and double-check your connections. Avoid exceeding the multimeter’s maximum current rating, as this can cause sparks or damage. Remember, safety considerations are essential; working with live circuits increases the risk of shock. Take your time, verify your settings, and follow proper procedures to achieve reliable current measurement safely.
Troubleshooting Common Home Electrical Issues
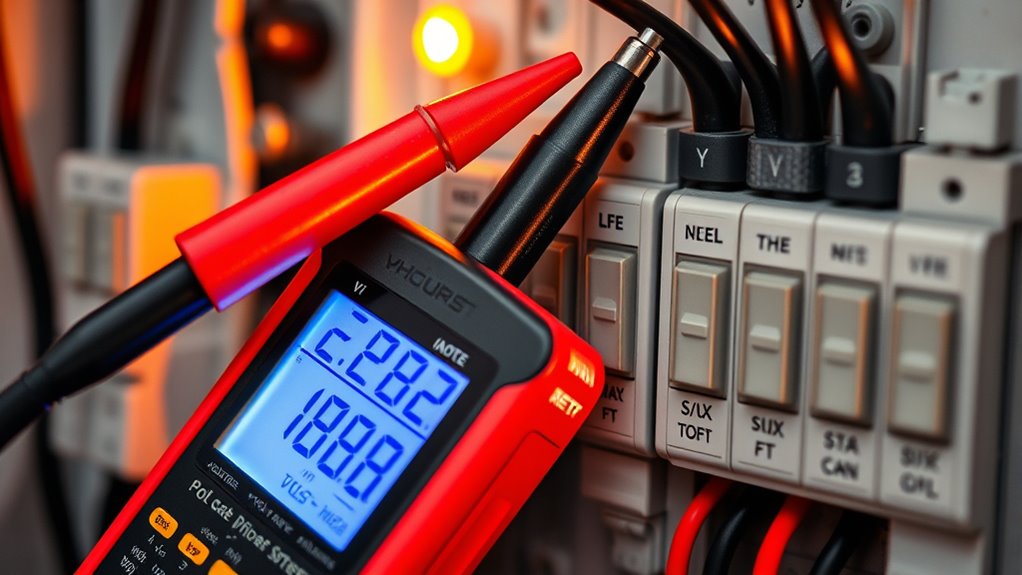
When you encounter electrical issues around the house, troubleshooting effectively can save you time, money, and potential hazards. Using a wireless multimeter can simplify diagnostics, especially when inspecting outlets or switches from a distance. Decide between digital vs analog multimeters based on your needs; digital models offer clearer readings, while analog units can be more intuitive in certain situations. Here are some troubleshooting tips:
- Check for loose or broken wiring connections
- Test outlets for proper voltage
- Inspect circuit breakers for tripped switches
- Use your multimeter to verify continuity and voltage levels
Tips for Maintaining and Caring for Your Multimeter
To keep your multimeter in good shape, make sure you store it properly after each use to prevent damage. Regularly calibrate the device to guarantee accurate readings, and check for any signs of wear or damage. Taking these simple steps will extend your multimeter’s lifespan and keep it working reliably.
Store Properly After Use
Properly storing your multimeter after each use is essential to keep it in good working condition. Correct storage prevents damage, preserves battery life, and ensures accurate readings. Always store your multimeter in a clean, dry place away from direct sunlight and extreme temperatures. To maintain its longevity, consider these tips:
- Use a dedicated case or compartment to protect it from dust and impacts
- Remove the batteries if you won’t use the multimeter for an extended period, aiding battery preservation
- Keep the probes and leads neatly stored to prevent fraying or damage
- Avoid hanging the device by cords, which can stress internal components
Implementing proper storage habits helps extend your multimeter’s lifespan and maintains measurement accuracy over time.
Regularly Calibrate Equipment
Regular calibration is essential to make sure your multimeter provides accurate readings over time. How often you calibrate depends on your usage and the precision needed for your projects, but a common recommendation is at least once a year. Regular calibration helps maintain equipment accuracy, ensuring your measurements stay reliable. If you notice inconsistent readings or suspect drift, calibrate sooner. Use certified calibration sources or professional services to verify your multimeter’s accuracy. Keep a calibration log to track maintenance intervals. Proper calibration not only guarantees precise results but also extends the lifespan of your device. By staying consistent with calibration frequency, you ensure your multimeter performs at its best, giving you confidence in every measurement for your home projects.
Check for Damage Periodically
Checking your multimeter for damage regularly helps prevent inaccurate readings and extends its lifespan. Incorporate inspection routines into your maintenance to catch issues early. Look for cracked screens, loose wires, or corrosion on terminals. Damage identification is vital; even small cracks or worn-out parts can compromise accuracy. Periodic inspections help you verify that the device functions correctly and safely. When inspecting, consider these key points:
- Examine the display for cracks or dead pixels
- Test the leads for fraying or exposed wires
- Inspect the input jacks for corrosion or debris
- Check the internal fuse for continuity if readings seem off
Consistent damage detection ensures your multimeter remains reliable for home projects. Staying vigilant with inspection routines promotes longevity and safety.
When to Seek Professional Help for Electrical Problems
Electrical problems can sometimes be straightforward to troubleshoot, but there are times when they’re best left to the professionals. If you notice persistent flickering lights, burning smells, or sparks, it’s a clear sign to seek help. Attempting to fix issues like wiring or circuit installation without proper training can be dangerous.
| When to Seek Help | Why It Matters |
|---|---|
| Uncertain about wiring | Risk of electric shock or fire |
| Frequent breaker trips | Underlying circuit issues |
| Electrical contract needed | Legal and safety compliance |
If you’re unsure or uncomfortable, contact a licensed electrician. They have the expertise to handle complex electrical problems safely, ensuring your home remains secure.
Frequently Asked Questions
Can I Use a Multimeter to Test Household Appliances?
Yes, you can use a multimeter to test household appliances. Just remember safety precautions like unplugging appliances before testing and wearing insulated gloves if needed. Always set your multimeter to the correct setting, and do regular multimeter maintenance to guarantee accuracy. Avoid touching exposed wires, and double-check your readings. Properly maintaining your multimeter helps prevent damage and keeps your tests safe and reliable.
How Do I Differentiate Between AC and DC Measurements?
Imagine trying to read a secret code—AC and DC measurements are just that! To differentiate, look at your multimeter: if it shows a wave symbol, it’s AC; if it’s a straight line with dots underneath, it’s DC. Check the voltage polarity and measurement units—AC uses volts with a sine wave, while DC uses volts with a straight line. Always select the right setting to avoid confusion or damage!
What Should I Do if My Multimeter Displays an Error Message?
If your multimeter displays an error message, you should first consult the user manual for specific troubleshooting tips. Check that the probes are properly connected and the settings match your measurement type. Verify the battery isn’t dead, and reset the device if needed. For persistent issues, consider performing error message solutions like replacing faulty probes or contacting customer support. Proper multimeter troubleshooting helps you get accurate readings quickly.
Is It Possible to Measure Frequency With a Standard Multimeter?
A stitch in time saves nine, so it’s wise to know your multimeter’s limits. Standard multimeters usually can’t measure frequency accurately, as their primary function is voltage, current, and resistance. If you need frequency measurement, look for a multimeter specifically designed for that purpose or use an oscilloscope. Relying on a basic multimeter for frequency readings can lead to inaccurate results, so understand your device’s limitations.
How Do I Store My Multimeter to Prevent Damage?
To prevent damage, you should store your multimeter properly by keeping it in a dry, cool place away from direct sunlight and moisture. Always turn off the device and remove the batteries if you’re not using it for an extended period to maintain proper storage and prevent corrosion. Regular battery maintenance, like checking and replacing batteries when needed, ensures your multimeter works accurately and lasts longer.
Conclusion
Mastering your multimeter empowers you to troubleshoot simple home issues confidently. While it’s a handy tool, remember that some problems are better left to professionals—like those involving high voltages or complex wiring. Think of your multimeter as your first line of defense, not the final solution. When in doubt, prioritize safety and seek expert help. With knowledge and caution, you’ll keep your home safe and your skills sharp.