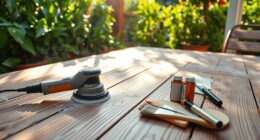
To refresh your outdoor space, you’ll need essential tools like a stiff-bristled brush for scrubbing and a garden hose or pressure washer for rinsing. Use a suitable deck cleaner to remove dirt, mold, and old finishes. After cleaning, guarantee the deck dries completely and lightly sand any rough spots. When applying stain, choose the right type for your desired look and use brushes, rollers, or sprayers. Keep these tools in mind to achieve a long-lasting, beautiful deck—learn more about each step below.
Key Takeaways
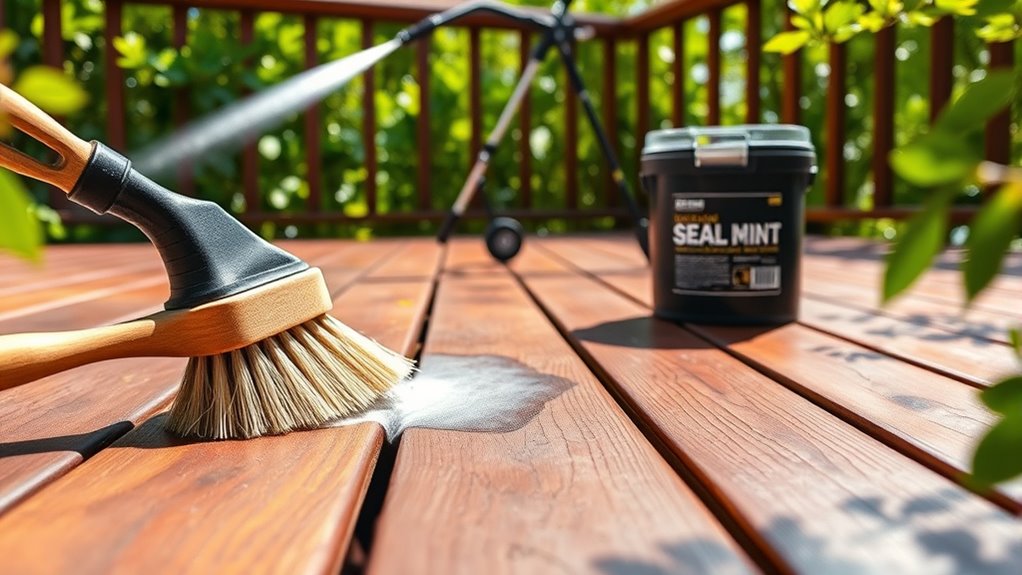
- Use a stiff-bristled brush and garden hose to remove dirt, mold, and loose debris before cleaning.
- Select a suitable deck cleaner based on your wood type and apply it with a brush or scrubber.
- Consider a pressure washer for thorough cleaning, but use it cautiously to avoid damaging the wood.
- After cleaning, allow the deck to dry completely for one or two days before sealing.
- Choose a quality stain with UV protection and apply with a brush, roller, or sprayer for a refreshed outdoor look.
Cleaning and sealing your deck is vital for maintaining its appearance and extending its lifespan. When you start this process, the first step involves proper wood prep to guarantee your deck is ready for a fresh coat of protection. Before applying a deck stain, you need to thoroughly clean the surface to remove dirt, mold, and old, peeling finishes. This not only improves the appearance but also helps the stain adhere better, giving you a long-lasting finish.
To begin, gather the right tools for cleaning—think of a stiff-bristled brush, a garden hose, and a deck cleaner suitable for your wood type. You might also want a pressure washer for stubborn grime, but be cautious with the pressure settings to avoid damaging the wood. Once you’ve got your tools, start by sweeping off loose debris like leaves and dirt. Next, mix your deck cleaner according to the manufacturer’s instructions and apply it evenly across the deck. Use your brush or a deck scrubber to work the cleaner into the wood, paying special attention to areas with mold or stains. Allow the cleaner to sit for a few minutes to loosen dirt and grime.
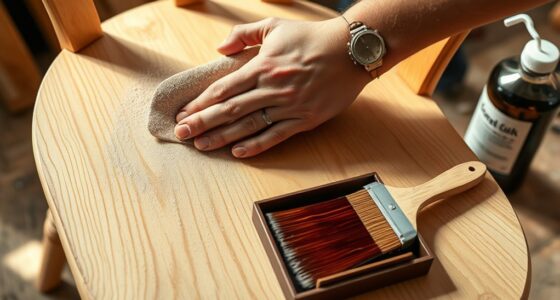
After scrubbing, rinse the deck thoroughly with water, ensuring all cleaning residue is washed away. Let the wood dry completely—this step is vital because applying stain on damp wood will compromise its effectiveness and longevity. This drying process might take a day or two, depending on weather conditions. Once dry, you’re ready for the wood prep phase. Lightly sand the surface if it feels rough or has splinters, which will help the stain penetrate evenly. Remove any dust created during sanding with a vacuum or a damp cloth.
Additionally, choosing a quality deck stain designed for outdoor use can make a significant difference in durability and appearance. Now that your wood is clean and prepped, you can move on to choosing the right deck stain. Look for a product that matches your desired look—whether transparent, semi-transparent, or solid—and offers UV protection and water resistance. When applying the stain, use a brush, roller, or sprayer, and follow the product instructions carefully. Be sure to work in the shade if possible and avoid applying stain in direct sunlight, which can cause it to dry too quickly and result in uneven coverage.
Frequently Asked Questions
How Often Should I Reseal My Deck?
You should reseal your deck every 1 to 3 years, depending on the wood treatment and sealant types you use. Regular resealing protects your wood from moisture, UV damage, and wear. If your sealant starts to peel or fade, it’s time for a new coat. Keep an eye on the condition of your deck, and reapply sealant more frequently in harsh weather or high-traffic areas for lasting protection.
Can I Clean and Seal a Deck in Rainy Weather?
You shouldn’t clean and seal your deck in rainy weather because the rain prevents proper deck drying, which is essential for sealing. Moisture trapped in the wood can cause sealant to fail, leading to issues like peeling or mold. Wait until the weather forecast predicts dry conditions, ideally allowing your deck to dry completely over a couple of sunny days, ensuring a durable, long-lasting seal.
What Are Eco-Friendly Cleaning and Sealing Options?
You can embrace eco-friendly choices by selecting biodegradable cleaners and natural sealants for your deck. These options gently care for your wood while being kind to the environment, avoiding harsh chemicals. Using biodegradable cleaners helps keep waterways clean, while natural sealants protect your deck with minimal ecological impact. This way, you refresh your outdoor space responsibly, enjoying a beautiful deck that’s safe for your family and the planet.
How Do I Repair Damaged Wood Before Sealing?
Start by evaluating the damage on your wood to identify cracks, rot, or splinters. Use a putty knife or wood filler to repair small holes or cracks, making sure you smooth out the surface. For larger damage, replace broken or rotted boards entirely. Once repairs are complete, sand the area to create a consistent surface, making sure it’s clean and dry before sealing. Proper wood repair ensures your deck lasts longer and looks great.
What Safety Precautions Are Needed During Sealing?
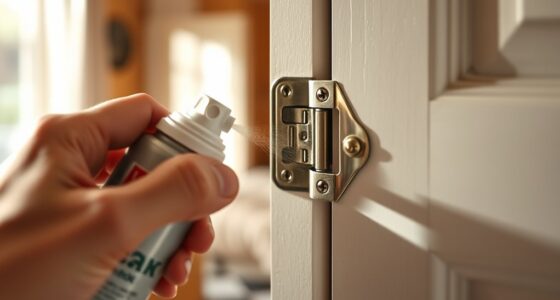
Think of sealing your deck like donning armor before a battle—you need protective gear. Always wear gloves, goggles, and a mask to guard against fumes and splashes. Make certain good ventilation safety by working outdoors or in well-ventilated areas to avoid inhaling harmful vapors. Taking these precautions keeps you safe, much like a knight prepared for any challenge, so you can enjoy your refreshed deck without worry.
Conclusion
Now that you’ve learned how to clean and seal your deck, you’re all set to enjoy a beautiful, weather-resistant outdoor space. Remember, regular upkeep keeps your deck looking like it’s straight out of a Victorian tableau—timeless and charming. So, roll up your sleeves, gather your tools, and give your deck the royal treatment it deserves. Before you know it, you’ll be hosting gatherings that would make even Gatsby jealous!