
To seal gaps like a pro with a caulk gun, start by choosing the right caulk for your project and preparing the surface by cleaning and drying it thoroughly. Load the tube properly, cut the nozzle at a 45-degree angle, and apply steady pressure while moving the gun smoothly along the gap. Maintain a consistent bead and smooth it out with a finger or tool. For best results, avoid common mistakes and learn more tips to perfect your technique.
Key Takeaways
- Choose the correct caulk and caulk gun size, matching them to your project and surface type.
- Prepare surfaces by cleaning, removing old caulk, and ensuring dryness for better adhesion.
- Cut the nozzle at a 45-degree angle and load the tube properly into the caulk gun.
- Apply steady, controlled pressure and maintain a consistent speed for smooth, even beads.
- Smooth and finish the caulk with a finger or tool, then clean tools immediately for a professional seal.
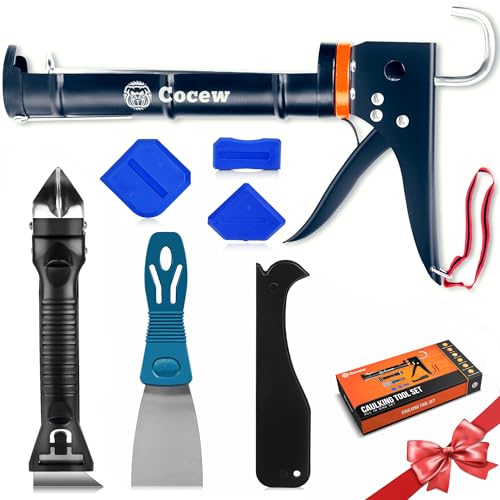
Caulk Gun Kit, Smooth Silicone Caulking Gun and Caulk Remover Tool, Sealant Finishing Tool Grout Scraper for Kitchen Bathroom Window Sink Joint, All in One with Gift Box
【Easy to operate】Cocew Caulking Gun is lightweight, the Smooth Pressure Rod is available with a high thrust ratio….
As an affiliate, we earn on qualifying purchases.
As an affiliate, we earn on qualifying purchases.
Choosing the Right Caulk and Caulk Gun for Your Project
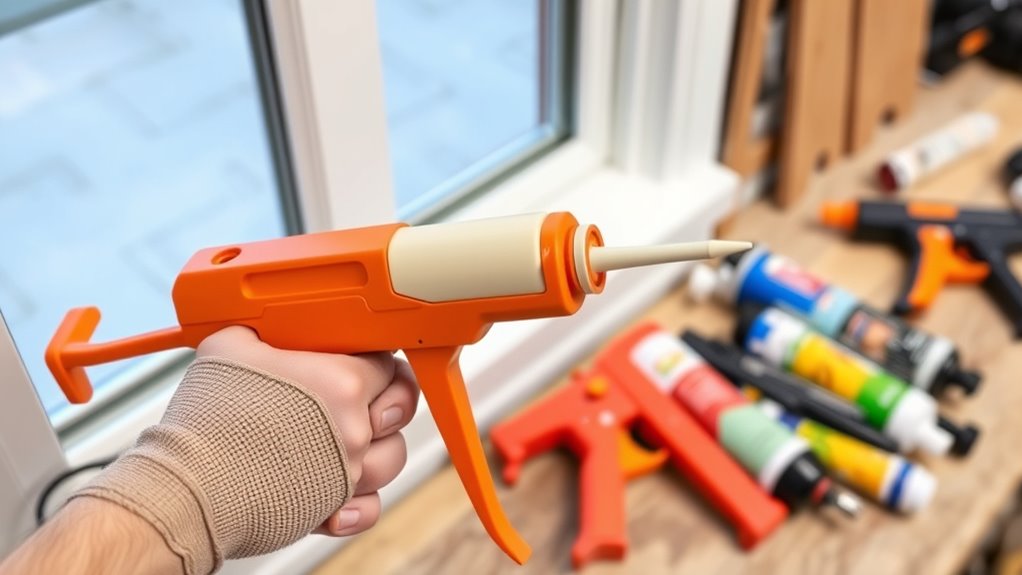
Choosing the right caulk and caulk gun is vital for a successful project. First, consider the caulk color; pick one that matches or complements your surface for a seamless look. If you’re sealing areas exposed to moisture, like bathrooms or kitchens, opt for waterproof caulk. For outdoor projects, choose a durable, weather-resistant formula. When it comes to your caulk gun, select one that fits the size of your caulk tube—manual or pneumatic, depending on your comfort level. Proper caulk storage is also imperative; keep unused caulk tightly sealed and stored in a cool, dry place to prevent it from drying out or clogging. This guarantees your supplies stay fresh and ready for the next time you need them, saving you time and effort. Additionally, understanding the contrast ratio of your projectors can help you create a more immersive home cinema experience. To ensure professional results, it’s helpful to learn proper caulking techniques, which can make a significant difference in the appearance and durability of your seal. Incorporating ventilation considerations can also enhance safety and curing times during application. Being aware of smart home technology options can provide additional safety and convenience during your DIY projects, such as automated lighting or security alerts. Incorporating safety precautions when handling caulk and tools further ensures a smooth and accident-free project.

GE Advanced Silicone Caulk for Kitchen & Bathroom, White, 2.8 fl oz Tube, 1 Pack – 100% Waterproof Silicone Sealant, 5X Stronger Adhesion, Shrink & Crack Proof
100% Silicone Caulk Protection: This silicone caulk white provides ultimate waterproof protection, ensuring a reliable seal against water…
As an affiliate, we earn on qualifying purchases.
As an affiliate, we earn on qualifying purchases.
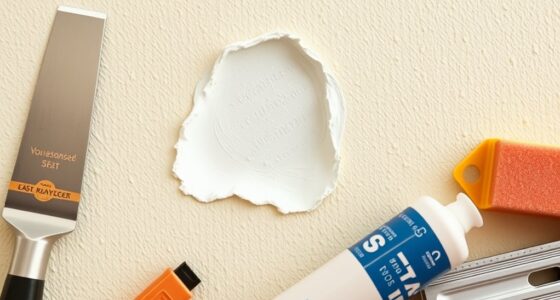
Preparing the Surface Before Applying Caulk
Before applying caulk, it’s essential to prepare the surface to guarantee a strong, clean seal. Proper surface preparation involves removing dust, dirt, old caulk, and loose debris, which helps the new caulk adhere better. Use a utility knife or scraper to clean the area thoroughly, ensuring no residues hinder adhesion. Moist or uneven surfaces can compromise the seal, so dry the area completely before applying new caulk. Additionally, check your tools for proper maintenance; sharp blades and clean nozzles make the process smoother and prevent imperfections. Well-maintained tools help you achieve a neat, professional finish. Taking the time for surface preparation and tool maintenance results in a more durable, effective seal that lasts longer. Understanding navigation and mapping principles can also help you identify areas that require extra attention during prep. For optimal results, consider inspecting the surface condition to ensure there are no underlying issues that could affect the longevity of your seal. Ensuring the surface is dry and even can significantly improve the adhesion and durability of your caulk. Incorporating sound therapy techniques into your preparation routine can also help in assessing the integrity of the surface, ensuring a reliable bond. In addition, paying attention to AI-powered virtual reality in e-learning can provide insights into the most effective surface assessments for complex projects.

ALLWAY CT31 3-in-1 Caulk Tool for Removal and Application
Multifunction 3-in-1 Caulk Tool: Comfortable soft-grip and made from strong engineering plastic
As an affiliate, we earn on qualifying purchases.
As an affiliate, we earn on qualifying purchases.
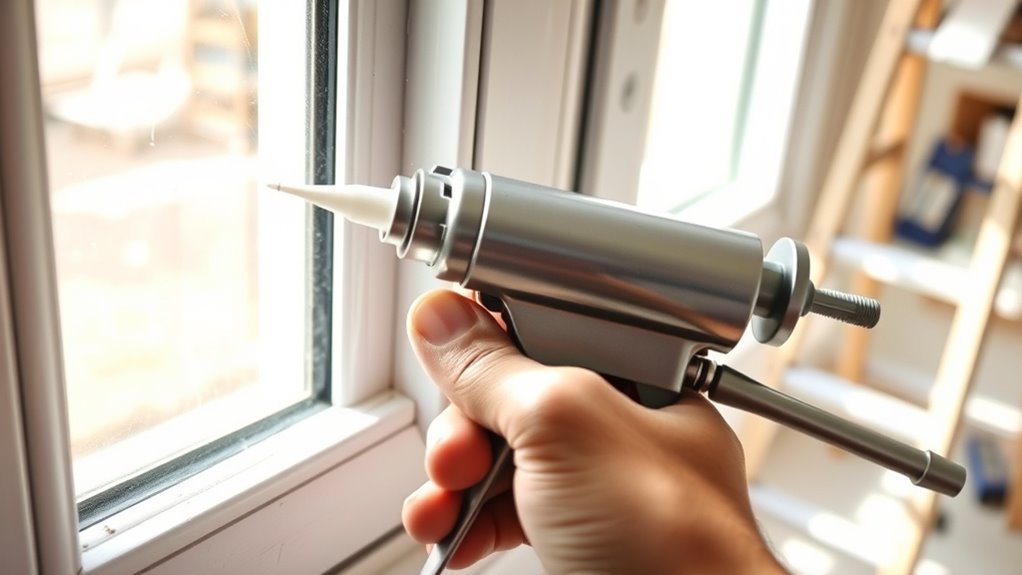
Loading the Caulk Tube Into the Gun Properly
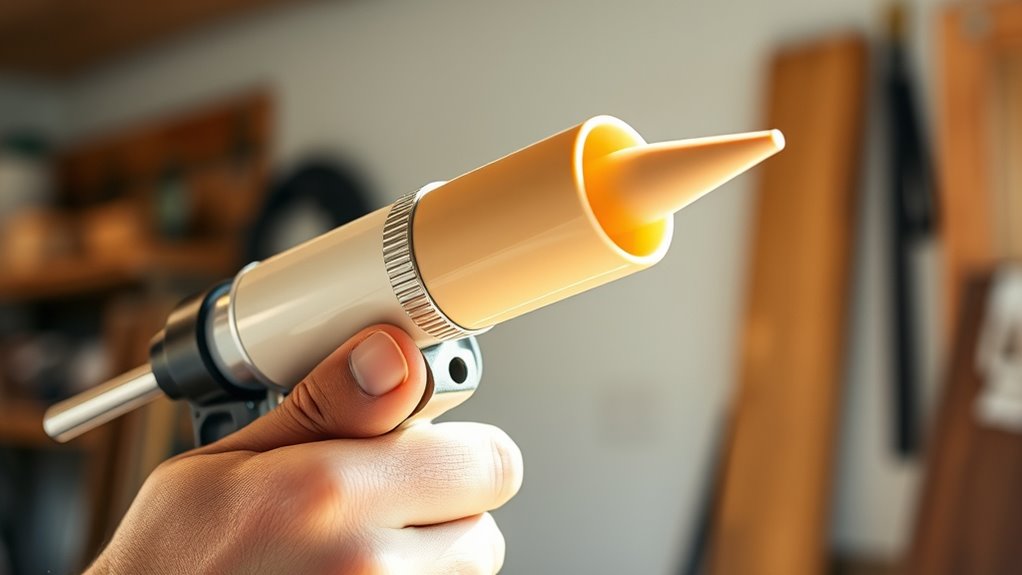
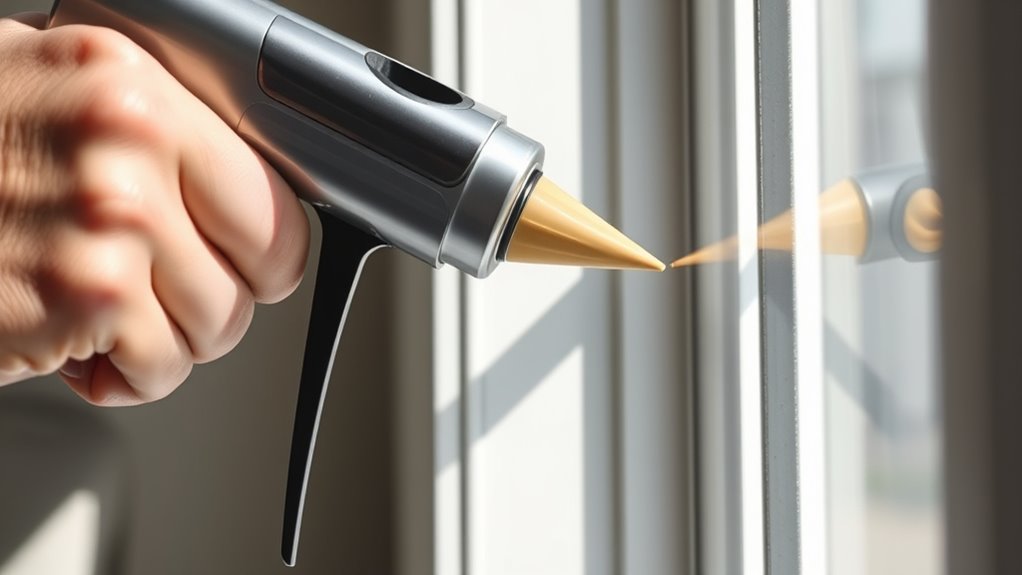
To load the caulk tube into the gun correctly, start by cutting the nozzle at a 45-degree angle to match the size of the gap you need to fill. This step is essential for proper caulk application. For caulk gun loading, verify the tube is positioned with the nozzle end facing outward. Begin by inserting the tube into the back of the caulk gun, making sure it seats firmly against the plunger. During tube insertion, push the tube all the way in until it stops, and then secure it by squeezing the gun’s trigger or activating the release mechanism, depending on your model. Proper tube insertion ensures even pressure and smooth caulk flow. Confirm the tube is securely in place before you start squeezing the trigger to apply the caulk. Additionally, pressure regulation helps maintain a consistent flow and prevents over-application. Checking that the caulk flow is steady before starting your project can save you time and effort.

XIYAOXI Silicone Caulking Tools Compatible with Sealant Grout Finishing Sealing 3 Pieces Blue Caulk Tool Kit Caulking Finishing Tools
Caulking Finishing Tool:provide different edges, it can meet your needs in sealing work when you seal the different…
As an affiliate, we earn on qualifying purchases.
As an affiliate, we earn on qualifying purchases.
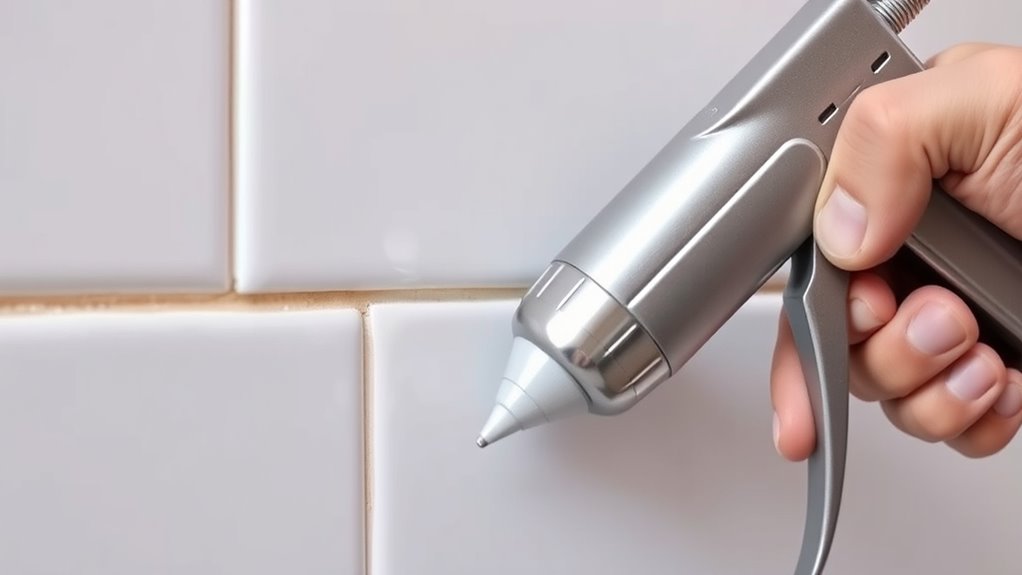
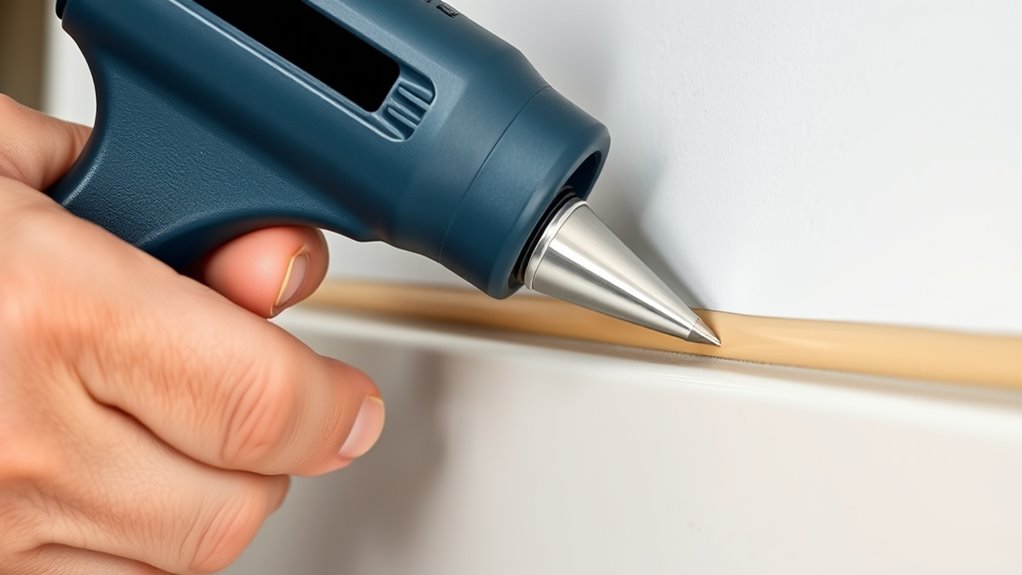
Applying Consistent and Smooth Beads of Caulk

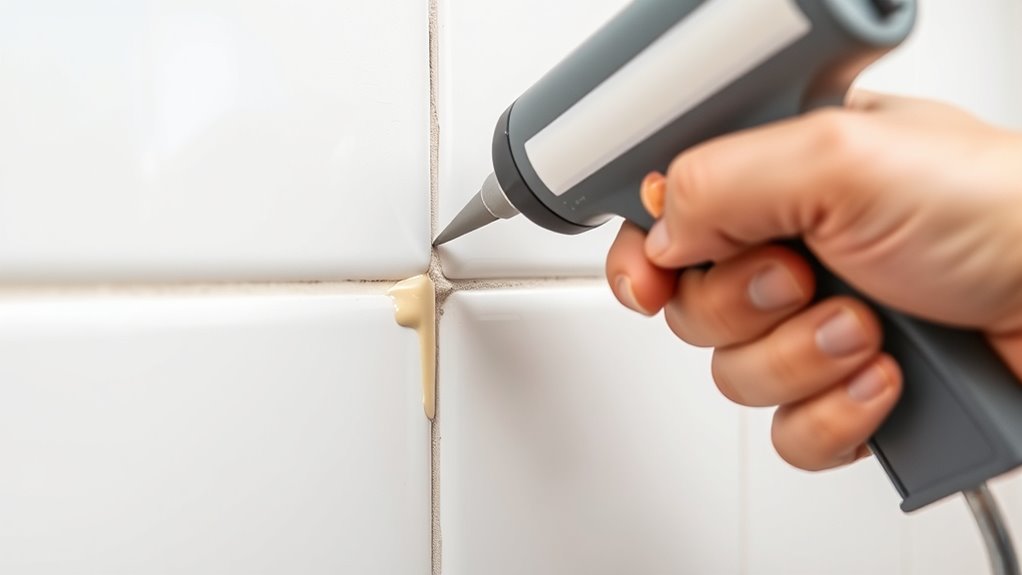
To get smooth, even beads of caulk, keep a steady hand and maintain consistent pressure on the trigger. Focus on controlling your movement to make certain the bead stays uniform in width and smooth along the joint. Practicing these techniques helps you achieve professional-looking results with less mess. Additionally, proper preparation of the surface ensures better adhesion and a cleaner finish. Using the right tools and accessories can also contribute to a more precise application.
Steady Hand Technique
Maintaining a steady hand is essential for applying clean, consistent beads of caulk. With a steady hand, you gain precise control over the caulk gun, ensuring smooth, even lines. To achieve this, rest your arm on a stable surface or brace yourself against the wall for added stability. Keep the gun perpendicular to the surface for uniform application. Focus on steady, continuous pressure on the trigger, avoiding sudden jerks or pauses. Practice slow, controlled movements, guiding the gun steadily along the gap. This technique helps prevent uneven beads or gaps in the seal. Remember, a steady hand results in a professional finish and reduces the need for rework. Consistent, smooth application is the key to sealing gaps effectively like a pro. Additionally, understanding the importance of Free Floating in backyard design can help you create a more seamless and aesthetically pleasing environment.
Proper Caulk Pressure
Applying consistent and smooth caulk pressure is essential for creating professional-looking seals. When you maintain steady caulk pressure, the bead of caulk flows evenly, preventing gaps or uneven thickness. To achieve this, focus on your hand steadiness; a firm, controlled grip helps you apply uniform pressure throughout the process. Avoid pressing too hard, which can cause excess caulk and mess, or too lightly, which results in gaps. Practice maintaining a steady pace as you move the caulk gun along the joint. By controlling caulk pressure carefully, you’ll produce smooth, continuous beads that adhere properly and look neat. Proper tool control is crucial for achieving a clean, professional finish. Additionally, developing a steady hand helps ensure consistent application, reducing the need for rework. Being aware of pressure regulation techniques can further improve your results. Maintaining awareness of consistent force application allows you to adapt to different joint sizes and shapes seamlessly. Remember, consistent caulk pressure is key to sealing gaps effectively and achieving a clean, professional finish. Developing an understanding of pressure consistency can significantly enhance your sealing results and overall craftsmanship.
Consistent Bead Width
Achieving a consistent bead width is essential for a neat and effective seal. To guarantee bead consistency, focus on maintaining steady pressure and a smooth, even motion as you apply the caulk. Practice refining your technique by moving the gun at a steady pace, avoiding sudden stops or starts that can cause uneven beads. Keep the tip at a uniform angle and apply gentle, consistent pressure to control the flow of caulk. Using a steady hand helps prevent gaps or blobs, resulting in a professional-looking seal. If needed, pause briefly to adjust your technique, and wipe excess caulk for a cleaner finish. Proper technique is crucial for achieving smooth, uniform beads that improve both the appearance and function of your sealing job. Developing a technique that emphasizes consistent pressure and motion will help you achieve professional results. With practice, your technique refinement will lead to smooth, uniform beads that improve both the appearance and function of your sealing job. Additionally, understanding how airless paint sprayers operate can inspire confidence in using various tools for home improvement projects. Moreover, exploring digital literacy can help you utilize online resources to learn new skills and improve your craftsmanship. Incorporating knowledge about sealant quality can also ensure that your work withstands environmental conditions and lasts longer.
Techniques for Smoothing and Finishing the Caulk Line
Smoothing and finishing the caulk line is essential for a professional-looking seal. To do this effectively, focus on proper technique and your caulk gun ergonomics. First, use a damp finger or a caulk finishing tool to gently smooth the bead, ensuring an even, neat line. Second, match the caulk color to your surface for a seamless appearance, especially important for visible areas. Third, maintain steady pressure on the caulk gun to avoid uneven lines and reduce hand fatigue. Keep your hand steady and use controlled motions to create a smooth, consistent bead. Proper ergonomics help prevent mistakes and make the process easier, resulting in a clean, professional finish that lasts longer.
Cleaning Up Excess Caulk and Maintaining Your Tools

After you’ve finished caulking, it’s important to clean up any excess immediately to prevent it from hardening and becoming difficult to remove later. Using effective cleanup techniques, you can easily wipe away fresh caulk with a damp cloth or paper towel. For stubborn spots, a caulk remover or a razor blade can help. Proper tool maintenance is essential; clean your caulk gun right after use with warm, soapy water or a solvent suitable for the caulk type. This prevents residue buildup, keeps your tools in good condition, and ensures smooth operation for future jobs. Store your tools properly, and regularly inspect and clean the nozzle and trigger mechanism. Well-maintained tools make caulking cleaner, faster, and more precise every time.
Tips for Ensuring Long-Lasting Seals
To guarantee your seal lasts, start by preparing the surfaces properly—clean and dry them thoroughly. Apply consistent pressure while squeezing the caulk to avoid gaps or air pockets. Also, choose the right caulk type for your specific project to improve durability and performance.
Prepare Surfaces Properly
Before applying caulk, make sure the surface is clean, dry, and free of dust, grease, or old caulk. Proper surface preparation guarantees a tight, long-lasting seal. First, thoroughly clean the area to remove debris and residue. Second, consider applying a primer if the surface is porous or slick, as it improves adhesion. Third, let the primer dry completely before caulking. Surface preparation and primer application are vital for durability. Use a putty knife or scraper to remove old caulk and roughen smooth surfaces for better bonding. Always follow the manufacturer’s instructions for primer use and drying times. Preparing surfaces properly minimizes gaps and guarantees your caulk adheres evenly, giving you a professional finish that lasts.
Apply Consistent Pressure
Applying consistent pressure while squeezing the caulk gun guarantees a smooth, even bead that adheres properly to the surface. To achieve this, maintain a firm hand grip on the gun’s handle, ensuring control without excessive force. Use your trigger control to steadily squeeze the trigger, avoiding sudden jerks or uneven pressure changes. This steady pressure helps prevent gaps or blobs, resulting in a professional-looking seal. Keep your hand steady, and don’t rush; consistent pressure is key to a long-lasting, durable seal. Practice maintaining a smooth, continuous flow of caulk as you work along the joint. Proper trigger control coupled with a steady hand grip ensures you apply just the right amount of pressure for a clean, effective seal every time.
Use Appropriate Caulk Type
Choosing the right caulk type is essential for ensuring your seal lasts. Different caulk types suit different project requirements, so selecting appropriately makes a big difference. Here’s what to contemplate:
- For indoor seams and cracks, opt for latex or acrylic caulk, which are easy to apply and paintable.
- For areas exposed to water or moisture, like bathrooms or kitchens, use silicone caulk for durability and waterproofing.
- Exterior projects, such as window trim or siding, require weather-resistant caulk like polyurethane or acrylic latex with silicone, ensuring long-lasting seals against the elements.
Matching the caulk types to your specific project requirements guarantees a professional finish and prevents early deterioration. Always read labels to confirm the caulk’s intended use and lifespan.
Common Mistakes to Avoid When Using a Caulk Gun
One common mistake people make when using a caulk gun is applying too much pressure, which can lead to uneven or messy lines. This often results from incorrect technique and poor preparation. If you rush or skip cleaning and drying surfaces beforehand, the caulk won’t adhere properly, causing gaps or cracks. Using excessive pressure can cause the caulk to spread unevenly or overflow, making cleanup harder. To avoid this, maintain steady, gentle pressure and practice controlled movements. Take the time to prepare surfaces properly, ensuring they’re clean and dry. Proper technique and thorough prep help you produce smooth, professional-looking seals. Remember, patience and attention to detail are key to avoiding common pitfalls and achieving the best results.
Frequently Asked Questions
How Do I Choose the Best Type of Caulk for Outdoor Projects?
You should pick a caulk based on material options and weather considerations. For outdoor projects, choose weatherproof caulk like silicone or polyurethane, which resist moisture and temperature changes. Consider the material you’re sealing—like wood, concrete, or siding—and match it with a compatible caulk. Check the weather forecast too; select a caulk that cures well in the expected outdoor conditions to ensure a lasting seal.
Can I Use a Caulk Gun for Materials Other Than Caulk?
Yes, you can use a caulk gun for materials other than caulk, like alternative adhesives or paint fillers. Just make certain the material’s consistency suits the gun, and you use the right nozzle for precise application. A caulk gun is versatile, making it perfect for applying various substances that need controlled, even pressure. Always check the manufacturer’s instructions to avoid clogging or damaging the gun with incompatible materials.
What Safety Precautions Should I Take When Using a Caulk Gun?
Think of yourself as a cautious hero. Always wear safety gear like gloves and goggles to protect your skin and eyes. Make certain proper ventilation by opening windows or using fans, especially when working with strong fumes. Keep your workspace clean and avoid skin contact with uncured caulk. Follow manufacturer instructions carefully, and wash your hands afterward. These precautions keep you safe while sealing gaps like a true pro.
How Can I Prevent Air Bubbles When Applying Caulk?
To prevent air bubbles, make certain you apply the caulk smoothly and steadily, maintaining consistent pressure on the trigger. Use proper tool handling by angling the caulk gun correctly and moving at a steady pace. Before starting, cut the tip at an angle and puncture the seal, which helps in smooth application. Keep the caulk gun steady and avoid stopping mid-application to minimize air pockets and achieve a clean, professional finish.
Is It Necessary to Wear Protective Gear During Caulking?
Think of your workspace as a battlefield where safety is your shield. Wearing protective gear during caulking isn’t just a suggestion; it’s essential. Safety precautions like gloves, goggles, and masks shield you from harmful fumes and skin irritation. Protecting yourself guarantees you stay focused and safe, turning a simple task into a secure, confident victory. Don’t skip safety gear—it’s your armor for a smooth, worry-free caulking experience.
Conclusion
With practice, you’ll master sealing gaps like a true artisan, ensuring your home stays cozy and protected. Remember, patience and attention to detail are your best allies—think of it as channeling the craftsmanship of a master carpenter from days gone by. Keep your tools clean and your technique smooth, and you’ll achieve professional results every time. Soon, you’ll be the go-to expert, turning your humble caulking projects into works of art that stand the test of time.