
To install a ceiling fan, gather essential tools like a ladder, screwdriver, wire strippers, pliers, and a drill. Turn off the power and carefully remove the existing fixture before mounting the bracket securely. Follow the manufacturer’s instructions to connect wiring correctly, matching colors for power, neutral, and ground. verify the fan hangs evenly and is fastened tightly. For detailed step-by-step guidance on each stage, continue exploring helpful tips and precautions.
Key Takeaways
- Gather essential tools: ladder, screwdriver, wire strippers, pliers, and drill before beginning installation.
- Turn off the power at the circuit breaker and verify with a voltage tester for safety.
- Install the mounting bracket securely into a joist or rated electrical box following manufacturer instructions.
- Connect wiring correctly by matching colors: black/red for power, white for neutral, green/copper for ground.
- Rebalance fan blades if wobbling occurs to ensure safe, quiet operation and prevent motor wear.
Are you ready to upgrade your room’s comfort and style by installing a ceiling fan? Before you plunge in, it’s essential to prioritize electrical safety. Turn off the power at the circuit breaker to prevent any accidental shocks. Use a voltage tester to confirm that the circuit is dead before touching any wires. Handling electrical components with care is crucial, especially if you’re unfamiliar with wiring. If you’re unsure about electrical safety, don’t hesitate to consult a professional. Proper wiring ensures your ceiling fan operates safely and efficiently, avoiding potential fire hazards or damage.
Prioritize electrical safety by turning off power and using a tester before wiring your ceiling fan.
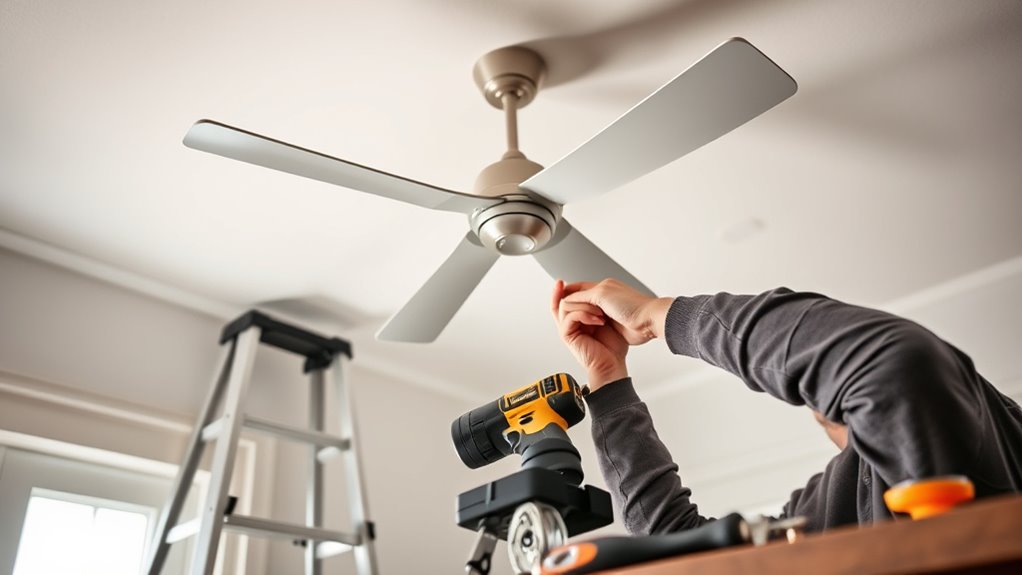
Once the power is off, gather your tools: a sturdy ladder, screwdriver, wire strippers, pliers, and possibly a drill. Carefully remove the existing fixture, disconnecting it from the ceiling. Before mounting the ceiling fan, check the fan blades for proper balancing. Fan blade balancing is vital because unbalanced blades can cause wobbling, noise, and premature wear. Many fans come with a balancing kit—use the included weights to correct any imbalance. Position the weights according to the instructions, attaching them to the blades that cause wobbling. This simple step ensures the fan runs smoothly and quietly, extending its lifespan and maintaining safety.
Next, install the mounting bracket securely to the ceiling, making sure it’s anchored into a joist or a sturdy electrical box rated for ceiling fans. Follow the manufacturer’s instructions carefully, ensuring all connections are tight and correctly aligned. When wiring the fan, match the wires according to color: typically black or red for power, white for neutral, and green or copper for ground. Double-check your connections to prevent loose wiring, which can cause electrical issues or hazards down the line. Proper wiring is especially critical for electrical safety and long-term performance. Once everything is wired and secured, attach the fan motor to the mounting bracket. Use a ladder to reach comfortably, ensuring the fan hangs evenly and securely.
After mounting, attach the blades, making sure each blade is securely fastened. Balance the blades again if you notice any wobbling after installation. Run the fan briefly to check for wobble or noise. If you detect any unusual movement, recheck the blade balancing. Properly balanced blades prevent unnecessary wear on the motor and reduce noise, keeping your space comfortable and quiet. Remember, a well-installed, balanced ceiling fan not only enhances your room’s decor but also guarantees safety and longevity. Taking your time with each step and paying attention to electrical safety and fan blade balancing guarantees a successful installation you can enjoy for years to come.

SuperHandy Portable 25 Ton Gas Log Splitter with 7HP Engine, Bucher Gear Pump, and Horizontal/Vertical Half Beam Steel Wedge for Firewood Splitting and Forestry Harvesting
Powerful Performance - Equipped with a 7HP AlphaWorks engine and 2-Stage Bucher Hydraulic Gear Pump, our log splitter...
As an affiliate, we earn on qualifying purchases.
Frequently Asked Questions
Can I Install a Ceiling Fan Without an Existing Electrical Box?
Yes, you can install a ceiling fan without an existing electrical box by using alternative mounting options. For retrofit installations, you might need a brace or support box rated for fans, which can be securely mounted to ceiling joists. make certain you follow local codes and use proper hardware. This approach allows safe and effective installation, even if there’s no pre-existing electrical box, giving you a professional finish.
What Is the Ideal Height for Installing a Ceiling Fan?
The ball is in your court when it comes to ceiling fan height; the ideal height for installation is 8 to 9 feet from the floor. This guarantees maximum airflow and safety, preventing the blades from hitting ceilings or furniture. When considering ceiling fan height, aim for about 10-12 inches from the ceiling to the blades, depending on your room’s height. Proper installation height makes all the difference in comfort and efficiency.
How Do I Choose the Right Size Ceiling Fan for My Room?
To choose the right size ceiling fan, consider your room size and the styles that match your decor. For small rooms (up to 75 sq ft), opt for fans with a 29-36 inch blade span. Medium rooms (76-144 sq ft) need 36-42 inches, while larger rooms (over 144 sq ft) benefit from 52 inches or more. Match your ceiling fan styles to your room’s aesthetic to guarantee both function and visual harmony.
Is It Necessary to Turn off the Circuit Breaker Before Installation?
Yes, you should always turn off the circuit breaker before installing a ceiling fan. This is vital for electrical safety because it prevents accidental shock or short circuits. By cutting the power at the circuit breaker, you guarantee that no electricity flows through the wires while you’re working. Always double-check that the power is off before starting, and follow safety guidelines to protect yourself during installation.
What Safety Precautions Should I Take During Installation?
You should prioritize electrical safety by turning off the circuit breaker before installation. Wear personal protective equipment like safety goggles and gloves to prevent injuries. Make sure the power is completely off to avoid shocks, and double-check with a voltage tester. Keep your workspace clear of clutter, and follow all manufacturer instructions carefully. Taking these precautions helps protect you from electrical hazards and guarantees a safe, successful ceiling fan installation.

SuperHandy Log Splitter Portable Electric 14 Ton Rapid Auto Return Hydraulic Ram System Bucher Gear Pump 2.5eHP 15Amp Motor Horizontal Full Beam Steel Wedge Firewood Splitting Forestry Harvesting
SPECS - Built with a heavy-duty 2.5eHP 15amp 1800W Electric Motor, powering our 14-ton rated system, utilizes the...
As an affiliate, we earn on qualifying purchases.
Conclusion
And there you have it—your foolproof guide to installing a ceiling fan. Sure, risking life and limb for a breeze sounds like a blast, but hey, nothing beats the thrill of DIY! Just remember, if you somehow turn your ceiling into modern art, it’s all part of the adventure. So go ahead, channel your inner handyman—who knows, maybe next time you’ll install a chandelier or even build a spaceship! Happy fan installing!

Full Boar 28 Ton Log Splitter-Full Boar Engine 212cc (49 State)
Reliable 212cc FULL BOAR OHV engine delivers 28-ton force and cycles in just 10.9 seconds for a fast...
As an affiliate, we earn on qualifying purchases.

SuperHandy Log Splitter Portable 20 Ton Rapid Auto Return Ram System Bucher Gear Pump 7HP Engine Horizontal Full Beam Steel Wedge Firewood Splitting Forestry Harvesting
SPECS - Built with a heavy-duty 7HP gas engine, powering our 20-ton rated system, utilizes the highly ultra...
As an affiliate, we earn on qualifying purchases.