To properly refinish wood furniture, start by preparing your workspace—clear clutter, dust surfaces, and protect nearby areas. Next, sand the piece thoroughly with coarse to fine grit sandpaper to create a smooth base, then apply stain evenly using long, smooth strokes and test colors on hidden spots first. Finish with sealing a thin layer of protective sealant for durability. Focusing on these steps will give you professional results, and mastering each phase will lead to stunning, long-lasting furniture—so keep going to learn more about perfecting your technique.
Key Takeaways
- Proper surface preparation, including dust removal and protecting surrounding areas, ensures a smooth, clean finish.
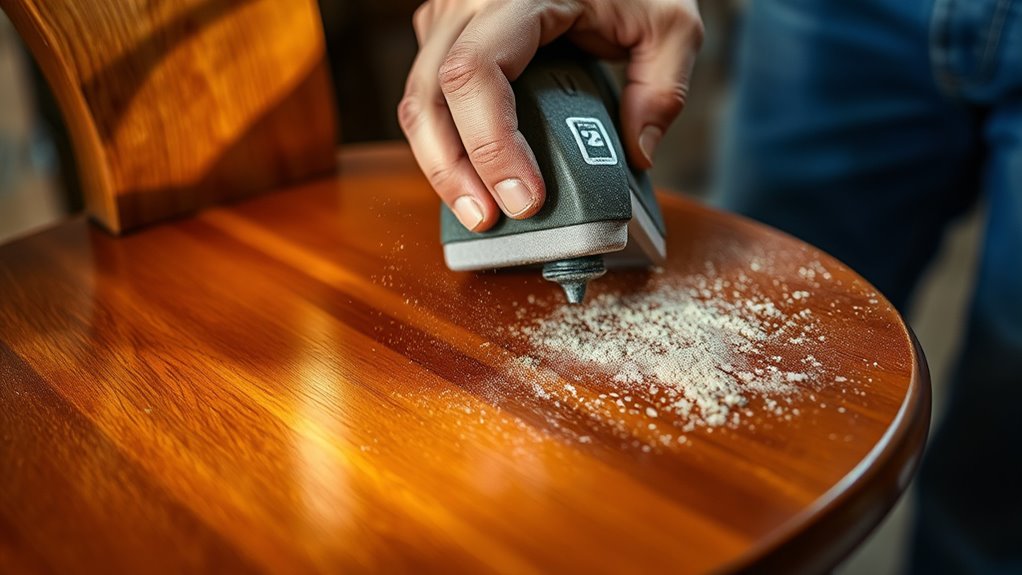
- Sand thoroughly with coarse to fine grit sandpaper to create an even, receptive surface for staining.
- Apply stain in thin, even coats following the wood grain, allowing each layer to dry for a consistent color.
- Seal the furniture with appropriate protective finishes to prevent moisture damage and enhance durability.
- Use proper tools and techniques, including polishing and multiple coats, for a professional, long-lasting refinished surface.
Preparing Your Furniture and Workspace

Are you ready to transform your furniture? Before you start, preparing your furniture and workspace is essential. Begin by thoroughly dust removal from the surface and surrounding area to ensure a clean working environment. This step prevents debris from settling into the finish later. Next, clear your workspace of clutter and any items that could interfere with your project, ensuring workspace safety. Protect nearby surfaces with drop cloths or plastic sheeting to avoid damage. Ventilate the area well, especially if you’ll be sanding or using chemicals. Wearing protective gear like masks and goggles keeps you safe from dust and fumes. Proper preparation creates a safer, cleaner environment, making your refinishing process smoother and more effective. Additionally, understanding water chemistry and surface preparation can help ensure a durable, high-quality finish. Being aware of finishing products and techniques can further improve your results and prevent common issues. Incorporating smart home technology can also assist in monitoring and maintaining optimal conditions during your project. To achieve the best results, consider researching safety checklists and wiring basics, especially if your project involves electrical components or complex setups. Additionally, considering project-specific environmental conditions can help in selecting the appropriate finishing methods for your furniture.
Applying the Right Sanding and Staining Techniques
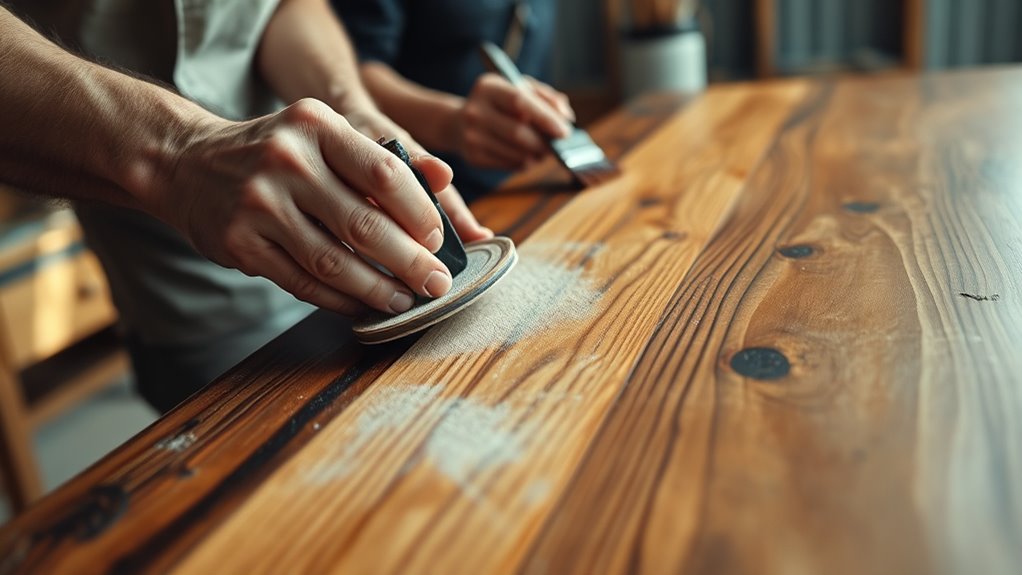
To achieve a smooth, professional finish, selecting the right sanding and staining techniques is essential. Start by using proper brush techniques to apply stain evenly, avoiding streaks or blotches. Use long, smooth strokes and keep a consistent distance from the surface to ensure uniform coverage. When it comes to stain color selection, test on a hidden area first to see how it reacts with your wood. Lighter stains highlight grain details, while darker shades add richness. Sand the furniture surface thoroughly before staining, progressing from coarse to fine grit sandpaper for a smooth base. Remember, the key is patience—apply thin coats of stain, allowing each to dry completely before adding the next. This approach guarantees a beautiful, professional-looking finish. Incorporating visual and auditory cues can further improve your technique by helping you monitor your progress and ensure even application. Additionally, understanding the sanding process helps prevent surface imperfections and prepares the wood for optimal stain absorption. Being aware of wood grain direction can also assist in achieving a more uniform stain application and a polished look.
Sealing and Finishing for a Perfect Look
Once you’ve achieved a smooth, stained surface, sealing and finishing are essential steps to protect your furniture and enhance its appearance. Proper sealing creates a durable barrier against moisture and wear, while finishing brings out the wood’s natural beauty. Use polish techniques to ensure an even, glossy surface that highlights your craftsmanship. Select the right finishing tools, such as brushes or applicators, for smooth application and minimal streaks. Take your time to apply thin, even coats, allowing each to dry thoroughly before adding the next. The right finish can transform your piece from basic to stunning, making it a centerpiece in your home. Remember, patience and attention to detail are key to achieving that perfect, professional look. Incorporate reliable finishing products to ensure your project remains protected and beautiful over time.
Seal and finish your furniture with patience for a flawless, glossy, and long-lasting result.
- Feel the satisfaction of a flawless, mirror-like shine
- Revel in the rich depth of your wood’s grain
- Enjoy a long-lasting, protected finish
Frequently Asked Questions
How Long Does Each Step in Refinishing Typically Take?
You can expect each step in refinishing to vary in duration. Sanding usually takes a couple of hours, depending on the piece’s condition. Staining may require 1-2 hours for drying time between coats, but the curing period can extend to 24-48 hours for the stain to fully set. Sealing typically takes about an hour for application, with a drying time of several hours, and a curing period of a few days for durability.
Can I Use Eco-Friendly or Non-Toxic Products Safely?
Yes, you can definitely use eco-friendly options and non-toxic finishes safely when refinishing your furniture. These products are designed to be less harmful to your health and the environment, making them a great choice for DIY projects. Look for labels that specify eco-friendly or non-toxic finishes, and follow the manufacturer’s instructions to guarantee proper application and durability. You’ll enjoy a beautiful, safe finish without sacrificing your well-being.
What Are Common Mistakes to Avoid During Refinishing?
You should avoid uneven brush strokes, dust contamination, and rushing through each step. Focus on applying thin, even coats to prevent streaks and allow proper drying. Keep your workspace dust-free to avoid particles settling on your finish, which can ruin the look. Don’t skip sanding or skip primer if needed. Patience and attention to detail help you achieve a smooth, professional finish, avoiding common refinishing mistakes.
How Do I Match Stain Color to Existing Furniture?
To match stain color to existing furniture, start by selecting a stain similar to the original. Test different stains on scrap wood or hidden areas first. Use light coats and blend carefully, building up color gradually. If the stain is too dark, try a wood conditioner beforehand to lighten it. Remember, color blending takes patience—don’t rush, and always compare your work in different lighting to verify a seamless match.
Is It Necessary to Remove Old Paint Before Sanding?
Removing old paint isn’t always necessary, but it’s highly recommended for a perfect finish. You’ll want to do proper surface preparation to ensure your new stain or finish adheres well. If the paint is peeling or thick, do paint removal first to create a smooth, clean surface. Skipping this step can turn your project into a nightmare, so take the time to sand thoroughly after removing any loose paint to achieve the best results.
Conclusion
Now that you know the basics of sanding, staining, and sealing, you’re ready to transform your furniture. Think of it like sculpting a masterpiece—your careful prep and attention to detail will reveal a stunning finish. With patience and the right techniques, you can achieve a professional look that lasts. So roll up your sleeves and enjoy the process—your beautiful, refreshed furniture is just a few steps away!