TL;DR
A Hunker report describes how to reuse old, heat-treated wood pallets to build a rustic planter from a basic wooden frame and boards. The project can be sized and finished to suit a garden, but the report does not provide tested load limits, dimensions or a complete materials list.
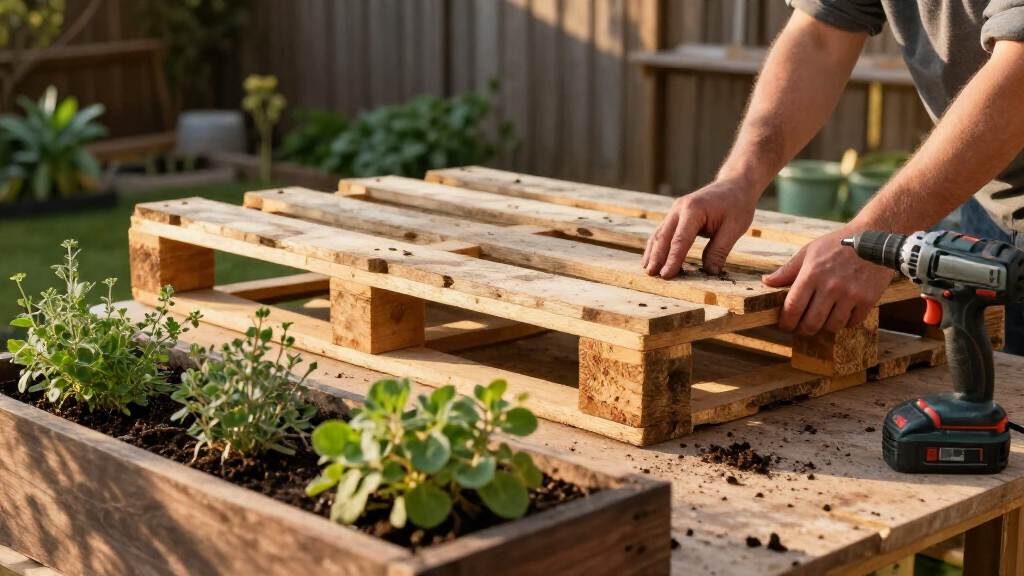
Hunker has published a DIY guide for turning old wood pallets into custom rustic planters, offering a way to reuse delivery materials instead of buying a finished container. The project uses pallet boards to make a wooden frame and cover its sides and base; the guide recommends choosing pallets marked HT, meaning heat-treated, rather than pallets treated with chemicals that could leach into soil.

Get business pricing on tools and workshop supplies
- Business-only prices and quantity discounts
- Tax-exempt purchasing
- Multiple users, one account, clear invoices
The guide describes a basic box-shaped planter that can be adapted for different plants and spaces, from a small container for succulents to a larger one for vegetables. It calls for pallet boards, a saw, a sander and a way to fasten the wood, such as wood glue, screws or nails. Paint or stain is optional. Larger planters require more lumber, so builders may need more than one pallet.
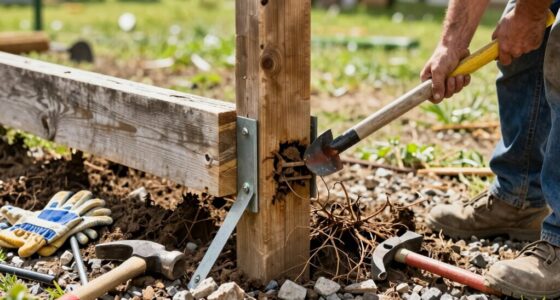
To begin, the pallet is pulled or cut apart. Hunker cautions that dismantling boards can crack them and advises wearing gloves to protect against nails. The guide says to remove rotten or severely damaged wood that could affect stability, while noting that ordinary wear can contribute to the rustic appearance.
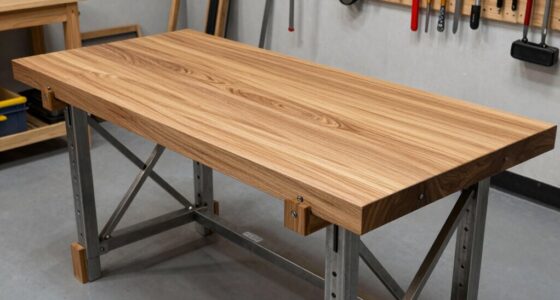
The frame can use four corner posts or eight boards joined into four L-shaped corners, along with eight horizontal pieces for the upper and lower edges. The horizontal boards are fastened between the corners to create an open-sided box. Flat boards then cover the planter’s sides and bottom. The lower frame can sit flush with the bottom or be raised to create short legs, according to the report.
A Planter Built Around Reuse
The project gives readers a practical reuse option for surplus pallet wood and lets them choose the planter’s size and appearance rather than relying on a store-bought container. Hunker notes that a simple box design can suit different plants, while additional wood and more work are needed for larger versions or multiple planters.
That flexibility comes with a materials check: a pallet’s history and condition matter when its wood will sit around plants and soil. The guide points readers toward heat-treated pallets marked HT and away from chemically preserved wood. It also recommends cutting out serious rot, since damaged pieces may undermine the planter’s stability.
The result is not described as a certified outdoor container or a tested structural product. Readers will need to judge whether their reclaimed boards are sound and whether the finished box suits the weight and conditions of their intended use. The report’s suggestion to place potted plants inside the wooden planter can reduce the consequences if boards fail, though it does not establish that this removes all risks.
Products Worth Considering

Philips Hue Play HDMI Sync Box

Philips Hue Festavia Permanent Outdoor String Lights, 80 Lights, 150 ft

Sonos One Two-Room Set Smart Speakers with Built-In Alexa, Black
As an affiliate, we earn on qualifying purchases.
From Pallet Boards to Box
The supplied Hunker report frames the project as a beginner-accessible carpentry task with room for more experienced builders to customize the design. Its central method is to make a corner-and-rail frame, then attach boards over the frame to form a box. The report does not give fixed measurements, so the planter’s dimensions depend on the builder’s intended plants and available lumber.
For a plain rustic finish, the outer boards can be attached vertically or horizontally. The guide also describes adding boards around the top opening, setting some side boards inside the frame for a neater look, or arranging diagonal pieces in a barn-door pattern. More weathered boards can be used where they will be visible, while straighter or less distinctive pieces can go into the frame and interior.
Leaving the wood bare preserves its worn appearance; paint or stain offers another finish. Hunker suggests choosing a color that complements the plants, but the supplied report does not specify a particular product or explain how different finishes perform outdoors.
“Look for ones in relatively good condition that are marked HT.”
— Hunker DIY report
Dimensions and Durability Not Tested
The supplied report does not specify a publication date, exact dimensions, how much weight the planter can support, or how long untreated pallet wood may last outdoors. It also does not provide a full bill of materials, construction measurements, or testing of the finished design. Readers should treat the instructions as a general DIY outline, not a guarantee that every pallet or assembly method will produce a durable planter.
The source advises selecting HT-marked pallets, but it does not identify the history of any particular pallet or establish that a marking alone confirms its suitability for every gardening use. The condition of the boards, the fasteners used and the planter’s exposure to moisture can vary. The report does not offer specific guidance on drainage holes, a liner, or the safety of particular paints and stains near edible plants.
Check the Wood Before Building
For readers following the guide, the next step is to find a sound, HT-marked pallet and decide on the planter’s dimensions before cutting. They should remove nails carefully, wear gloves while dismantling the pallet, and discard wood that is rotten or too damaged to support the frame. The report recommends a saw and sander, along with wood glue, screws or nails for assembly.
After building the frame and attaching the side and bottom boards, builders can choose a bare-wood, painted or stained finish and decide whether to set potted plants inside the box. Anyone planning to grow edible plants may want to seek product-specific guidance on finishes and liners, since the supplied Hunker report does not address those details. No follow-up testing or additional project specifications are included in the source material.
Key Questions
What kind of pallet does the guide recommend?
Hunker recommends a pallet in relatively good condition marked HT, which indicates heat treatment. The report cautions against pallets preserved with chemicals that might leach into soil.
What tools and materials are needed?
The guide calls for pallet boards, a saw and sander, and wood glue, screws or nails to join the pieces. Paint or stain is optional, and larger planters may require boards from more than one pallet.
How is the planter assembled?
Build a box frame with four corners and horizontal boards along the top and bottom, then attach flat boards to cover the sides and base. The guide allows either four corner posts or pairs of boards joined in L shapes.
Can potted plants go inside the wooden planter?
Yes. Hunker suggests leaving plants in their pots and placing the pots inside the planter if there are concerns about the pallet boards holding up. The report does not give a tested load limit or instructions for drainage.
Does the guide specify how to protect the planter outdoors?
No. It mentions paint or stain as optional finishes but does not identify products, explain their outdoor performance, or give specific advice on liners and drainage.
Source: hunker.com