
To keep your basement dry, start by installing an interior drainage system with pipes and channels along the perimeter, directing water to a sump pump. Make sure your sump pump is properly installed, maintained, and tested regularly. Seal cracks and gaps in walls and floors to enhance water resistance. Combining these steps with exterior waterproofing can markedly reduce water seepage. Want to learn more effective DIY tips? Keep exploring for expert advice!
Key Takeaways
- Install an interior drainage system with sealed pipes around the basement perimeter to direct water to a sump pump.
- Properly install and maintain a sump pump, testing it monthly and ensuring discharge away from the foundation.
- Seal cracks and gaps in walls and floors to prevent water seepage alongside drainage systems.
- Regularly clean and check drainage components and sump pump for clogs or damage.
- Combine interior drainage with exterior waterproofing measures for comprehensive basement protection.
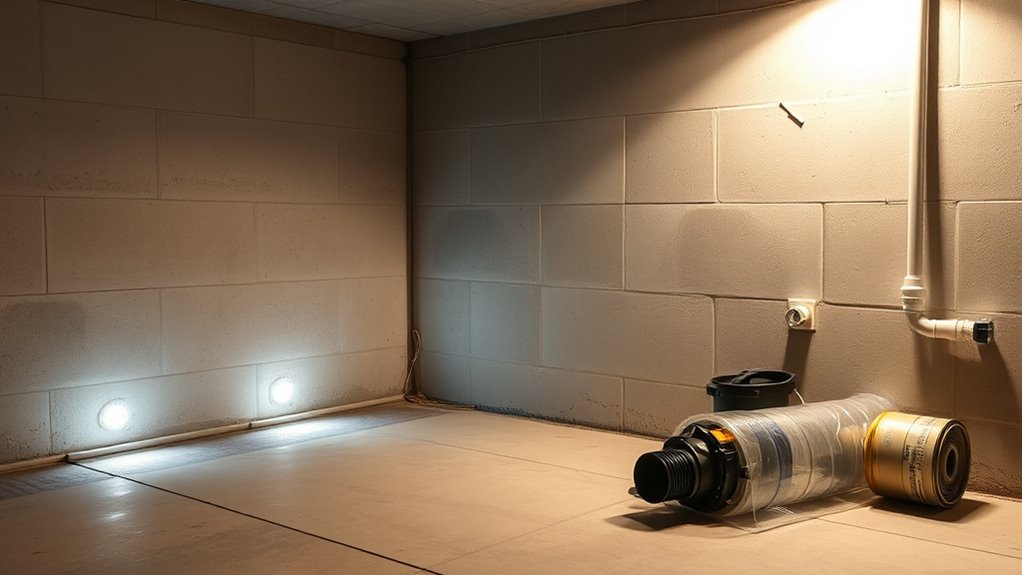
Are you worried about water seeping into your basement? If so, you’re not alone. Basement flooding can cause serious damage and lead to costly repairs if not addressed promptly. One of the most effective ways to prevent water intrusion is by installing an interior drainage system. This setup involves placing a network of pipes and channels along the interior perimeter of your basement floor, designed to quickly direct water away from your foundation and toward a sump pump. With interior drainage, you create a barrier that minimizes the risk of water accumulating inside your space, especially during heavy rains or snowmelt. Proper installation of this system is essential; it should be sealed tightly and connected to your sump pump, which acts as the final line of defense. When water enters the drainage system, the sump pump kicks in automatically, pumping the water out and away from your basement, keeping the space dry.
Sump pump installation can seem intimidating if you’re new to DIY projects, but with some careful planning, you can do it yourself. First, locate the lowest point in your basement, as this is where you’ll typically install the sump basin. You’ll need to dig a hole that’s large enough to accommodate the basin, ensuring it sits level and stable. Connect the interior drainage to the basin, making sure all joints are sealed to prevent leaks. When installing the sump pump, follow the manufacturer’s instructions precisely—wire it correctly, and ensure the discharge pipe directs water away from your foundation. Regular maintenance is key; test your sump pump monthly by pouring water into the basin to confirm it activates and pumps water out efficiently. Keep the sump area clean and free of debris to prevent clogs. Additionally, properly calibrated sump pumps with adjustable settings can help optimize performance and energy efficiency.
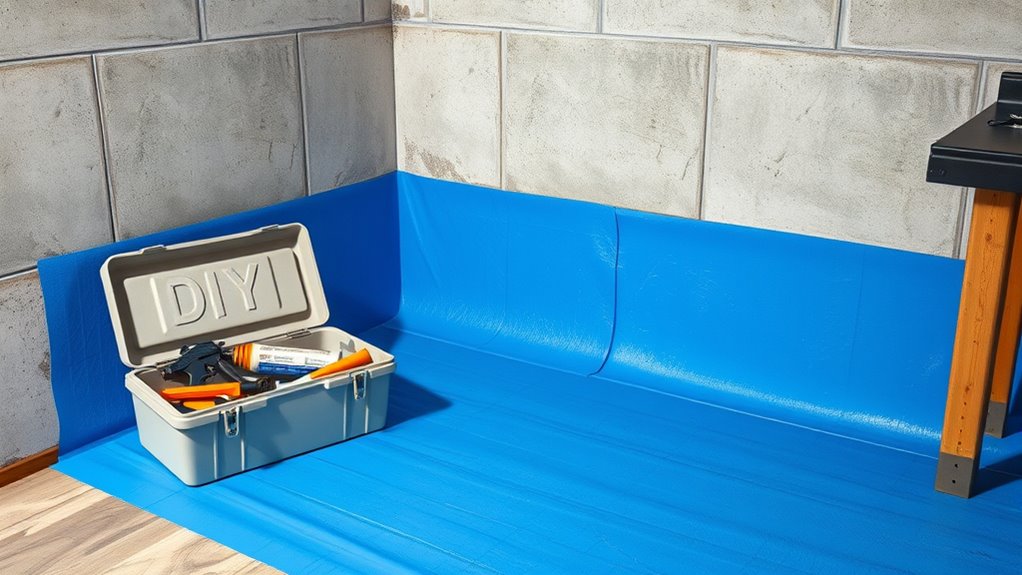
Combining interior drainage with a reliable sump pump creates a durable waterproofing system for your basement. This setup not only reduces the chances of flooding but also provides peace of mind during storms or rapid snowmelt. Keep in mind that sealing any cracks or gaps in your basement walls and floor complements these efforts, creating a thorough defense against water intrusion. If you notice persistent dampness or water pooling despite these measures, consider consulting a professional. Sometimes, additional waterproofing methods, such as exterior waterproofing or sealing exterior cracks, may be necessary. Nonetheless, focusing on interior drainage and proper sump pump installation forms the backbone of a strong, DIY basement waterproofing plan. With diligence and attention to detail, you can keep your basement dry and protected for years to come.

How to Flood-Proof Your Home: Basement Waterproofing, Drainage Systems, Temporary Barriers & Emergency Preparedness (Modern Home Systems Series)
As an affiliate, we earn on qualifying purchases.
As an affiliate, we earn on qualifying purchases.
Frequently Asked Questions
How Often Should Basement Waterproofing Be Inspected?
You should inspect your basement waterproofing at least twice a year, ideally during spring and fall, to make certain effective moisture control. Regular basement maintenance helps identify any issues early, such as cracks or leaks, preventing costly damage. Keep an eye on signs of excess moisture, mold, or water stains, and address problems promptly. Consistent inspections help maintain a dry, healthy basement environment year-round.
Can DIY Waterproofing Fixes Last Long-Term?
Many believe DIY waterproofing fixes last long-term, but that’s not always true. If you use quality waterproofing materials and address basement moisture properly, your repairs can stand the test of time. However, shortcuts or poor application might lead to recurring issues. Regular inspections and maintenance are key. Properly done, DIY waterproofing can be effective, but always be realistic about the longevity and know when professional help is needed for lasting results.
What Are the Signs of Waterproofing Failure?
You’ll notice signs of waterproofing failure when you see interior sealing issues, like peeling paint or bubbling walls, indicating moisture control problems. Water stains, mold, or a musty smell also suggest leaks or ineffective waterproofing. Cracks in the foundation or damp spots are clear indicators. Address these issues promptly to prevent further damage, and guarantee your interior sealing remains effective for long-term moisture control.
Is Waterproofing Necessary in All Climates?
Is waterproofing necessary in all climates? Absolutely, because climate impact influences your basement’s vulnerability. In humid or rainy areas, waterproofing becomes essential to prevent water intrusion, mold, and structural damage. Even in dry climates, occasional heavy rain or snowmelt can cause issues. So, you should assess your area’s weather patterns and take proactive steps to waterproof, ensuring your basement stays dry and protected year-round.
How Much Does Professional Waterproofing Typically Cost?
Professional waterproofing usually costs between $2,500 and $7,000, depending on the size of your basement and the method used. It’s wise to get a detailed cost estimate from several providers to compare services and pricing. Keep in mind that investing in quality waterproofing can save you money in the long run by preventing costly water damage and mold issues. Always review service comparison before making a decision.
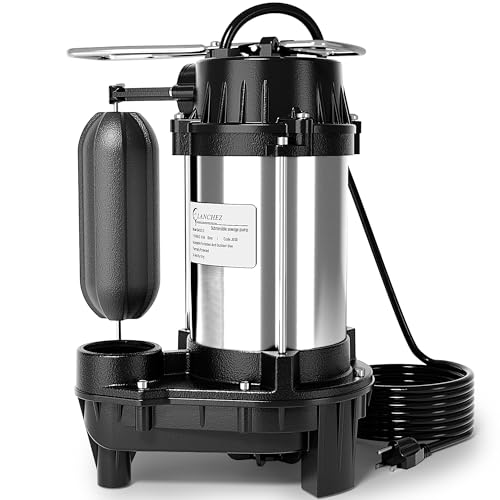
LANCHEZ 1/2 HP 5200 GPH Submersible Sump Pump Cast Iron and Stainless Steel with Integrated Vertical Float Switch, Sewage/Effluent Pump for Basement, Basin, Sewage System, 1-1/2" NPT Discharge
[Automatic Vertical Float Switch] Vertical float switch automatically turns on/off the sump pump depending on water level in…
As an affiliate, we earn on qualifying purchases.
As an affiliate, we earn on qualifying purchases.
Conclusion
Now that you know the basics of basement waterproofing, you’re practically a DIY expert. Think of your basement as a fortress, ready to fend off water invaders. With your new skills, you can imagine your walls standing strong, soaked no more. Just like a sturdy dam holds back a rushing river, your efforts keep moisture out, protecting your home and peace of mind. Keep up the work, and your basement will stay dry and safe for years to come.

RadonSeal Complete DIY Foundation Crack Repair Kit, 10 Ft – Low-Viscosity Urethane Injection Sealant for Crawl Spaces & Concrete Basement Walls, Stops Water Leaks & Radon Gas, Drill-Free Filler
Drill-Free Injection: Repair basement wall cracks effortlessly without drilling, ensuring minimal disruption to your home's structure.
As an affiliate, we earn on qualifying purchases.
As an affiliate, we earn on qualifying purchases.

Sump Pump, Prostormer 3500 GPH 1HP Submersible Clean/Dirty Water Pump with Build-in Float Switch for Pool, Pond, Garden, Flooded Cellar and Irrigation
Kindly Tip 1: When you start using the pump, submerge the pump fully in water at a slight…
As an affiliate, we earn on qualifying purchases.
As an affiliate, we earn on qualifying purchases.