
To fix loose boards or railings on your deck, you’ll need vital tools like a cordless drill or impact driver for removing and installing screws, a hammer and pry bar for lifting damaged boards, and a level to guarantee proper alignment. Wrenches help tighten bolts on railings, while safety gear like gloves and eye protection is essential. Proper tools make repairs easier and more secure—keep going to discover detailed tips for handling each step effectively.
Key Takeaways
- Use a cordless drill or impact driver to remove and install screws and nails securely.
- Employ a pry bar or crowbar to lift and replace damaged or loose boards.
- Utilize a level or square to ensure proper alignment of boards and railings.
- Tighten loose bolts or screws on railing posts with wrenches or socket sets.
- Wear safety gear like gloves and eye protection when operating power tools and handling debris.
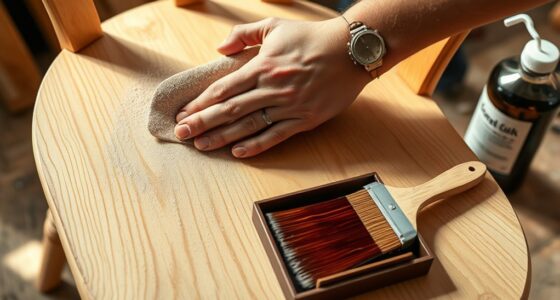
Are you wondering how to tackle deck repairs effectively? The first step is evaluating the damage and preparing the tools you’ll need to get the job done right. Whether you’re fixing loose boards or shaky railings, having the proper equipment makes all the difference. Before diving into repairs, you’ll want to make sure your deck is clean and free of debris, so start with some thorough deck cleaning. Removing dirt, grime, and old stain residues not only improves the look but also helps you identify problem areas more clearly. If there are stubborn stains or mold, use a deck cleaner suited for your surface to make stain removal easier and more effective.
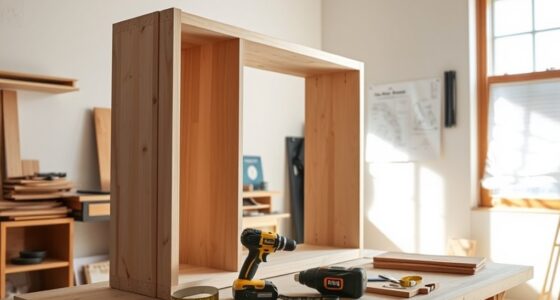
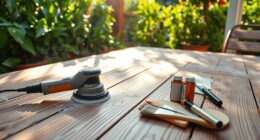
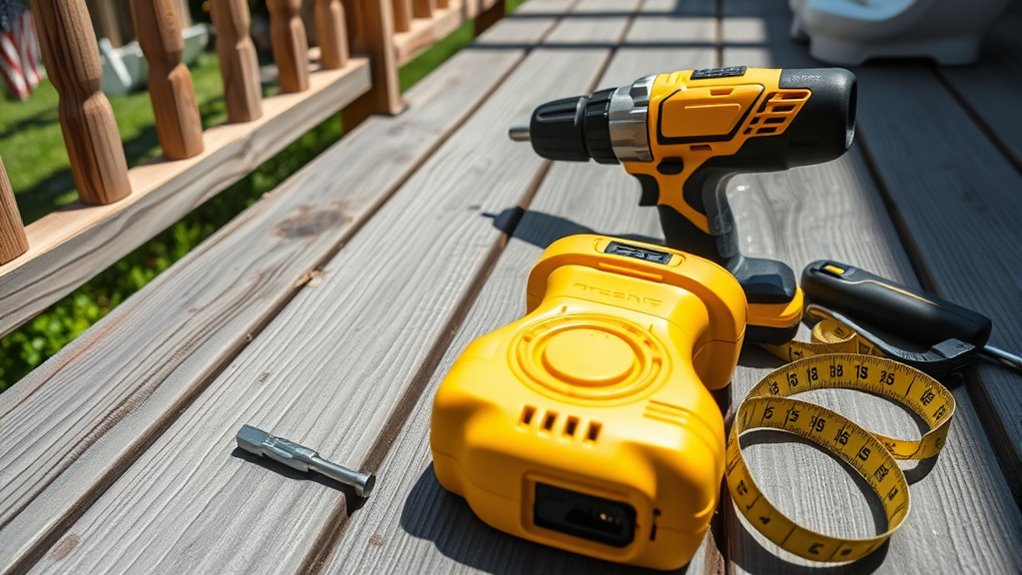
Once your deck is clean, gather your essential tools. A cordless drill or impact driver will be your best friend for removing and installing screws or nails efficiently. You’ll also need a hammer if you prefer working with nails or need to tap loose boards into place. A pry bar or crowbar can help lift or remove damaged boards without causing further damage to surrounding wood. For precise work, keep a square or a level handy to make sure your boards and railings are aligned correctly after repairs. Additionally, understanding the navigation and mapping of your deck area can help in planning repairs more efficiently, especially for larger or complex structures.
Gather essential tools like a drill, hammer, pry bar, and level for efficient deck repairs.
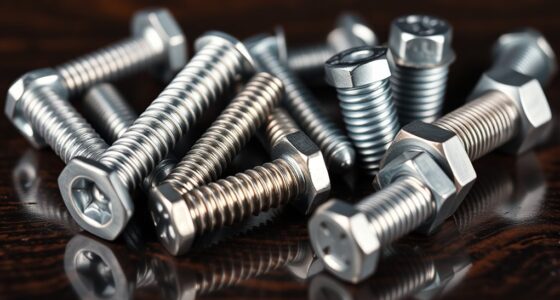
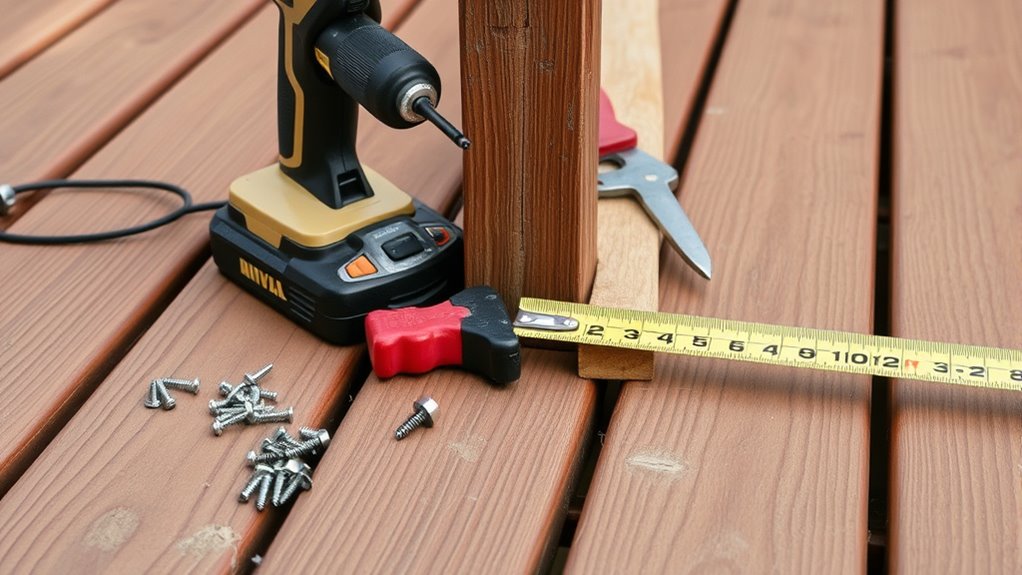
When it comes to fixing loose boards, you’ll want to have some galvanized or stainless-steel screws, which resist rust and last longer outdoors. Using the right fasteners is vital for durability. If a board has rotted or split, remove it carefully with your pry bar, and replace it with a new piece cut to size. Secure the new board tightly, making sure it’s flush with the rest of the deck surface. For loose railings, check the post connections first. Tighten any loose bolts or screws, and replace any that are corroded or stripped. You might also need a wrench or socket set for this task.
Throughout the repair process, remember that safety comes first. Wear gloves to protect your hands, especially when handling old nails or splinters, and don eye protection if you’re working with power tools. After fixing the structural issues, consider re-staining or sealing your deck to protect it from future damage, and don’t forget to do a final sweep, ensuring all debris and tools are cleared away. With the right tools and preparation, fixing loose boards or railings becomes a manageable project. Proper deck cleaning and stain removal beforehand will give your repair work a clean, finished look that lasts.
Frequently Asked Questions
How Do I Identify Rotten or Damaged Deck Wood?
During a deck inspection, look for soft spots or spongy areas that indicate wood rot. Check for discoloration, mold, or mildew, which signal damage. Gently probe suspicious spots with a screwdriver; if the wood crumbles or feels weak, it’s damaged. Pay close attention to areas exposed to moisture. Early wood rot identification helps you replace only the affected parts, ensuring your deck stays safe and sturdy.
What Safety Precautions Should I Take During Deck Repairs?
You should always wear safety gear like gloves, goggles, and a dust mask to protect yourself during deck repairs. Make sure you’re aware of hazards such as splinters, nails, or unstable surfaces, and check your work area for any potential dangers. Keep tools secure and work on a stable surface to prevent falls. Staying alert and cautious helps prevent injuries and guarantees a safer, more effective repair process.
Can I Repair My Deck Without Professional Help?
Yes, you can repair your deck yourself with some DIY tips and proper tool maintenance. Start by evaluating the damage, then gather the necessary tools like a hammer, screwdriver, and level. Follow safety precautions, such as wearing gloves and eye protection. Take your time, double-check measurements, and make certain your tools are in good condition. If you’re unsure, consult tutorials or consider professional help for complex repairs to ensure safety and quality.
How Long Does a Typical Deck Repair Take?
A typical deck repair usually takes a few hours to a day, depending on the extent of damage. You’ll want to start with deck cleaning and stain removal to assess the surface properly. Then, replace loose boards or railings as needed. If you work efficiently and have the right tools, you can complete minor repairs in a few hours, but more extensive fixes might stretch into a full day.
What Are the Best Waterproofing Options After Repairs?
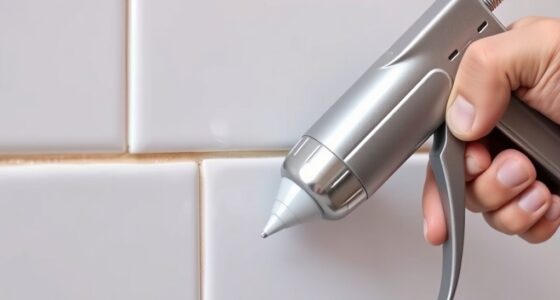
Imagine your deck as a ship braving stormy seas—waterproofing keeps it afloat. You should use high-quality waterproof sealants or weatherproof coatings to protect your deck after repairs. These products form a durable barrier against moisture, preventing rot and decay. Apply them thoroughly, following the manufacturer’s instructions, to make certain your deck stays dry and resilient for years. Proper waterproofing is your best defense against the elements.
Conclusion
Now that you know the essential tools and steps, repairing your deck becomes almost second nature. It’s funny how a simple project can unexpectedly turn into a satisfying achievement, revealing just how much care you put into your outdoor space. With a little patience and the right tools, you’ll find that fixing loose boards or railings isn’t as intimidating as it seems—sometimes, the smallest repairs make the biggest difference in creating a safe, beautiful deck you can enjoy for years.