
To tile your kitchen wall, gather essential tools like a tile cutter or wet saw for clean cuts, a notched trowel for spreading adhesive evenly, and spacers to guarantee consistent grout lines. Safety glasses protect your eyes, while a rubbing stone smooths rough edges. Measure carefully before cutting, and double-check your work. With these tools, you’ll set your tiles like a pro—keep going to discover tips that make the process smoother.
Key Takeaways
- Use a tile cutter or wet saw for precise, clean cuts around outlets and edges.
- Measure and mark tiles accurately before cutting to ensure a proper fit.
- Apply adhesive with a notched trowel for even coverage and secure tiles firmly.
- Employ spacers and a level to maintain consistent grout lines and straight installation.
- Seal grout lines after drying to protect against stains and water damage.
Installing a backsplash yourself can be a rewarding way to update your kitchen’s look without spending a fortune. It gives you a sense of accomplishment and allows you to customize the space exactly how you want. Before you start, gathering the right tools is vital, especially for tasks like tile cutting and grout sealing. Having everything on hand helps keep the project smooth and efficient.
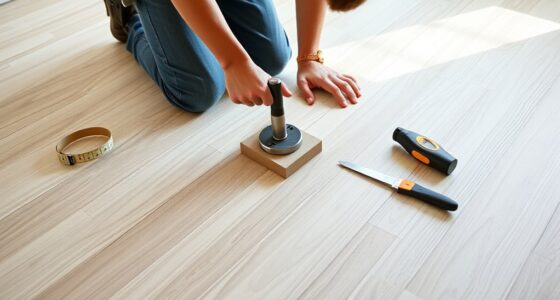
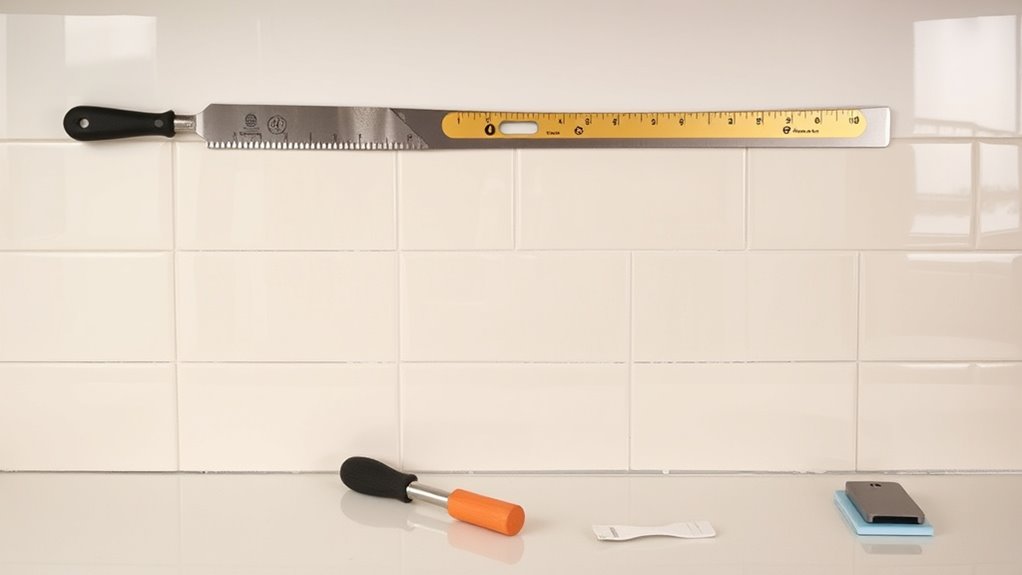
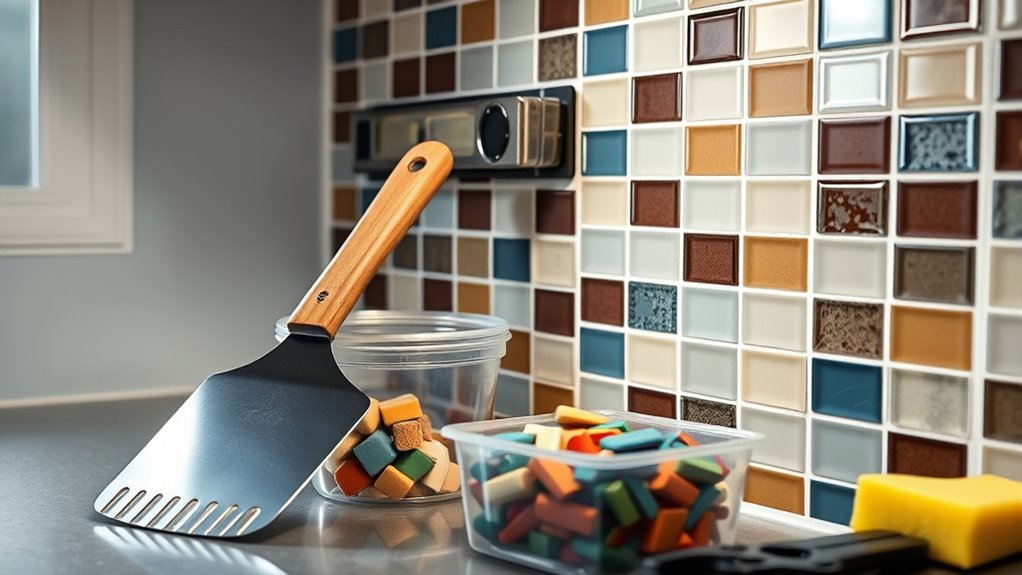
First, you’ll need some basic tools such as a tile cutter or a wet saw for precise tile cutting. A manual tile cutter works well for straight cuts, while a wet saw is better for more complex shapes or thicker tiles. Make sure to measure your space carefully before cutting, so your tiles fit perfectly around outlets, corners, or edges. Always wear safety glasses when cutting tiles to protect your eyes from shards. After cutting, smooth out rough edges with a rubbing stone or a file, guaranteeing your tiles sit flush against each other for a professional look.
Once the tiles are cut to size, you’ll want to apply adhesive using a notched trowel. Spread the adhesive evenly on the wall, working in small sections to prevent it from drying out before you place the tiles. Press each tile into the adhesive firmly, and use spacers to maintain consistent gaps for grout. As you go, double-check your alignment with a level to keep your backsplash looking straight and clean.
Apply adhesive evenly with a notched trowel, press tiles firmly, and use spacers for consistent grout lines.
When it comes to grout sealing, this step is essential for both durability and appearance. Once the grout has dried, usually after 24 hours, you’ll need a grout sealer to prevent stains and water damage. Use a small brush or applicator to carefully apply the sealer, making sure to cover all the grout lines thoroughly. Wipe away any excess with a damp cloth to avoid a hazy film. Sealing your grout not only helps it last longer but also makes cleaning easier over time.
Throughout the installation, be patient and precise. Taking your time with tile cutting and grout sealing ensures a professional finish. Remember, mistakes happen, but they’re part of the learning process. With the right tools and a bit of effort, you’ll create a stunning backsplash that transforms your kitchen and boosts your confidence in DIY projects. Your new backsplash will not only look fantastic but also stand the test of time, all thanks to your careful attention to detail during tile cutting and grout sealing. Proper tool selection based on your project needs can significantly impact the overall outcome and ease of installation.
Frequently Asked Questions
How Long Does a Typical Backsplash Installation Take?
A typical backsplash installation takes about one to three days, depending on your timing considerations and preparation steps. You’ll need time to measure, cut tiles, and prepare the wall properly. If you’re experienced and have all tools ready, it might take less time. However, taking your time guarantees a cleaner, professional finish. Plan ahead, gather your materials, and set aside enough time to avoid rushing, which can impact quality.
Can I Install a Backsplash Over Existing Tiles?
Yes, you can install a backsplash over existing tiles, but you need to do some tile removal and surface prep first. Start by carefully removing any loose or damaged tiles, then clean and smooth the surface to make certain of proper adhesion. Make sure to fill in any gaps or cracks before you begin tiling. Proper surface prep guarantees your new backsplash stays secure and looks great for years to come.
What Safety Gear Should I Use During Installation?
You should wear protective gloves to prevent cuts from sharp tiles and safety goggles to shield your eyes from debris and dust during installation. Always prioritize safety by using these gear items, especially when cutting tiles or handling grout. Wearing gloves offers grip and protection, while goggles keep your eyes safe from splashes or flying particles. Staying cautious guarantees a smoother, accident-free backsplash installation process.
How Do I Choose the Best Tile for My Kitchen?
When choosing the best tile for your kitchen, consider durability, style, and ease of maintenance. Opt for ceramic or porcelain tiles, which resist moisture and stains. Pick an adhesive type suited for your tile and wall surface, ensuring strong adhesion. Use matching tile grout to seal gaps, preventing water damage. Your choice depends on your kitchen’s look and functional needs, so choose tiles that complement your space and withstand daily use.
What Are Common Mistakes to Avoid During Installation?
You might think it’s easy, but overlooking grout selection or ignoring proper tile spacing can turn your backsplash into a mosaic mess. Avoid rushing, as uneven grout lines and inconsistent spacing stand out like a sore thumb. Double-check your measurements, keep tiles aligned, and don’t skimp on grout work. A little patience guarantees your project looks professional, not a DIY disaster you’ll regret every time you cook.
Conclusion
With a little patience and the right tools, you can confidently conquer your kitchen’s makeover. By mastering the basics, you’ll make your backsplash beautiful and bold, transforming your space with a personal touch. Remember, practice makes perfect, and perseverance pays off. So, seize the supplies, stay steady, and succeed in your stylish, satisfying backsplash project. Soon, you’ll see stunning results and enjoy a freshly fabulous finish—fostering a feeling of fulfillment and fun in your home.