
To give your brick fireplace a fresh look, start by gathering tools like painter’s tape, drop cloths, wire brush, primer, and high-temp paint. Clean and repair the brick, then prime the surface for better adhesion. You can paint with a brush or roller or opt for resurfacing products for a seamless finish. Follow each step carefully, and you’ll transform your fireplace into a stylish feature—there’s more to explore to achieve the perfect look.
Key Takeaways
- Gather essential supplies like painter’s tape, drop cloths, wire brush, primer, and high-temp paint before starting.
- Clean and repair the brick surface, removing dirt, soot, and cracks to ensure proper adhesion.
- Apply painter’s tape and primer, then paint with a brush or roller for an even, durable finish.
- Consider resurfacing products for a textured or seamless look, following manufacturer instructions carefully.
- Allow all layers to dry completely before use, then remove painter’s tape to reveal your transformed fireplace.
Are you ready to transform your old fireplace into a stunning focal point? A fresh coat of paint or a new surface can completely change your fireplace design and elevate your entire home renovation project. This DIY fireplace makeover is a cost-effective way to breathe new life into an outdated feature, making your space feel modern and inviting. Whether you prefer a sleek, contemporary look or a rustic charm, resurfacing or painting brick is an achievable task that offers satisfying results with the right tools and steps.
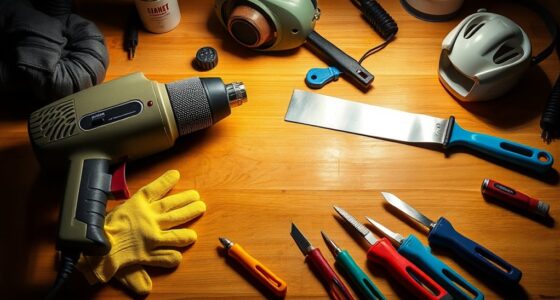
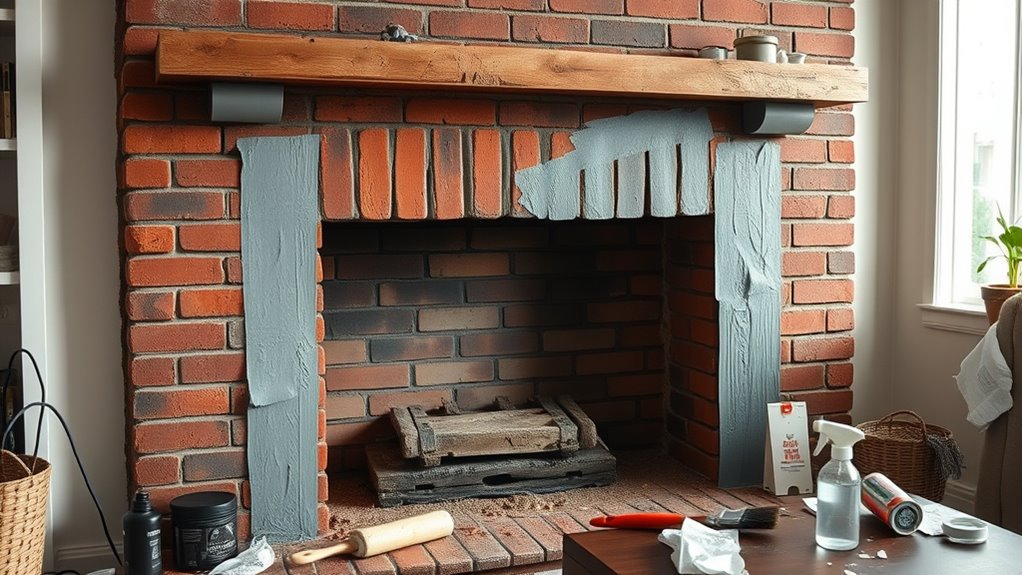
First, you’ll want to gather your supplies. You’ll need painter’s tape, drop cloths, a wire brush or scraper, a vacuum or broom, a primer suitable for masonry, high-temperature paint, and possibly a resurfacing product if you want a more uniform finish. Preparing your workspace is essential; clear the area around the fireplace, cover nearby surfaces with drop cloths, and ensure good ventilation. Safety comes first, so wear gloves and a mask to protect yourself from dust and fumes.
Start by thoroughly cleaning the brick surface. Use a wire brush or scraper to remove any loose mortar, dirt, or soot. This step is vital because a clean surface ensures better adhesion of paint or resurfacing material. After scraping, vacuum or sweep away all dust and debris. Once the surface is clean, inspect for any cracks or damaged mortar that might need repair before proceeding. Fix these with appropriate mortar or filler, and let it dry completely. Surface preparation is crucial to achieve a durable and professional-looking finish.
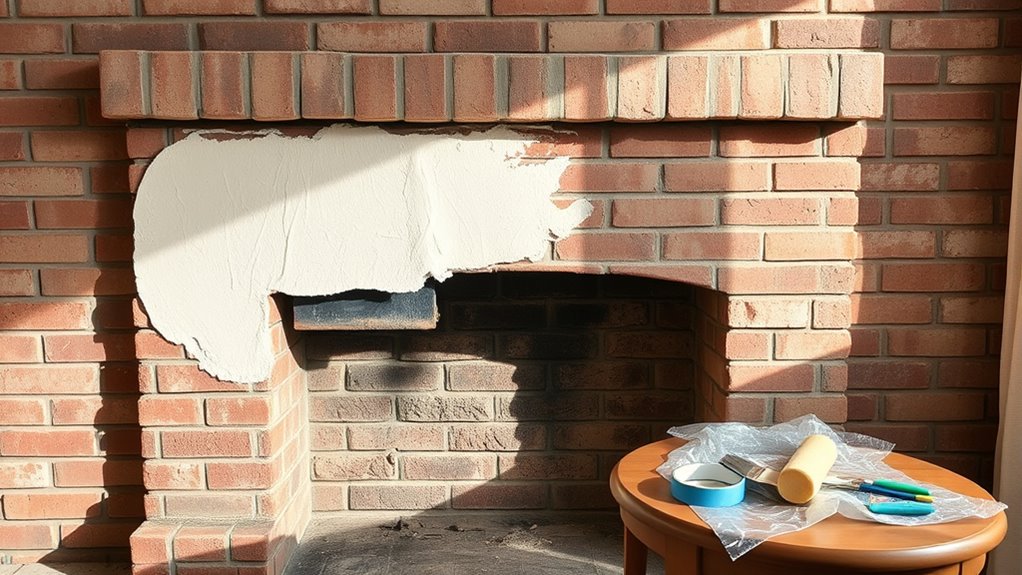
Next, apply painter’s tape around the edges of the brick to protect adjacent surfaces. If you’re aiming for a smooth, uniform look, consider applying a masonry primer. This step helps the paint bond better and results in a more durable finish. Allow the primer to dry according to the manufacturer’s instructions. Once primed, you can start painting with high-temperature paint, which withstands the heat and looks great for fireplace design. Use a brush for detailed areas and a roller for larger surfaces to achieve even coverage.
If you’re seeking a more textured or seamless appearance, resurfacing products are a fantastic option. These are applied like a thin layer over the brick, creating a modern, sleek finish that can mimic stone, concrete, or other materials. Follow the product instructions carefully, and don’t rush the drying process. Once everything is dry, remove the painter’s tape, and step back to admire your transformed fireplace. This simple yet effective DIY project can dramatically improve your home renovation, making your fireplace a true centerpiece that reflects your personal style.
Frequently Asked Questions
How Long Does a Brick Fireplace Makeover Typically Last?
A brick fireplace makeover typically lasts around 5 to 15 years, depending on factors like fireplace durability and resurfacing longevity. If you use high-quality paints or resurfacing materials and guarantee proper prep work, your renovation can look great longer. Regular maintenance and avoiding harsh cleaning agents help preserve the finish. Keep in mind that exterior conditions and usage can influence how long your facelift stays vibrant and intact.
Can I Repaint or Resurface a Non-Traditional or Painted Brick?
Yes, you can repaint or resurface non-traditional or painted brick. First, make certain the surface is clean and well-prepared by cleaning and sanding if needed. Use a high-quality primer suitable for painted brick, then apply your chosen paint or resurfacing material. This process allows you to update or change the look of your non-traditional or painted brick, giving your fireplace a fresh, modern appearance.
What Safety Precautions Are Necessary During the Project?
Prioritize protection by donning durable gloves, goggles, and a mask to guard against hazardous fumes and dust. Fire safety first—ensure your workspace is well-ventilated and keep a fire extinguisher nearby. Prepare for potential sparks or splatters by keeping flammable materials away. Follow these safety steps to stay secure, safeguard your space, and successfully surface or paint your fireplace brick, ensuring a safe, satisfying transformation.
Is Professional Help Recommended for Complex Fireplace Renovations?
For complex fireplace renovations, you should consider professional help, especially if you’re unsure about fireplace safety or dealing with structural or venting issues. DIY projects work well for simple updates, but when safety or code compliance is involved, hiring experts guarantees proper installation and peace of mind. Remember, knowing your limits helps prevent accidents and ensures a durable, safe fireplace, whether you choose DIY or professional renovation.
How Do I Choose the Right Paint or Resurfacing Material for High Heat?
You should choose heat resistant paints or resurfacing materials designed specifically for high temperatures. Look for products labeled as heat resistant or thermal paints, ensuring they withstand the heat generated by your fireplace. Check the manufacturer’s specifications for maximum temperature ratings, and select a resurfacing material compatible with brick. This way, your makeover stays durable and safe, avoiding cracking or peeling over time.
Conclusion
Now, with your newfound skills, your fireplace will shine brighter than a thousand suns, transforming your entire space into a cozy, magazine-worthy masterpiece. Imagine guests gasping in awe at your stunning, flawless finish—your DIY magic turning an ordinary brick into a jaw-dropping focal point. You’ve officially released the power to turn a tired fireplace into the crown jewel of your home. Get ready for compliments, envy, and endless “Wow” moments—your masterpiece awaits!