
Choosing the right drill bit depends on your project material. For wood, use sharp, high-quality bits like spade or brad-point designed for clean cuts. For metal, select HSS or cobalt bits and drill slowly with cooling lubricant to prevent overheating. For concrete, choose carbide-tipped or SDS masonry bits and use a hammer drill for best results. Understanding these options will help you drill more efficiently—discover how each feature can improve your work as you explore further.
Key Takeaways
- Select high-speed steel (HSS) bits for metal, carbide-tipped bits for concrete/masonry, and high-quality steel bits like spade or brad-point for wood.
- Match shank types (straight, hex, SDS) with your drill to ensure proper fit, stability, and safety during operation.
- Use appropriate drill speeds, steady pressure, and lubrication to prevent overheating and extend bit lifespan across materials.
- For wood, choose sharp, clean bits and avoid forcing; for metal, start with pilot holes and apply cooling lubricant; for concrete, use hammer drills with suitable masonry bits.
- Regularly inspect, clean, and maintain bits, applying lubrication during extended use to improve performance, safety, and durability.
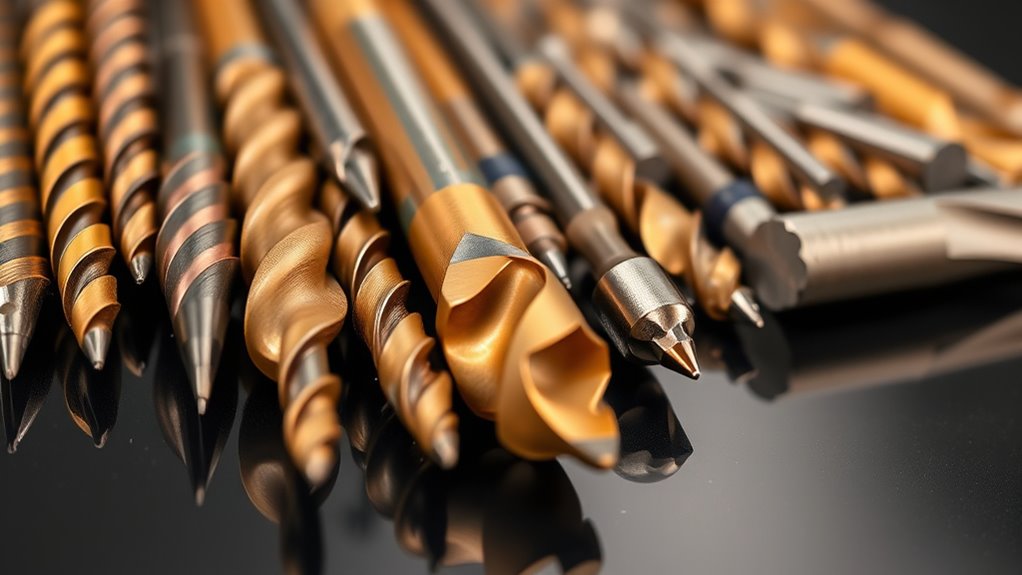
Understanding Different Types of Drill Bits
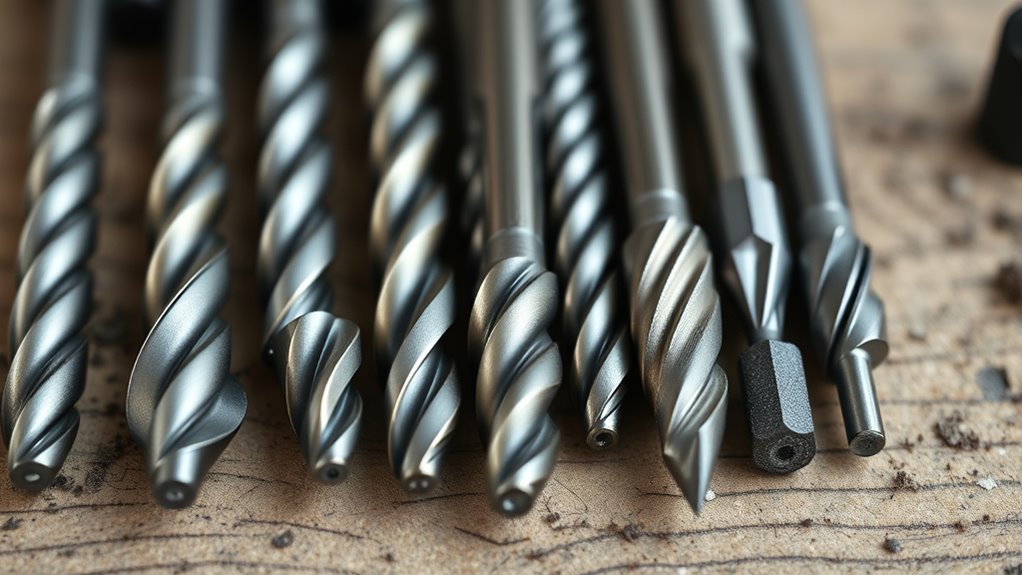
When choosing the right drill bit, understanding the different types available is essential. The bit material influences durability and suitability for specific materials—high-speed steel (HSS) works well for metal, while carbide tips excel in concrete and masonry. For softer materials like wood, high-quality steel bits are sufficient. The shank design also matters; most bits feature a straight shank for common drills, but some have hex or SDS shanks for specialized drills, offering better grip and torque transfer. Recognizing these differences helps you select the right bit for your project, ensuring efficiency and safety. Paying attention to bit materials and shank types can help prevent damage to your tools and improve drilling precision. Additionally, understanding drill bit types allows you to choose the most effective tool for each specific task, reducing frustration and increasing productivity. Being aware of drill safety protocols can also prevent accidents and ensure a smoother drilling process. By paying attention to bit material and shank design, you set yourself up for successful drilling, whether you’re working with wood, metal, or concrete. Understanding drill bit types can enhance your overall drilling experience and prevent common mistakes.
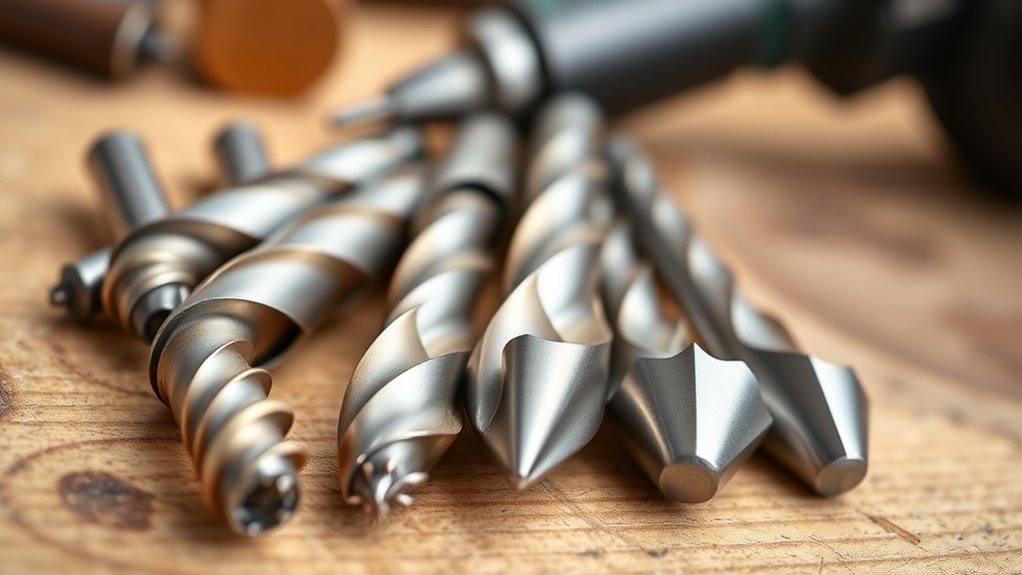
Key Features to Consider When Selecting a Bit

Choosing the right drill bit hinges on several key features that directly impact its performance and suitability for your project. The bit material is vital; for example, high-speed steel (HSS) works well for metal, while carbide-tipped bits excel in concrete or masonry. The shank design also matters—it determines how securely the bit fits in your drill and affects stability during operation. A straight shank provides compatibility with most drills, but specialized shanks like hex or SDS can enhance grip and reduce slipping for specific tasks. Additionally, consider the bit’s size and tip design, which influence drilling precision and efficiency. bit material plays a significant role in how well your drill bit performs and lasts longer, making your project smoother and more successful. Properly selecting the shank design ensures optimal performance and safety during use. When choosing a drill bit, it’s important to consider the application to ensure the right type of bit is used for the material and task at hand. By paying attention to bit material and shank design, you guarantee your drill bit performs effectively and endures through demanding tasks, especially when considering the performance and durability of different materials in various environments.
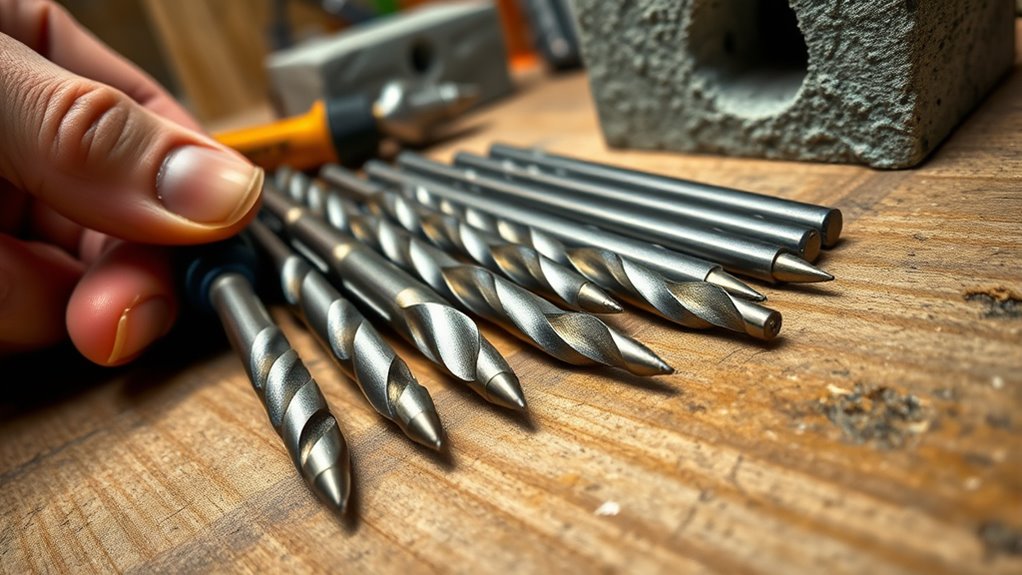
Drilling in Wood: Tips and Recommended Bits
Drilling in wood requires selecting the right bits and applying proper techniques to achieve clean, accurate holes. Use sharp, high-quality bits suited for wood, like spade or brad-point bits, for best results. Regular bit maintenance is essential; keep bits clean and free of debris to guarantee efficient drilling and prevent damage. Always check your drill bit safety by securing the bit tightly before use, and wear safety goggles to protect your eyes from wood chips. When drilling, apply steady pressure and avoid forcing the bit, which can cause splintering or breakage. Using the correct bit and maintaining it properly helps prevent accidents and ensures smooth operation. Proper technique and attention to drill bit safety will give you clean, precise holes every time. Additionally, understanding the proper type of drill bit for each material can significantly improve your drilling outcomes. To further enhance your drilling success, selecting bits with appropriate cutting edges designed for specific materials can make a noticeable difference. Being aware of drill bit safety checks and practicing proper handling can help you avoid mishaps and achieve professional results. Paying attention to material-specific bits can also help you select the most efficient tools for your project. Incorporating proper drill speed based on the material can also improve the quality and efficiency of your work.
Drilling in Metal: Best Practices and Suitable Bits

To drill effectively in metal, you need to select the right bits and follow best practices to guarantee clean, precise holes. Use bits designed specifically for metal drilling, such as high-speed steel (HSS) or cobalt bits, which offer excellent bit durability under high heat and stress. Always start with a small pilot hole to prevent bit slipping and reduce heat buildup. Keep the drill at a steady speed—slower speeds work best for thick or hard metals—and apply consistent pressure. Use cutting lubricant or oil to reduce friction and extend bit lifespan. Proper bit selection and technique help prevent dulling or breaking, ensuring your bits stay durable and effective through multiple projects. Additionally, drill bit maintenance is essential to keep bits sharp and functioning properly, which ultimately leads to cleaner holes and longer-lasting tools. Regularly inspecting and sharpening your bits can further enhance their performance and longevity. Employing the appropriate drilling technique tailored to metal can significantly improve results and efficiency. Incorporating proper tool care practices ensures your drilling equipment remains in optimal condition, saving time and cost in the long run. Being aware of common repair issues related to drilling tools can help you troubleshoot problems early and avoid unnecessary replacements.
Tackling Concrete: Choosing the Right Masonry Bits
When tackling concrete, selecting the right masonry bits is essential for efficient and clean drilling. Proper concrete surface preparation guarantees a smooth work area, reducing bit wear and improving accuracy. Use a hammer drill for tougher surfaces, and avoid applying excessive pressure to prevent damage. Masonry bit maintenance keeps your tools in top shape—clean bits last longer and perform better. Consider the following characteristics when choosing your bit:
| Bit Type | Best Use |
|---|---|
| Carbide-tipped | Heavy-duty drilling into concrete |
| Steel-shank | Light to moderate tasks |
| SDS Bits | Rapid, repetitive drilling |
Choosing the correct bit and maintaining it properly ensures safer, more effective concrete drilling. Proper bit storage and routine inspections can extend your tools’ lifespan and ensure optimal performance. Additionally, understanding the properties of the material you’re drilling into can help you select the most suitable bit type for your specific project. Being aware of material hardness can further guide your choice, ensuring you use the right bit for the job. Incorporating appropriate drilling techniques can also significantly improve your results and reduce tool wear. For example, using a cooling lubricant can help prevent overheating and extend the life of your bits.
Frequently Asked Questions
How Do I Sharpen or Maintain Dull Drill Bits?
To sharpen or maintain dull drill bits, start with drill bit sharpening using a bench grinder or a sharpening stone, focusing on the cutting edges. Keep your bits clean and free of debris to guarantee ideal drill bit maintenance. Regularly inspect your bits for wear and re-sharpen or replace them as needed. Proper drill bit sharpening and consistent drill bit maintenance prolongs their life and keeps your drilling projects efficient.
Can I Use One Drill Bit for Multiple Materials?
You can’t have your cake and eat it too; using one drill bit for multiple materials isn’t ideal. While some bits offer multi-material compatibility, drill bit versatility is limited, and using the wrong bit can damage your project or the bit itself. For best results, choose specific bits designed for wood, metal, or concrete. That way, you guarantee clean cuts and prolong your drill bits’ lifespan.
What Safety Precautions Should I Follow When Using Different Drill Bits?
When using different drill bits, always wear personal protective equipment like safety goggles and gloves to protect your eyes and hands. Guarantee proper drill handling by securing your workpiece and maintaining a firm grip. Check the drill and bit for damage before starting, and avoid forcing the drill. Follow manufacturer instructions, and unplug the drill when changing bits to prevent accidents. Staying cautious keeps you safe during all drilling tasks.
Are There Eco-Friendly or Biodegradable Drill Bits Available?
Imagine a greener world—yes, even in your toolbox. Biodegradable options for drill bits are emerging, crafted from eco-friendly materials like bamboo or recycled metals. These environmentally conscious choices break down naturally, reducing waste and pollution. While they may not yet match traditional durability, they’re perfect for light use or eco-minded projects. Embrace these innovative bits and make your drilling eco-friendly without sacrificing performance.
How Do I Identify the Manufacturer’s Recommended Drill Bit for My Project?
You can identify the manufacturer’s recommended drill bit by checking the brand specifications and compatibility guidelines provided in the product manual or packaging. Look for symbols, model numbers, or specific bit types that match your project needs. Always verify that the drill bit aligns with the manufacturer’s recommendations to guarantee peak performance and avoid damage. If in doubt, consult the brand’s website or customer support for clarification.
Conclusion
Now that you know the ins and outs of drill bits, you’re ready to conquer any project that comes your way. Think of your toolbox as a treasure chest—each bit a key to releasing your creative potential. With the right choice, drilling becomes less of a chore and more of an adventure. So, go ahead—grab the perfect bit and turn those tough materials into your masterpiece. Your DIY journey just got a whole lot brighter!