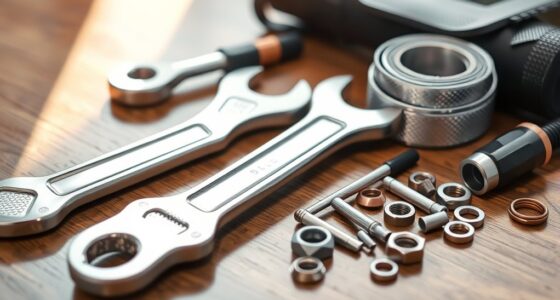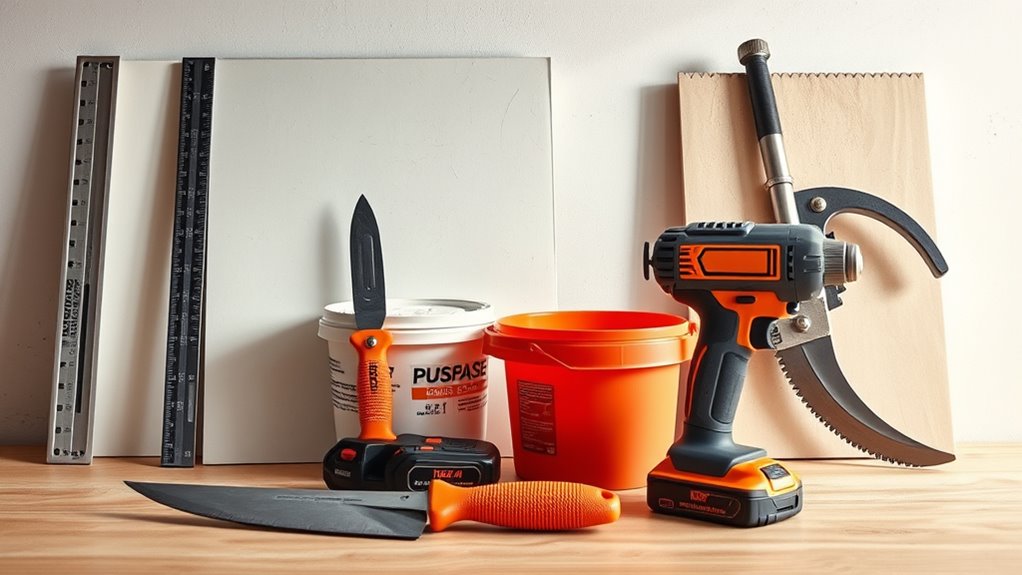
To patch or hang drywall effectively, you’ll need essential tools like a utility knife for precise cuts, a drywall saw for detailed trimming, a tape measure to guarantee accurate measurements, a level for straight panels, and a screw gun or drill to fasten the panels securely. Taping supplies such as joint compound and drywall tape help create smooth joints. Mastering these tools will set you on the right path—continue exploring to learn tips for professional results.
Key Takeaways
- Essential tools include utility knives, drywall saws, tape measures, levels, and fasteners for hanging drywall.
- Use T-squares and drywall lifts to accurately cut and position panels.
- For finishing, gather joint compound, drywall tape, taping knives, and sanding supplies.
- Properly sand and apply multiple compound coats for a smooth, professional finish.
- Prioritize quality tools, secure attachment, and careful application to achieve optimal drywall results.

Are you new to drywalling and wondering where to begin? Starting with drywall installation might seem overwhelming at first, but with the right tools and approach, you’ll find it’s manageable and even satisfying. First, gather essential tools like a utility knife, drywall saw, tape measure, level, drywall screws or nails, a drill or screwdriver, a T-square, and a drywall lift if working on large panels. Having these on hand ensures you can cut, position, and secure drywall sheets efficiently. When hanging drywall, precision matters—measure carefully to cut panels to fit your space, and use a T-square to ensure straight cuts. Once the drywall panels are in place, secure them using drywall screws, which hold the sheets firmly against the framing. A drill with a drywall bit speeds up the process and helps keep screws flush, preventing protrusions that could complicate finishing. Proper attention to detail during installation ensures a smoother finishing process and reduces the need for extensive touch-ups later.
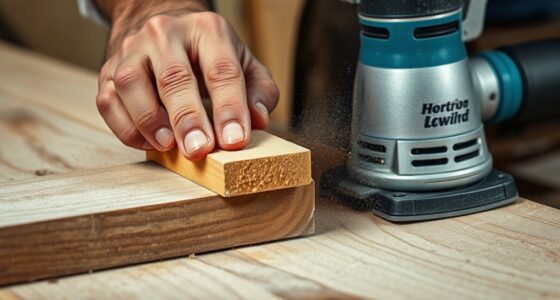
Drywall finishing is the next critical step, and it demands the right set of tools to create a smooth, professional surface. Start with joint compound, drywall tape, a taping knife, and a mud pan. You’ll also need a sanding sponge or block, and possibly a pole sander for larger surfaces. To achieve a seamless look, apply drywall tape over seams first, then cover it with a thin layer of joint compound using a taping knife. Once dry, sand lightly to smooth out ridges, then apply additional coats of compound as needed. Patience is key—each layer should be feathered out to blend seamlessly into the wall. After the final coat dries and is sanded smooth, your drywall is ready for primer and paint.
Using the right tools not only speeds up the process but also results in a cleaner, more professional finish. Proper drywall installation ensures your panels are securely attached, minimizing cracks and movement over time. Effective drywall finishing, on the other hand, guarantees that your walls look flawless, with no visible joints or imperfections. Remember, the quality of your tools directly impacts the outcome, so invest in good quality supplies and take your time with each step. Whether you’re patching small holes or hanging entire drywall sheets, understanding the essentials of tool use will make your project smoother and more successful. With patience and the right equipment, you’ll be amazed at how easily you can transform a space into a polished, drywall-finished room.
Frequently Asked Questions
How Do I Choose the Right Type of Drywall for My Project?
You should choose drywall based on your project’s specific needs. For areas prone to moisture, like bathrooms or basements, opt for moisture-resistant drywall. If fire safety is a concern, select drywall with a higher fire rating, such as fire-resistant or Type X drywall. Consider the environment and durability requirements to make the best choice, ensuring your project meets safety standards and lasts long-term.
What Are the Common Mistakes to Avoid When Drywalling?
When drywalling, avoid common mistakes like improper drywall seams and poor taping techniques. Make certain seams are tightly butted and properly reinforced with joint tape to prevent cracking. Use smooth, even taping compound and sand carefully for a seamless finish. Don’t rush the taping process—skipping steps or rushing can cause bumps or cracks later. Taking your time with seams and taping techniques guarantees a professional-looking wall that lasts.
How Can I Improve Drywall Finishing for a Seamless Look?
To improve drywall finishing for a seamless look, focus on applying joint tape smoothly and embedding it well to prevent bulges. Use proper sanding techniques, starting with coarse grit and finishing with fine grit, to create a smooth surface. Take your time, work in thin coats of mud, and guarantee each layer dries thoroughly before sanding. This careful approach results in a flawless, professional finish that’s virtually invisible.
What Safety Precautions Should I Take During Drywall Installation?
To stay safe during drywall installation, always wear personal protective equipment like gloves, goggles, and a dust mask to prevent injuries and inhalation of particles. Make sure your workspace is set up safely by clearing clutter, securing ladders properly, and ventilating the area to minimize dust. Keep tools organized, and stay alert to avoid accidents. These precautions help you work efficiently while protecting yourself throughout the project.
How Do I Repair Water-Damaged Drywall Effectively?
Think of water damage as a silent predator creeping into your walls, quietly weakening drywall. To repair it, first, remove all wet or damaged drywall with a utility knife, ensuring you get rid of compromised material. Dry the area thoroughly, then cut and replace the damaged section. Seal it with joint compound, sand smooth, and repaint. Effective drywall repair restores strength and beauty, protecting your space from future harm.
Conclusion
Now that you know the essential tools and steps, you’re ready to tackle drywall projects like a pro. Think of drywalling as building a sturdy house of cards—you need the right tools and steady hands to keep everything in place. With patience and practice, you’ll master patching and hanging drywall, transforming your space smoothly and confidently. So grab your tools, get started, and watch your walls become a flawless canvas, just waiting for your finishing touch.