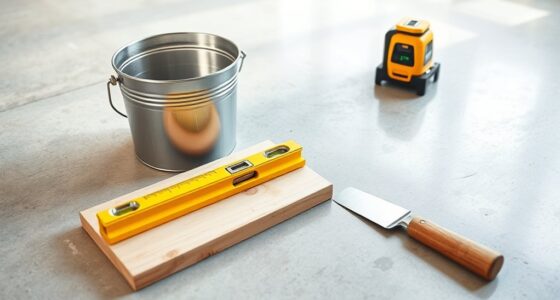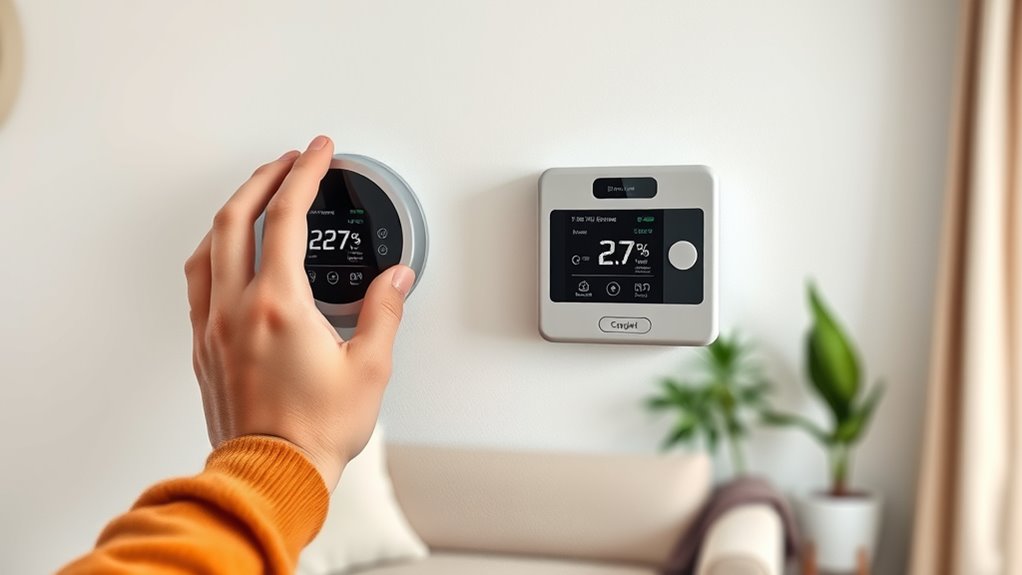
Installing a programmable thermostat is a smart DIY project that can help you save energy and cut costs. First, turn off power to avoid hazards, then remove your old thermostat, label or photo the wiring, and confirm compatibility. Mount the new thermostat, connect the wires securely, and restore power. Set your desired schedule and features for ideal comfort and savings. Keep going to discover step-by-step tips for a smooth installation process.
Key Takeaways
- Turn off power to your HVAC system before beginning installation to ensure safety.
- Remove the old thermostat carefully, label wires, and verify compatibility with the new programmable model.
- Mount the new thermostat base securely on the wall, then connect wires to matching terminals as per instructions.
- Restore power and verify the thermostat powers on and functions correctly before finalizing setup.
- Program your schedule and settings to optimize energy savings and enhance home comfort.

Are you tired of manually adjusting your thermostat and wasting energy? Installing a programmable thermostat can be a game-changer, helping you save money and improve your home’s energy efficiency. The process isn’t as complicated as you might think, especially if you’re willing to do a bit of hands-on work. The first step is understanding wiring compatibility, which is vital for a smooth installation. Before you start, turn off the power to your heating and cooling system to prevent any electrical mishaps. Once the power’s off, remove the old thermostat cover and carefully disconnect the wires. Take a picture or label the wires so you remember where each one connects, simplifying the process of wiring the new thermostat later.
Wiring compatibility is key because different systems have different wiring configurations. Some thermostats require only two wires, while others need multiple connections for features like heating, cooling, and fan control. Check your existing system’s wiring and the thermostat’s specifications to verify they match. Many modern thermostats are compatible with a wide range of systems, but it’s always wise to double-check. If your wiring doesn’t match, you might need an adapter or professional assistance, but most DIY enthusiasts find that with a little research, they can handle the wiring adjustments themselves. Confirming proper wiring compatibility guarantees your new thermostat will work correctly and safely, avoiding potential damage or malfunction.
Once the wiring compatibility is confirmed, you can proceed to mount the new thermostat base on the wall, following the manufacturer’s instructions. Connect the wires to the corresponding terminals, making sure they’re secure and properly seated. After wiring, attach the thermostat unit to the base and restore power to your system. With the device powered on, you’ll need to configure the settings—program your preferred temperature schedules, set the clock, and adjust any advanced features like Wi-Fi connectivity. Many programmable thermostats offer user-friendly interfaces and quick setup guides, making this step straightforward.
Frequently Asked Questions
Can a Programmable Thermostat Be Used With a Heat Pump System?
Yes, a programmable thermostat can be used with a heat pump system. Just make certain it’s compatible by checking the heat pump compatibility and thermostat wiring requirements. Many modern thermostats are designed to work seamlessly with heat pumps, but you’ll need to verify the wiring connections match your system’s specifications. Proper installation ensures efficient operation and energy savings, so follow the manufacturer’s instructions carefully or consult a professional if unsure.
What’s the Best Placement for the Thermostat in My Home?
They say “location is everything,” and it’s true for your thermostat. Place it on an interior wall, away from drafts, direct sunlight, and heat sources to guarantee accurate readings. The ideal location is at eye level in a central area of your home, ideally away from windows and vents. This ensures your thermostat accurately monitors room temperature, helping you save energy and stay comfortable year-round.
How Do I Troubleshoot if the Thermostat Displays an Error?
If your thermostat displays an error, first note any error codes it shows. Check the user manual for specific troubleshooting steps related to those codes. You might need to perform reset procedures, like turning off power at the breaker, waiting a few minutes, then turning it back on. Confirm the thermostat is properly wired and batteries are fresh. If errors persist, consult the manufacturer’s customer support for further guidance.
Is Professional Installation Necessary for Complex HVAC Systems?
For complex HVAC systems, professional installation isn’t optional—it’s essential. You want experts to handle the wiring, calibration, and integration to ensure your system runs safely and efficiently. Relying on a professional guarantees proper setup, reduces the risk of damage, and maximizes energy savings. Don’t risk costly mistakes or voiding warranties; trust trained technicians to install your thermostat correctly and keep your home comfortable year-round.
How Often Should I Update or Change My Thermostat Settings?
You should update your thermostat settings seasonally to optimize energy savings and comfort. Regularly perform temperature calibration to guarantee accuracy, especially if you notice inconsistent temperatures. Adjust your thermostat at least twice a year—once for winter and once for summer—using seasonal adjustment to match your schedule and weather changes. Doing this helps maintain efficiency, saves energy, and keeps your home comfortable throughout the year.
Conclusion
Think of your thermostat as the captain steering your home’s comfort ship. By installing a programmable thermostat, you’re taking the helm, guiding your energy use wisely and efficiently. Just as a captain navigates through calm and storm, you control your savings and comfort, ensuring smooth sailing all year round. Remember, a small change in your command can lead to a voyage of significant savings and cozy days ahead. Set your course and enjoy the journey!